Table of Contents
Initial Setup
Buttons
LCD Display
Ports
LCD Display Brightness
Auto-Dim Settings
Display Modes
Display Mode Options
Outdoor Sensor
Mounting Your Sensor
Searching for Outdoor
Sensor
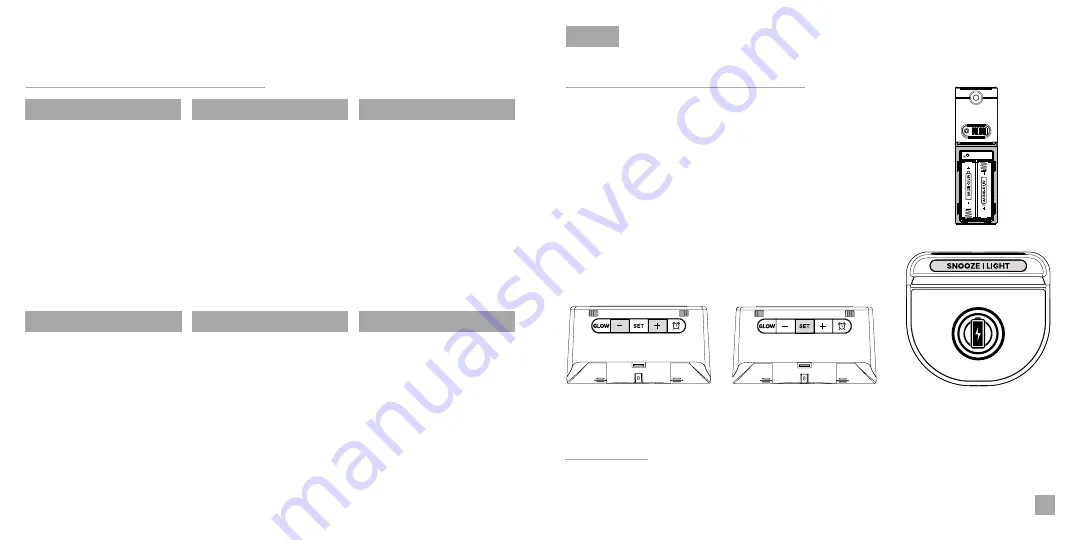
Use the
+/-
buttons on
the back of the station to
adjust the values.
02
Initial Setup
Power Up
Settings Menu Order
Insert 2 “AA” batteries into the Outdoor Sensor.
Next, insert the Power Adapter into an outlet, then plug it into
the Power Jack on the bottom of the station. A greeting will
appear on the display and then automatically move into the
Settings Menu.
•
Language
•
12/24 Format
•
Hour
•
Minutes
•
Year
•
Month
•
Date
•
Month/Date or Date/Month
•
Celsius/Fahrenheit
You may exit the Settings
Menu at any time by tapping
the
SNOOZE/LIGHT
button.
Specifications
Trademarks & Warning
Factory Reset
Warranty
Recycling & Disposal
Cautions
Statement
13
14
14
15
15
15
16
Setting the Alarm
Activate/Deactivate
Snooze Duration
Glow Light Selection
Glow Light Brightness
5W Wireless Charger
Phone Compatibility
12
BASICS
Note:
To enter the Settings
Menu after the initial setup,
hold the SET button on the
back of the station.
Language:
Whichever language is selected, the following instructions and weekday will be
presented in that language.
Weekday:
Weekday will set automatically after year, month, & date settings are adjusted.


