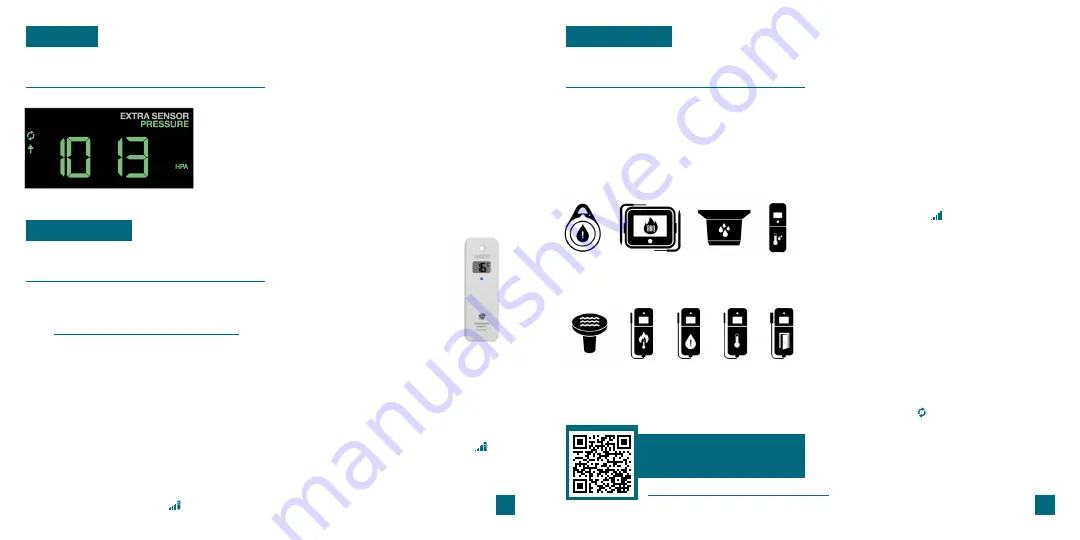
Relative Pressure
Add-On Temperature & Humidity Sensor
PRESSURE
EXTRA SENSORS
•
Your Relative Pressure reading will come from your
station’s internal barometer.
•
Please allow up to 10 days for automatic calibration, or
program your local pressure value in the Settings Menu.
•
The arrows located to the left of the values represents
Pressure Tendency (rising/falling).
2.
Hold the
MINUS
(
-
) button to delete these
Temperature & Humidity readings.
3.
Press the
SENSOR
button until this Outdoor
Temp. and Humidity section lights up again.
Then hold the
PLUS
(
+
) button until the blue
Sensor Reception Indicator starts to animate.
Adding a Separate Temperature & Humidity Sensor
Pressure Reading Example
If you feel the temperature & humidity is not reading correctly from your
Breeze Pro Sensor, you can add a separate sensor to your system.
www.lacrossetechnology.com/view
to learn more.
1.
Press the
SENSOR
button until you see the
Outdoor Temperature and Humidity section light
up on screen. “ID WTH 123” and “THW SENSOR”
will appear below.
4.
5.
Install new batteries into the add-on sensor
and press the
TX
button inside its battery
compartment. The LED light on the sensor
will flash.
The sensor should connect almost instantly
with its data appearing on screen. The
icon will appear when an add-on TH sensor
is being used.
Additional Add-On Sensors
EXTRA SENSORS
Whether you choose to connect with the La Crosse View app or not, this station
can display data for up to 4 extra sensors. This data will appear in the green EXTRA
SENSOR section on the LCD, and in your La Crosse View app if connected.
www.lacrossetechnology.com/view
To learn about all of your
add-on sensor options,
scan the QR code or visit:
2.
Install batteries into your sensor. If the sensor
has a
TX
button, press it to force a transmission
signal. This button is usually located in or near
the sensor’s battery compartment. The LED
light on the sensor will flash once.
3.
Your sensor should connect within the next 3
minutes, briefly displaying its ID and type on
the LCD. The Sensor Reception Indicator will
show solid on the screen when a sensor is
connected.
Adding Sensors to Your Station
1.
Hold the
EXTRA
button until you see the Sensor
Reception Indicator start to animate.
Note:
When first powering up, or after a factory
reset, extra sensors should automatically connect
to your station.
4.
Press the
EXTRA
button to cycle through the
data you’d like displayed on the LCD. The
Auto Scroll Icon ( ) will appear if activated.
17
18


