Kyocera Mita Ecosys FS-1000+ Installation Manual Download Page 17

15

 Go to next page

Printing a Status Page

To test the printer, print a status page indicating factory settings.
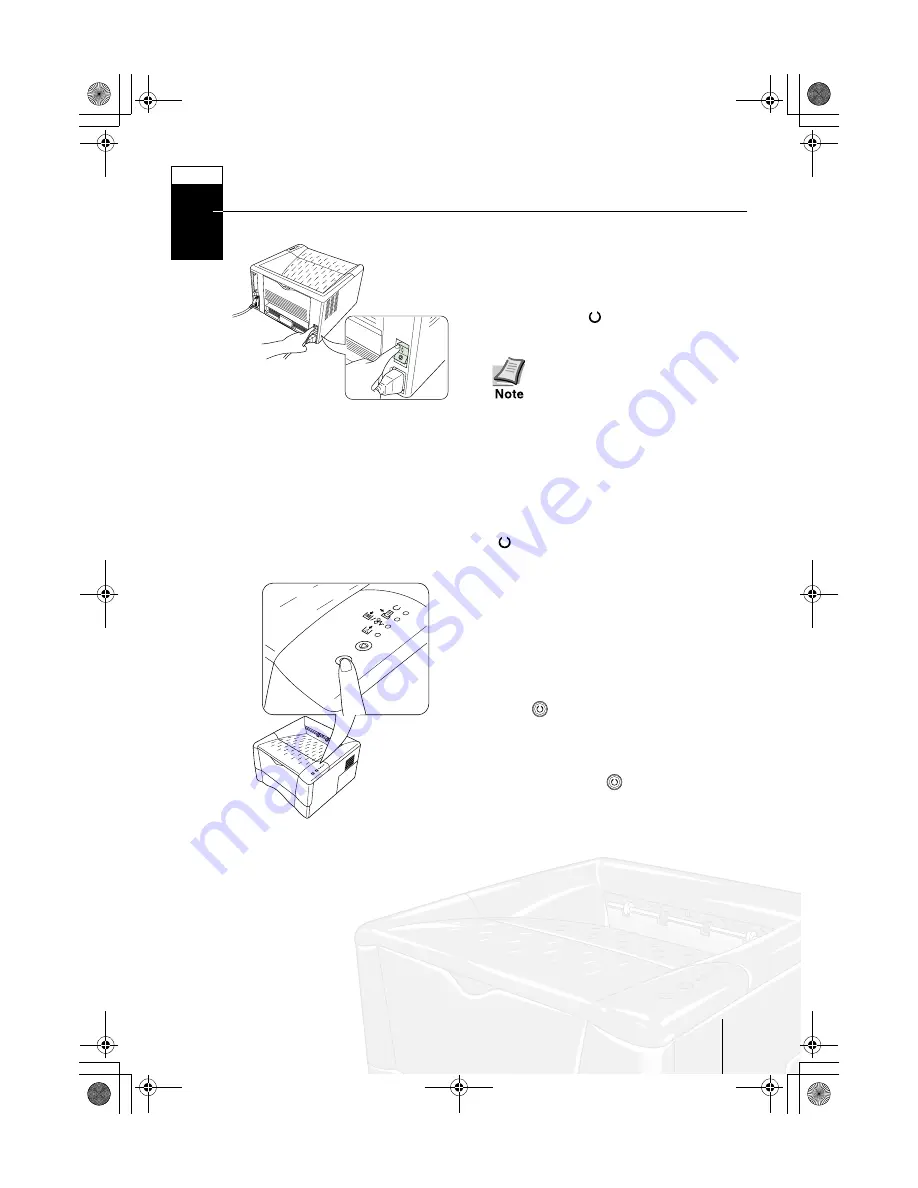
1

Turn on the printer’s power switch.
Upon turning on the power, the printer’s 
4 indicators flash in sequence until 
printer initialization is complete, then 
the indicator (

 [on line]) lights 

steadily.

If the indicator does not light, 
check that previous steps were 
performed properly.

If you install the toner container and 
turn on the power, after a moment the 
indicators light in sequence from top to 
bottom. 

When the printer is first 

switched on after toner installa-
tion, there will be a delay of approx-
imately 15 minutes before the 
printer gets ready to print. 

Once the 

 indicator lights, printer installation 

is complete.

2

The printer can print two different 
types of status page — standard and 
service-purpose. A service-purpose sta-
tus page contains more detailed infor-
mation about printer settings than a 
standard status page.

• To print a standard status page, press 

the 

 key for at least 3 seconds and 

the indicators light in sequence from 
top to bottom.

• To print a service-purpose status 

page, press the 

 key for more than 

10 seconds and the indicators light in 
sequence twice from top to bottom.

If the status page prints correctly, 
printer setup is complete. For details on 
using the printer, refer to the 

User's 

Manual

 contained as an electronic file 

in the CD-ROM supplied with the 
printer.

STEP

8

Ifs10ep-jp.book  Page 15  Friday, December 22, 2000  4:27 PM

Summary of Contents for Ecosys FS-1000+

Page 1: ...Page Printer Installation Manual...

Page 2: ...s in the printer s firmware contents of its read only memory This manual any copyrightable subject matter sold or provided with or in connection with the sale of the page printer are protected by copy...

Page 3: ...Components Removing Shipping Material Remove the tape on the rear side of the printer and remove the two spacers and printed notice from the paper cassette STEP 1 Printer Power Cord Toner Container TK...

Page 4: ...fts from outside Avoid locations near building entrances Sudden temperature or humidity changes Sources of high temperature for example near stoves or radiators Excessive dust Vibration Unstable surfa...

Page 5: ...all the way 2 Confirm that the lock lever is in the release UNLOCK position If not pull it forward until it is in the release posi tion 3 Take the toner container from the bag Hold it with the protec...

Page 6: ...remove the protective seal 5 Install the toner container into the printer 6 Push firmly on the top of the toner con tainer at the positions marked PUSH HERE Ifs10ep jp book Page 4 Friday December 22...

Page 7: ...tion there will be a delay of approximately 15 minutes before the printer gets ready to print To remove the toner container Pull the lock lever 1 to the release UNLOCK position pull the lock lever 2...

Page 8: ...turnoffboththeprinterandthecom puter spowerswitchesandunplugtheprinter spowerplugfromthepower outlet Failure to do so may result in electrical shock A standard Centronics parallel interface connector...

Page 9: ...h the IEEE1284 standards The printer will work best if it isinstallednearthecomputer The connecting cable should beshieldedandnotbelonger than 3 meters 10 feet 2 Close the clips on both sides to fix t...

Page 10: ...or less Power Requirements To Connect the Power Cord Be sure the printer s power switch is turned off Only use the power cord supplied with the printer 1 Plug the power cord into the power cord conne...

Page 11: ...can be used with the printer The edges of paper are sharp When loading paper be careful not to cut your hand on the paper Paper cassette Standard paper sizes are attached to the inside of the paper c...

Page 12: ...singcustomsizepaper movethe paper guides and paper stopper all the way out insert the paper then adjust the paper guides and paper stopper to thesizeofthepaper Adjustthemsothat they are in light conta...

Page 13: ...under the load limits on the top of the paper guides the papercassettewillholdapprox imately250sheetsofpaperwith a 80 g m 21 lb basis weight or with a thickness of 110 microns 5 Insert the paper cass...

Page 14: ...osition marked correspondingly Do not load more paper than willfitundertheloadlimitson the inside of the MP tray If the paper is considerably curled in one direction for example if the paper is alread...

Page 15: ...Refer to Step 7 Sometypesofenvelopesarenotsuitable for printing For details on suitable types of envelopes see the User s Man ual contained as an electronic file in the CD ROM supplied with the print...

Page 16: ...ted side facing up reverse order or when you are printing on envelopes postcards trans parencies or thick paper 1 Pull on the face up output tray to open it 2 Open the extension tray by pressing with...

Page 17: ...re the printer gets ready to print Once the indicator lights printer installation is complete 2 The printer can print two different types of status page standard and service purpose A service purpose...

Page 18: ...e thetop cover once Jam at the Face down and Face up Trays Open the face up tray and remove the jammed paper as shown in the figure Jam at the Paper Cassette Pull out the paper cassette and remove the...

Page 19: ...ve the jammed paper When pulling the paper pull gently so as not to tear it Torn pieces of paper are difficult to remove and may be easily over looked preventing recovery from the jam 5 Replace the pr...

Page 20: ...ed for interfacing with the computer Caution to user Any modification without prior permission may cause harmful interference If any modification change is introduced to this equipment without prior p...

Page 21: ...1976 Compliance is mandatory for products marketed in the United States A label indicating compliance with the CDRH regulations must be attached to laser products marketed in the United States Ozone...

Page 22: ...the extension cord ampere rating 9 Neverpushobjectsofanykindintothisproductthroughcabinetslotsastheymaytouchdangerous voltage pointsorshortoutparts thatcouldresultina riskoffireorelectricshock Nevers...

Page 23: ...ch Germany Phone 49 21 59 9180 Fax 49 21 59 918 100 Declaration of Conformity Australia Manufacturer s name Kyocera Corporation Printer Division Manufacturer s address 2 14 9 Tamagawadai Setagaya Ward...

Page 24: ...gs Descriptions of the procedures that guarantee the conformity Other technical information Kyocera Mita America Inc Disclaimer We shall have no liability or responsibility to customers or any other p...

Page 25: ...uce the amount of electrical power consumed by the printer For maximum power savings turn off the printer s power sup ply when not using the printer for extended periods of time For details on the sle...

Page 26: ...2 Upgrade Kit IB 10E Serial Interface Board Kit Network Boards See your Kyocera Mita dealer for purchasing information of the network board that is best suited for use with this printer Use only the n...

Page 27: ...THESE TERMS AND CONDITIONS The Programs are licensed not sold IBM or the applicable IBM country organization grants you a license for the Programs only in the country where you acquired the Programs...

Page 28: ...s to any developer of Programs supplied to IBM IBM s and the developer s limitations of remedies are not cumulative Such developer is an intended ben eficiary of this Section Some jurisdictions do not...

Page 29: ...This page intentionally left blank Ifs10ep book Page 26 Tuesday December 19 2000 9 09 PM...

Page 30: ...This page intentionally left blank Ifs10ep book Page 26 Tuesday December 19 2000 9 09 PM...

Page 31: ...line and off line When pressed for 3 or more seconds prints a user status page Selects the MP tray feed or paper cas sette feed when the paper runs out Prints and feeds out one page Number Name Funct...

Reviews: