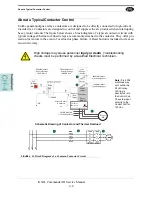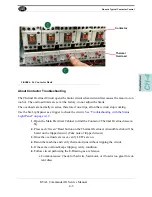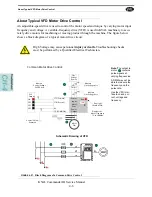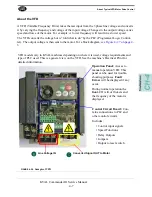
Option W: Replacing Function Drill Assembly
3-37
KVAL Commander III Service Manual
Option W: Replacing Function Drill Assembly
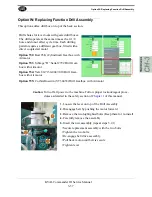
This option adds a drill box on top of the back section.
Drills holes for lever locks with geared drill boxes.
The drills operate at the same time as the 2-1/8
bore and do not affect cycle time. Each drilling
pattern requires a different gear box, fitted with a
direct coupled air motor.
Option W2:
Best 93K (Cylindrical) Gearbox with
Airmotor
Option W3
: Schlage “D” Serial #792 Drill Gear-
box with Airmotor
Option W4:
Yale 80-7150-0047-010 Drill Gear-
box with Air motor
Option W5:
Corbin/Russwin (VT30458) Drill Gearbox with Airmotor
1.
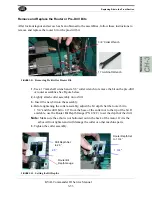
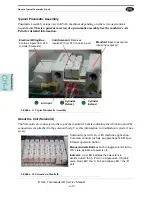
Loosen the lever on top of the Drill Assembly
2.
Disengage belt by pushing the motor forward
3.
Remove the two highlighted bolts (Keep them for re-install
4.
Carefully remove the assembly
5.
Insert the new assembly (repeat steps 3,2,1)
• Secure replacement assembly with the two bolts
• Tighten the two bolts.
• Re-engage belt drive assembly.
• Pull back motor until belt is secure
• Tighten lever
Caution:
Turn off all power to the machine. Follow proper lockout/tagout proce-
dures as detailed in the safety section of
Chapter 1
of this manual.
Summary of Contents for Commander III
Page 5: ...KVAL Commander III Service Manual KVAL Commander III Service Manual ...
Page 10: ...Notes ...
Page 31: ...Safety Sign Off Sheet 1 21 KVAL Commander III Service Manual ...
Page 36: ...Notes ...
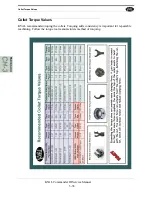
Page 75: ...Collet Torque Values 3 39 KVAL Commander III Service Manual ...
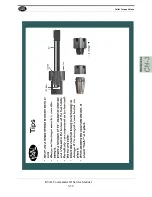
Page 76: ...Collet Torque Values KVAL Commander III Service Manual 3 40 ...
Page 100: ...Network System Overview KVAL Commander III Service Manual 4 24 ...
Page 103: ......


