4
4. Add/Remove Module
4.1 Add/Remove Module
[ For 24+2G Fully Modulized Model ]
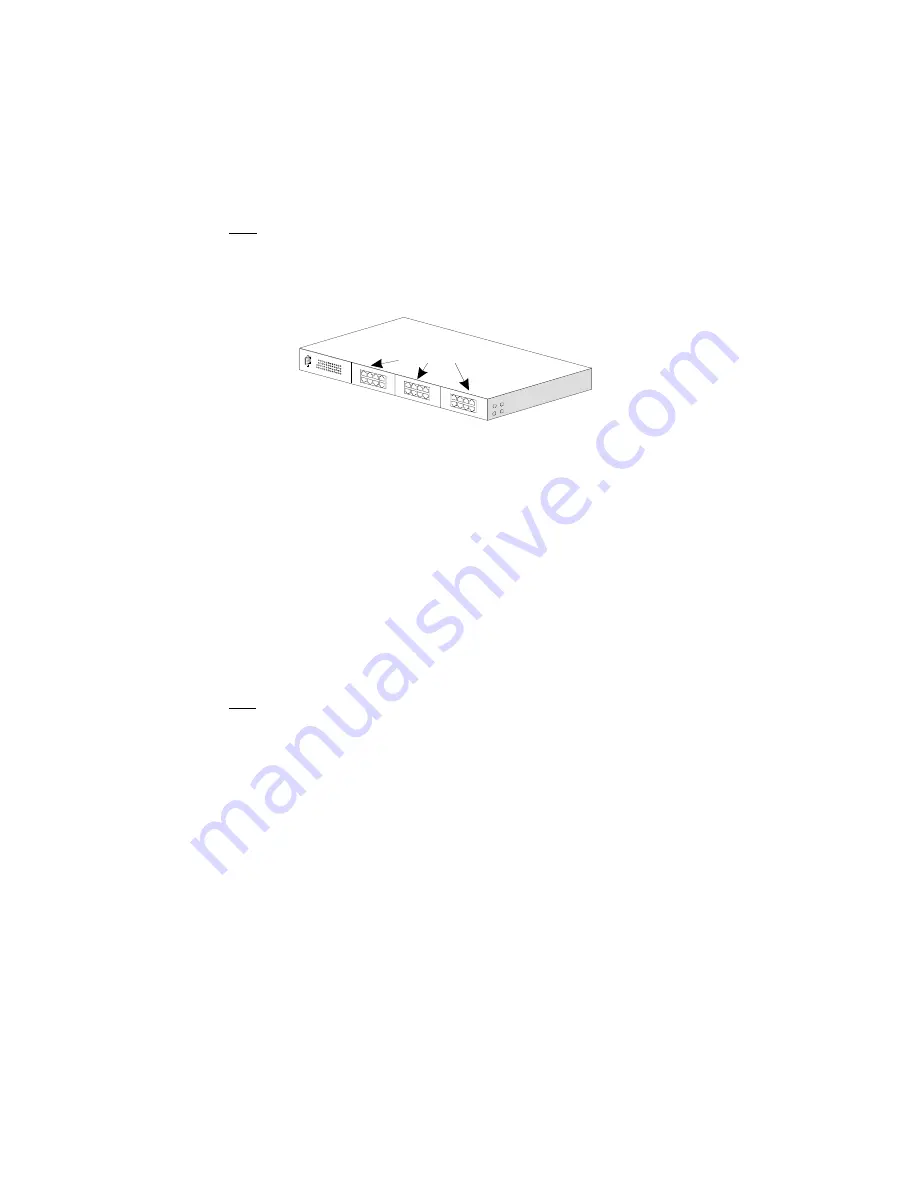
This model supports three 8-port 10/100Mbps TX/FX modules at front panel and
two 1-port gigabit TX/SX/LX modules at rear panel.
Note: This switch does not support hot-swap function. Turn off the switch
first before adding or removing module. Otherwise, the switch and module
could be damaged
.
-- Modules at Front Side --
[ Adding Modules to the Switch at Front Panel ]
1. Power OFF the switch first.
2. If the switch is rack-mounted, you have to remove the switch from rack first.
3. Loosen the screws of the cover on the module slot with screwdriver. Two at
the front side, one at bottom side.
4. Remove the cover of the module slot.
5. Follow the rails on both sides of the module slot to slide in the module
slowly.
6. Push the module firmly to make the module connecting well with the
connector in the switch.
7. Drive the screws to fix the module to the switch firmly with screwdriver. Two
at the front side, one at bottom side.
8. If the switch is rack-mounted, you can put the switch back to rack.
9. Power ON the switch.
10. If 100FX module is added, please configure these FX ports to
100/Full
with
“set port” command.
11. Connect network cables to the connectors on the module. If the connected
devices are working, the Link/Act LED will be ON.
Note: We suggest you to keep these removed module slot covers. It can be use
when these modules are removed in the future.
[ Remove Modules from the Switch at Front Panel ]
1. Power OFF the switch first.
Front Side
Modules (8-port)


