


Quick Installation OMNI960 Series Digital Video Recorders
Revised October, 2014 16
Using the Setup Wizard
The Setup Wizard can walk you through some important settings of the device. By default, the Setup Wizard starts once the device has loaded.
Operating the Setup Wizard:
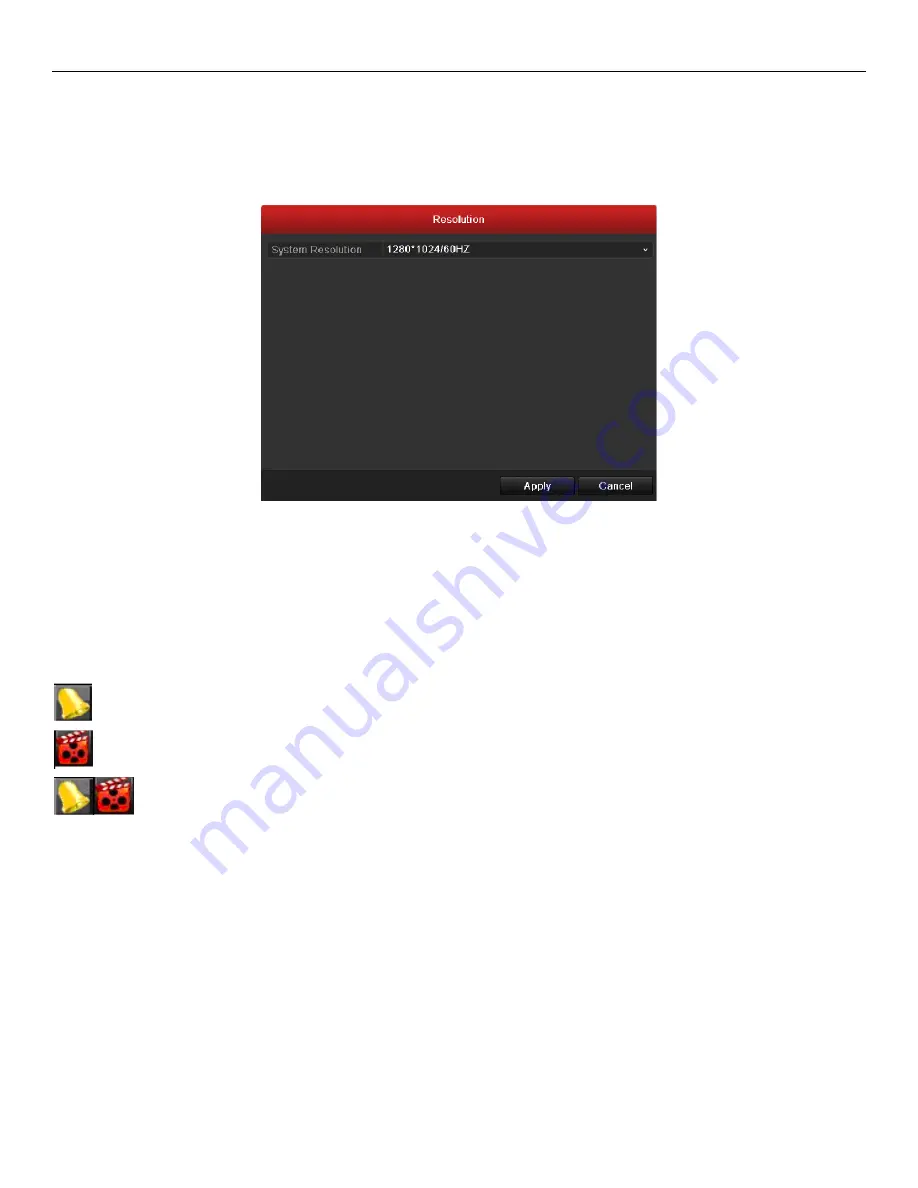
1.
Select the system resolution from the dropdown menu. The default resolution is 1280×1024/60Hz.
Click
Apply
to save the resolution settings.
2.
Check the checkbox to enable Setup Wizard when device starts. Click Next to continue the setup wizard. Follow the guide of the Setup Wizard
to configure the system resolution, password modification, system date/time, network settings, HDD management, record settings, etc.
Live View
Some icons are provided on screen in Live View mode to indicate different camera status. These icons include:
Live View Icons
In the live view mode, there are icons at the right top of the screen for each channel, showing the status of the record and alarm in the channel, so that
you can find problems as soon as possible.
Alarm (video loss, tampering, motion detection or sensor alarm).
Record (manual record, schedule record, motion detection record or alarm triggered record)
Alarm & Record
Note:
The sensor alarm and alarm triggered record are supported by OMNI960-32 models only.
Using the Mouse in Live View
In the live view mode, use the mouse to right-click on the window to access the top level OSD menu:


