14
15
9.Setup menu operation
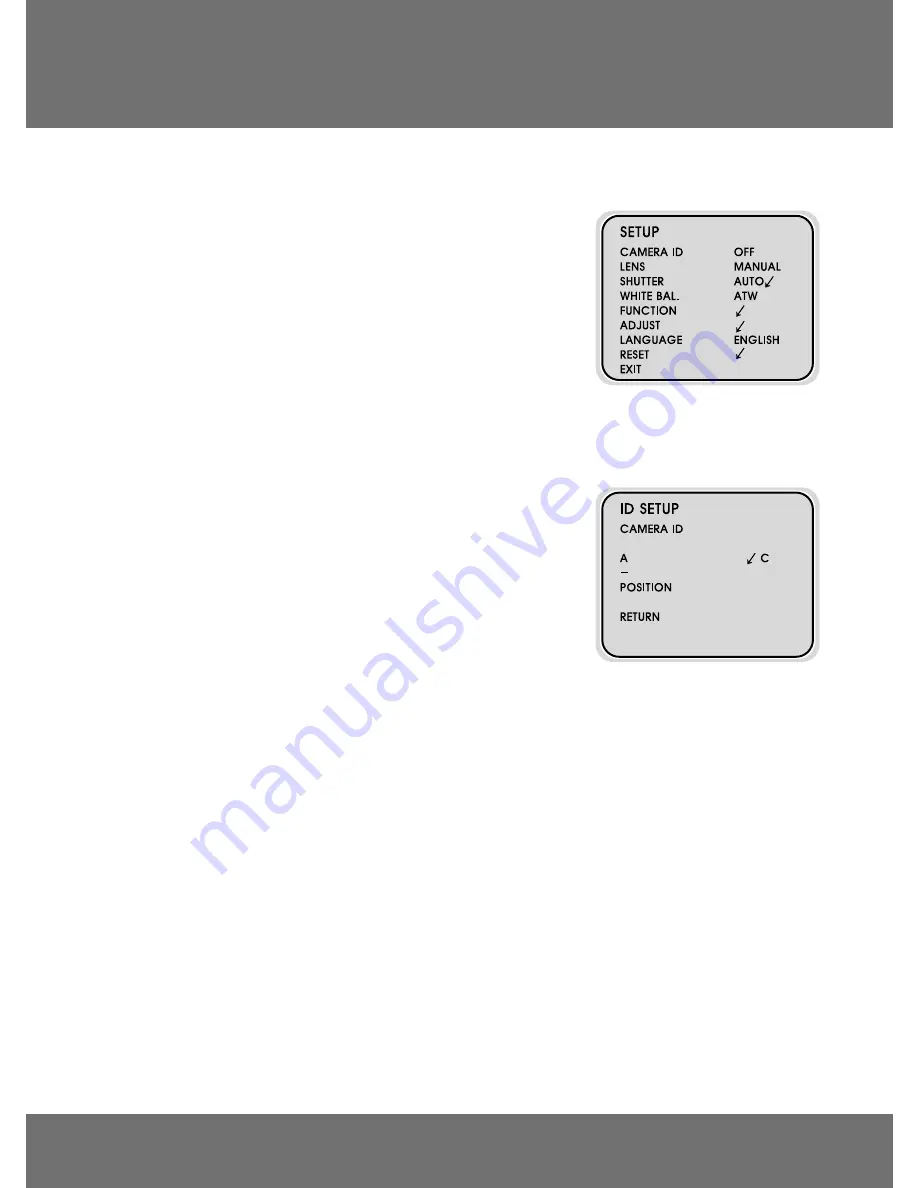
1)SETUP mode
- Press and hold MENU button 1 second to access the setup mode.
SETUP menu is displayed on the monitor.
①
Select OSD item using UP, DOWN button.
②
Set details using LEFT, RIGHT button.
③
Select “EXIT” and then press the MENU
button to finish the SETUP.
(Save and Exit)
2)CAMERA ID
- Select CAMERA ID using UP, DOWN button
in SETUP menu.
- Set ON state using LEFT, RIGHT button.
- Press MENU button in CAMREA ID.
ID SETUP menu is displayed on the monitor.
2-1) CAMERA ID setup
①
Character is changed each time UP, DOWN button is pressed.
(You can select up to 63 letters)
②
Character position is changed LEFT, RIGHT button is pressed.
③
Press MENU button in to exit from ID setup mode
④
Press MENU button in ‘C’ to correct and erase the chosen entry.
2-2) POSITION setup.
①
Press POSITION
②
Move the character position using UP, DOWN, LEFT, RIGHT button.
③
Press MENU button to confirm the position of the character.
④
Press MENU button in RETURN to go to previous screen.
ID is displayed by pressing EXIT on SETUP menu.


