background image

2900-9999992                                                          A1

ADDENDUM (this data is included at the end of the Overview section)


This addendum adds the following information to the user manual: 
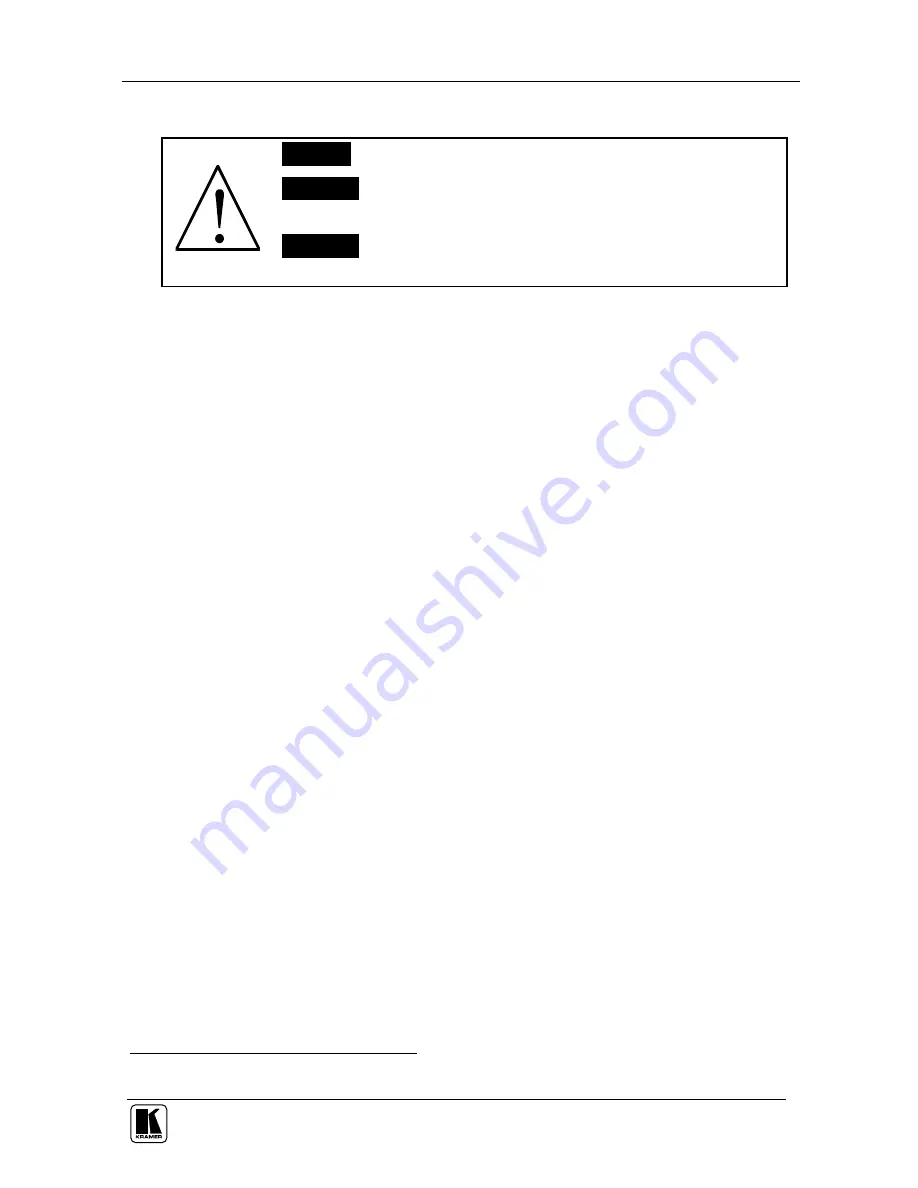


Caution

 – No operator-serviceable parts inside unit. 


Warning

  –  Use  only  the  Kramer  Electronics  input  power 

wall adapter that is provided with this unit

1


Warning

  –  Disconnect  power  and  unplug  unit  from  wall 

before installing or removing device or servicing unit.


1 For example: model number AD2512C, part number 2535-000251 

Summary of Contents for WP-210A

Page 1: ...Kramer Electronics Ltd USER MANUAL Model WP 210A XGA Audio Line Driver...

Page 2: ...ions 9 Figures Figure 1 WP 210A Front Panel 3 Figure 2 WP 210A Left Panel 4 Figure 3 WP 210A Right Panel 4 Figure 4 Example of Conference Room WP 210A Installation 5 Figure 5 WP 210A RGBHV Outputs 6 F...

Page 3: ...the user manual Caution No operator serviceable parts inside unit Warning Use only the Kramer Electronics input power wall adapter that is provided with this unit1 Warning Disconnect power and unplug...

Page 4: ...ies the correct color of the V sync and H sync coax cables The color of the coax cables with all Kramer Wall Plates including the WP 210 WP 210E WP 210A WP 210AE WP 210AL WP 220 WP 220E WP 230 will be...

Page 5: ...user manual Use Kramer high performance high resolution cables4 3 Overview The Kramer WP 210A XGA Audio Line Driver part of our successful line of Wall Plate Adapters is an enhanced version of our pop...

Page 6: ...sync operation Resolution exceeding UXGA that ensures transparent operation A standard 12 Volt DC feed Achieving the best performance means Connecting only good quality connection cables thus avoiding...

Page 7: ...uminates when receiving power 9 ID Bit Button Selects ID BIT when pushed in when outputting a VGA signal from a notebook to an external VGA monitor 4 10 Term Button Terminates with 75 when pushed in o...

Page 8: ...3 Your WP 210A Right Panel Figure 3 and Table 3 define the right panel of the WP 210A Table 3 WP 210A Right Panel Feature Function 1 12V GND 12V DC connector for powering the unit 2 H Horizontal Sync...

Page 9: ...WP 210A XGA Audio Line Driver for example in a conference room as the example in Figure 4 illustrates Figure 4 Example of Conference Room WP 210A Installation For details of how to Install your WP 21...

Page 10: ...ct the terminal block balanced stereo output as one of the following Figure 6 Connecting the Balanced Stereo Audio Output to a Balanced Acceptor Figure 7 Connecting the Balanced Stereo Audio Output to...

Page 11: ...15F connector and a separate audio source to the AUDIO Input 2 Connect the HD15F Loop connector to a local monitor if required 3 Push in the ID Bit button to set to ON 4 Adjust2 the output signal leve...

Page 12: ...KRAMER SIMPLE CREATIVE TECHNOLOGY Using the WP 210A XGA Audio Line Driver 8 Figure 8 Connecting the WP 210A...

Page 13: ...MAX OUTPUT LEVEL VIDEO 2Vpp AUDIO 5 3Vpp RESOLUTION Exceeding UXGA DIFF GAIN 0 05 DIFF PHASE 0 02 Deg K FACTOR 0 05 S N RATIO VIDEO 74 2dB CONTROLS Cable EQ control 0dB to 8dB 50 MHz Level control 1 3...

Page 14: ...is required the original dated invoice or a copy must be presented as proof of warranty coverage and should be included in any shipment of the product Please also include in any mailing a contact name...

Page 15: ...or the latest information on our products and a list of Kramer distributors visit our Web site www kramerelectronics com where updates to this user manual may be found We welcome your questions commen...

Reviews: