3.5.
Introduction
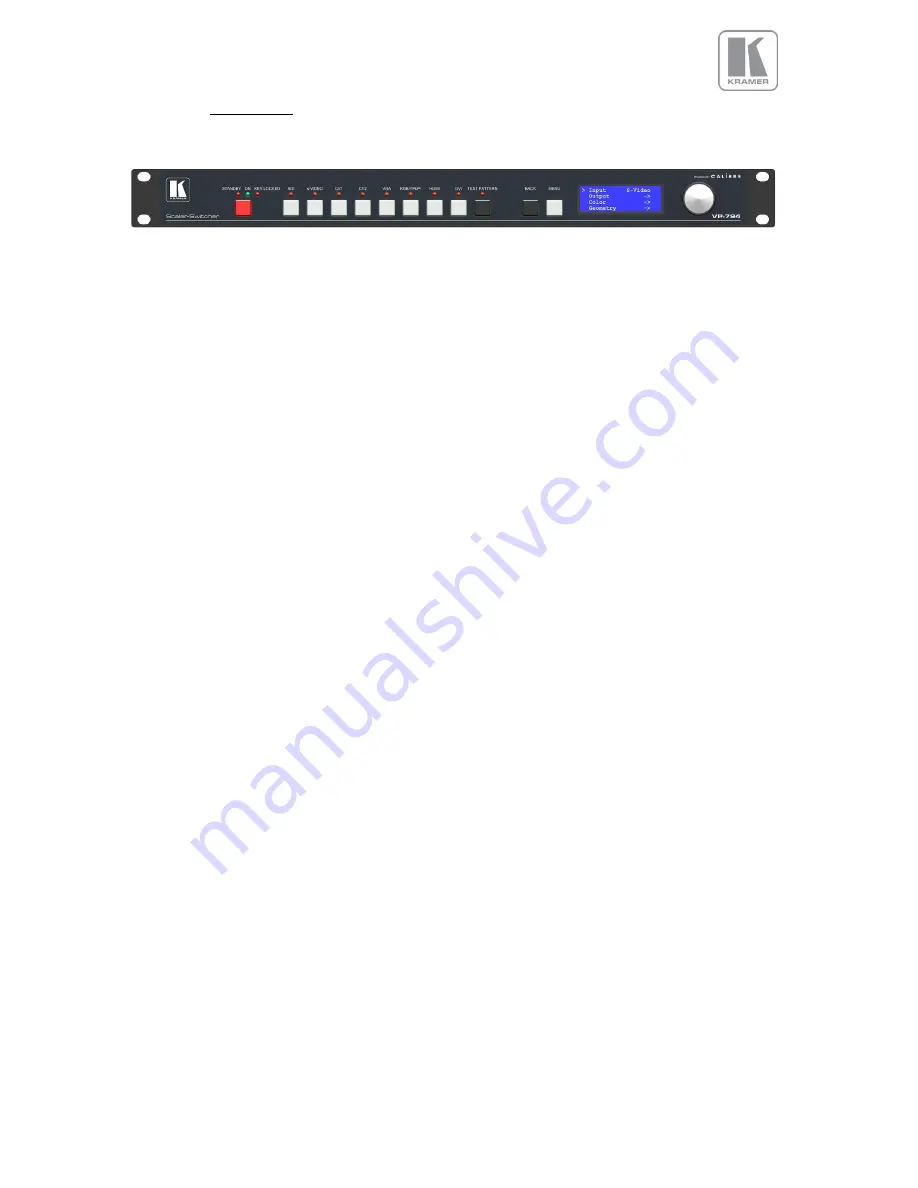
The front panel has keys and a jog wheel for OSD and local LCD menu navigation and direct keys for
input channel selection.
When applying power to the unit it starts up. This is indicated by the green ON LED flashing. Once the
unit is operational, the ON LED is permanently on.
1
– Standby key: By pressing the Standby Key, the unit is put into standby mode. This is indicated by the
red Standby LED being permanently on. The red Keylocked LED indicates a keypad locking condition
issued through the menu. If a key on the front panel is now pressed a menu message is displayed and
displays the multiple key press to be applied to unlock the front panel keys.
2
– Input channel selection keys: All input channels can be directly selected. The active channel is
indicated by the red LED above the corresponding channel key being ON.
3
– Test Pattern key: Directly activates a Test Pattern. Use the up and down keys to toggle trough the
available test patterns. The LED above the switch is switched ON when in Test Pattern mode.
4
– Menu navigational keys: With the Menu/Enter key the menu is activated, this key also acts as an
Enter key for menu changes. A jog wheel is used for menu navigation and changing values. To exit the
menu or any submenu press the Back key or navigate to the Exit item and press the menu/enter key or
press the jog wheel.
5
– Front Panel LCD: The Menu is also shown on the LCD front panel.
6
– Jog wheel: The wheel is used for navigating through the menu system and making value changes.
The jog wheel has a push function. Pushing the knob has the same effect as pushing the menu/enter
key.
With the following multiple key presses further functions can be applied:
Keypad unlock:
Back and Menu
Mode reset:
Back and S-Video
Factory reset:
Back and YPbPr (in live operation or at power up)
Set output mode to 720p:
Back and VGA
1
2
3
4
5
6


