


KRAMER: SIMPLE CREATIVE TECHNOLOGY
Operating the VP-501xl/VP-502xl
8
6.3 Using the Menu
Using the main menu, you can adjust the screen display
1
. After pressing the
MENU button
2
, the main Menu
3
appears on the screen. Use the menu buttons
to scroll through the menu and make the required adjustments. Table 3
defines the menu items.
Table 3: VP-501xl/VP-502xl Menu Items
Menu Items
Function
Picture Setup
Set the Contrast, Brightness, Sharpness and Saturation levels;
Set the Flicker Filter for flicker reduction
4
TV Output Setup
Set the H Center, H Width, V Center and V Height levels
VGA Input Setup
Set the VGA Left, VGA Width, VGA Top and VGA Bottom levels
Zoom
Set the zoom to ON to zoom the image; when the zoom is selected, pan the H and V position
Advanced
Select from seven different Test Patterns (for example, see Figure 5);
Select a test pattern to appear when no input is connected; and
Save up to 4 setups
5
and recall
6
them
Information
Verifies the V Total Line, the H Timing, V Timing, and the software version
6.3.1
The Advanced Menu
The Advanced menu lets you select Test Patterns and Save and Recall setups.
6.3.1.1 Test Patterns
The
VP-501xl
/
VP502xl
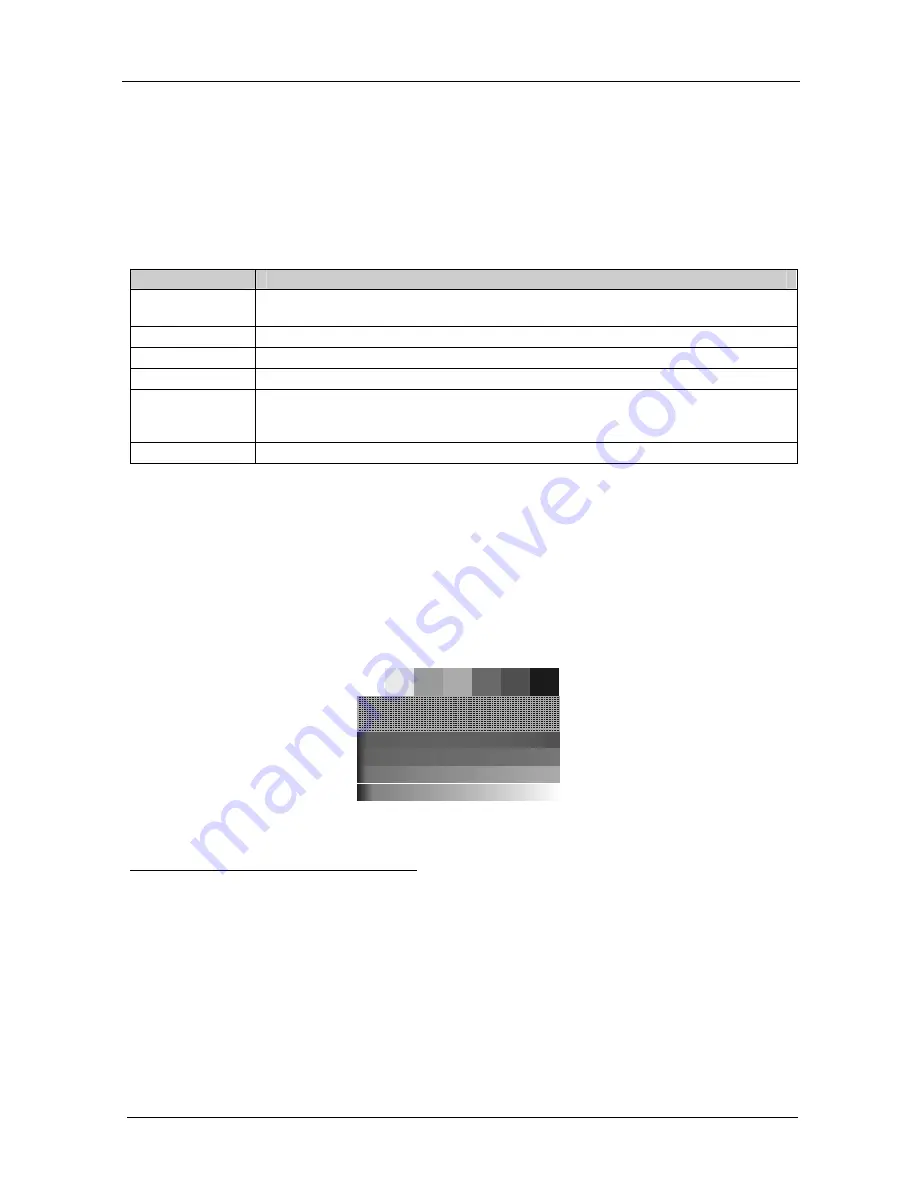
stores 7 test patterns. From the Advanced menu, you can
select a test pattern (from 1 to 7) to show on screen. Figure 5 shows test pattern
number 1.
Figure 5: Test Pattern Number 1
1 Screen adjustments apply to both CV and Y/C displays
2 Quick set-buttons are disabled
3 The menu times-out after 20 seconds of inactivity
4 The flicker filter essentially blends the value of vertically adjacent pixels to decrease the differences in adjacent odd/even
lines. This dramatically reduces the noticeable image flicker, but equally as noticeably reduces the level of vertical detail as
compared to the original computer display.
5 See section 6.3.1.2
6 To have a recalled setup appear after power cycling, you have to save that recalled setup once again before powering down
the unit, since the unit “remembers” the last setting that was saved


