background image

KRAMER:  SIMPLE CREATIVE TECHNOLOGY


Kramer Protocol 2000 


28 

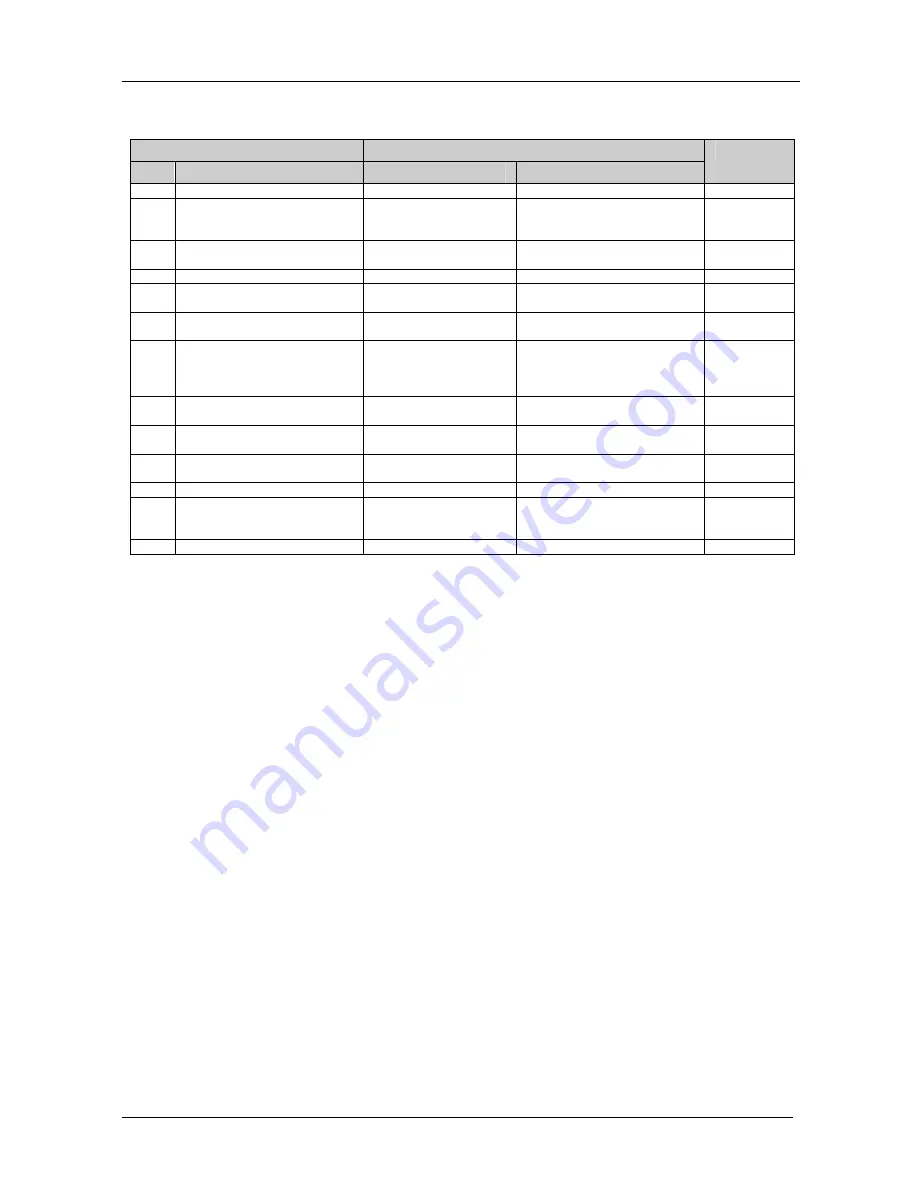
Table 9: Instruction Codes for Protocol 2000 

Note: All values in the table are decimal, unless otherwise stated. 

INSTRUCTION 

DEFINITION FOR SPECIFIC INSTRUCTION 

DESCRIPTION 

INPUT 

OUTPUT


NOTE 

RESET VIDEO 

SWITCH VIDEO 

Set equal to video input 

which is to be switched 

(0 = disconnect) 

Set equal to video output which is 

to be switched  

(0 = to all the outputs) 

STORE VIDEO STATUS 

Set as SETUP # 

0 - to store  

1 - to delete 

2, 3 

RECALL VIDEO STATUS 

Set as SETUP # 

2, 3 

REQUEST STATUS OF A 

VIDEO OUTPUT 

Set as SETUP # 

Equal to output number whose 

status is reqd 

4, 3 

15 

REQUEST WHETHER SETUP 

IS DEFINED 

SETUP #  

0 - for checking if setup is defined  8 

16 

ERROR / BUSY 

0 - error 

1 - invalid instruction 

2 - out of range 

3 - machine busy 

30 

LOCK FRONT PANEL 

0 - Panel unlocked 

1 - Panel locked 

31 

REQUEST WHETHER PANEL 

IS LOCKED 

16 

57 

SET AUTO-SAVE 

I3 - no save 

I4 - auto-save                       

12, 2 

61 

IDENTIFY MACHINE  

1 - video machine name 

0 - Request first 4 digits 

13 

62 

DEFINE MACHINE  

1 - number of inputs 

2 - number of outputs 

3 - number of setups 

1 - for video 

14 

63 

EXTENDED DATA 

7 MSBs for INPUT data 

7 MSBs for OUTPUT data 


NOTES on the above table: 


NOTE 1 - When the master switcher is reset, (e.g. when it is turned on), the reset code is sent to the PC. If this code is sent to 

the switchers, it will reset according to the present power-down settings. 


NOTE 2 - These are bi-directional definitions. That is, if the switcher receives the code, it will perform the instruction; and if 

the instruction is performed (due to a keystroke operation on the front panel), then these codes are sent. For example, if the 

HEX code 

01  

85 

88  

83 

was sent from the PC, then the switcher (machine 3) will switch input 5 to output 8. If the user switched input 1 to output 7 

via the front panel keypad, then the switcher will send HEX codes: 

41 

81 

87 

83 

to the PC. 

When the PC sends one of the commands in this group to the switcher, then, if the instruction is valid, the switcher replies by 

sending to the PC the same four bytes that it was sent (except for the first byte, where the DESTINATION bit is set high).   


NOTE 3 - SETUP # 0 is the present setting. SETUP # 1 and higher are the settings saved in the switcher's memory, (i.e. those 

used for Store and Recall). 


NOTE  4  -  The  reply  to  a  "REQUEST"  instruction  is  as  follows:  the  same  instruction  and  INPUT  codes  as  were  sent  are 

returned, and the OUTPUT is assigned the value of the INPUT. For example, in instruction 5, if machine number 5 requests 

the status of a video output, the reply to the HEX code: 

05 

80 

82 

85 

would be HEX codes 

45 

80 

81 

85 


NOTE 8 - The reply is as in TYPE 3 above, except that here the OUTPUT is assigned with the value 0 if the setup is not 

defined / no valid input is detected; or 1 if it is defined / valid input is detected. 


NOTE  9  -  An  error  code  is  returned  to  the  PC  if  an  invalid  instruction  code  was  sent  to  the  switcher,  or  if  a  parameter 

associated with the instruction is out of range (e.g. trying to save to a setup greater than the highest one, or trying to switch an 

input or output greater than the highest one defined). This code is also returned to the PC if an RS-232 instruction is sent 

while the machine is being programmed via the front panel. Reception of this code by the switcher is not valid. 


Summary of Contents for VP-12x8

Page 1: ...Kramer Electronics Ltd USER MANUAL Model VP 12x8 12x8 UXGA Matrix Switcher...

Page 2: ...1 Displaying Unit Characteristics 14 7 2 Confirming Settings 14 7 2 1 Toggling between the At Once and Confirm Modes 15 7 2 2 Confirming a Switching Action 15 7 3 Storing Recalling IN OUT Configuratio...

Page 3: ...gure 10 Device Selection Window 20 Figure 11 Device Selection window 20 Figure 12 Loading the Hex 21 Figure 13 RS 232 Window 21 Figure 14 Atmel Flip Window Connected 22 Figure 15 Atmel Flip Window Ope...

Page 4: ...et Configuration Manager and Virtual Serial Port Manager Infra red remote control transmitter including the required batteries and a separate user manual3 and this user manual3 2 Getting Started We re...

Page 5: ...KRAMER SIMPLE CREATIVE TECHNOLOGY Getting Started 2...

Page 6: ...ampering with the front panel and a switch for firmware upgrade Control the VP 12x8 via the front panel buttons and remotely via RS 232 serial commands transmitted by a touch screen system PC or other...

Page 7: ...at identifies each sender or receiver within a network via a particular server or workstation of data HTML pages or e mails that is sent in packets across the Internet Every device connected to an IP...

Page 8: ...Your VP 12x8 12x8 UXGA Matrix Switcher 5 Figure 1 VP 12x8 12x8 UXGA Matrix Switcher Front and Rear View...

Page 9: ...mode 3 and the At Once mode user confirmation per action is unnecessary 10 LOCK Button Disengages the front panel switches 11 STATUS 7 segment Display Displays the selected input switched to the outp...

Page 10: ...d Table 4 defines the underside features Figure 2 VP 12x8 12x8 UXGA Matrix Switcher Underside View Table 4 VP 12x8 Underside Panel Features Feature Function 1 ETHERNET NORMAL PROGRAM Switches Set swit...

Page 11: ...y wiring Refer to the appropriate nameplate ratings for information For example for fuse replacement see the value printed on the product label 5 The machine is earthed grounded in a reliable way and...

Page 12: ...controller to the RS 232 port see section 6 2 and or the ETHERNET port see section 6 3 4 Connect the power cord4 not shown in this illustration 1 Switch OFF the power on each device before connecting...

Page 13: ...AMER SIMPLE CREATIVE TECHNOLOGY Connecting the VP 12x8 10 Display 8 RS 232 Display 1 Computer Graphics Source 12 Computer Graphics Source 1 Figure 3 Connecting the VP 12x8 12x8 VGA UXGA Matrix Switche...

Page 14: ...232 9 pin D sub port on your PC To connect a PC to the VP 12x8 unit without using a Null modem adapter Connect the RS 232 9 pin D sub port on your PC to the RS 232 9 pin D sub rear panel port on the...

Page 15: ...chine to the Ethernet port on your PC via a crossover cable with RJ 45 connectors This type of connection is recommended for identification of the factory default IP Address 1 of the VP 12x8 during th...

Page 16: ...net port on a network hub or network router via a straight through cable with RJ 45 connectors 6 3 3 Control Configuration via the Ethernet Port To control several units via the Ethernet connect the M...

Page 17: ...powering the unit followed by the firmware version and the machine number 1 Normal Display Normal display during normal operation Inputs switched to the outputs 2 7 2 Confirming Settings You can choo...

Page 18: ...ed TAKE button to toggle from the Confirm mode back to the At Once mode Actions no longer require user confirmation and the TAKE button no longer illuminates 7 2 2 Confirming a Switching Action To con...

Page 19: ...ion The memory stores the data at that reference 7 3 2 Recalling an Input Output Configuration To recall an input output configuration do the following 1 Press the RCL button The RCL button blinks 2 P...

Page 20: ...To lock the VP 12x8 Press the LOCK button for more than two seconds until the LOCK button is illuminated The front panel is locked Pressing a button will have no effect other than causing the LOCK bu...

Page 21: ...tronics com and download the file FLIP_VP12x8 zip from the Technical Support section 2 Extract the file FLIP_VP12x8 zip to a folder for example C Program Files Kramer Flash 3 Create a shortcut on your...

Page 22: ...h screen appears as follows Figure 8 Splash Screen 2 After a few seconds the Splash screen is replaced by the Atmel Flip window Figure 9 Atmel Flip Window 3 Press the keyboard shortcut key F2 or selec...

Page 23: ...emory Upgrade 20 Figure 10 Device Selection Window 4 Click the button next to the name of the device and select from the list AT89C51RD2 AT89C51RD2 T89C51RD2 Figure 11 Device Selection window 5 Click...

Page 24: ...d shortcut key F3 or select the Communication RS232 command from the Settings menu or press the keys Alt SCR The RS232 window appears Change the COM port according to the configuration of your compute...

Page 25: ...ter each stage of the operation is completed the check box for that stage becomes colored green 1 When the operation is completed all 4 check boxes will be colored green and the status bar message Mem...

Page 26: ...g from the Internet You can download the up to date file1 from the Internet To do so 1 Go to our Web site at http www Kramerelectronics com and download the file SetKFRETH11 xx zip from the technical...

Page 27: ...ogrammer Window 2 Select the required COM Port1 3 Press the File button to select the s19 firmware file included in the package 4 Press the Send button to download the file The Send button lights red...

Page 28: ...ctors VGA through UXGA MAX OUTPUT LEVEL 2Vpp BANDWIDTH 3dB 380MHz DIFF GAIN 0 06 DIFF PHASE 0 03 Deg K FACTOR 0 05 S N RATIO 71 5dB 5MHz CROSSTALK all hostile 49dB 5MHz COUPLING DC POWER SOURCE 100 26...

Page 29: ...T 3 OUT 2 OUT 1 IN 1 IN 2 IN 3 8 7 6 5 IN 4 IN 5 IN 6 7 7 7 7 7 7 7 7 IN 7 8 8 8 8 8 8 8 8 IN 8 01 89 88 81 01 89 87 81 01 89 86 81 01 89 85 81 01 89 84 81 01 89 83 81 01 89 82 81 01 89 81 81 IN 9 01...

Page 30: ...instruction codes 1 and 2 the INPUT 7 bits is set as the input number which is to be switched Similarly if switching is done via the machine s front panel then these bits are set with the INPUT NUMBE...

Page 31: ...d due to a keystroke operation on the front panel then these codes are sent For example if the HEX code 01 85 88 83 was sent from the PC then the switcher machine 3 will switch input 5 to output 8 If...

Page 32: ...e INPUT and OUTPUT For example for a 12x8 the reply to the request to send the audio machine name would be HEX codes 7D 96 90 81 i e 128dec 12dec for 2nd byte and 128dec 8dec for 3rd byte NOTE 14 The...

Page 33: ...use abuse neglect fire water lightning or otheractsofnature ii Product modification orfailure to follow instructions supplied withtheproduct iii Repairorattemptedrepairby anyone not authorizedbyKramer...

Page 34: ...or the latest information on our products and a list of Kramer distributors visit our Web site www kramerelectronics com where updates to this user manual may be found We welcome your questions commen...

Reviews: