KONICA MINOLTA
Do you make 2D drawings simply to
check your 3D model?
How reliable is your surface profile
evaluation, such as checking of
distortion in a free-form surface?
Is the evaluation of wall thickness or
machining stock inspection for cast
parts sufficient?
Do you spe nd too muc h time
correcting the dies for press parts?
Are the bosses, ribs and holes of
plastic parts formed in accordance
with the original design?
Is inspection totally dependent on
skilled workers?
Q
■
Principal applications and measurement targets
Quality inspection (confirmation and verification of whether parts are
manufactured to specifications) and reverse engineering (quantification
of quality and capability of parts, etc.) from development to
prototyping phases
•
Cast and other formed materials
•
Pressed parts
•
Injection molded parts
•
Various machined parts
• Reverse engineering
• Rapid prototyping
• Creation of machining data
• Digital mockup
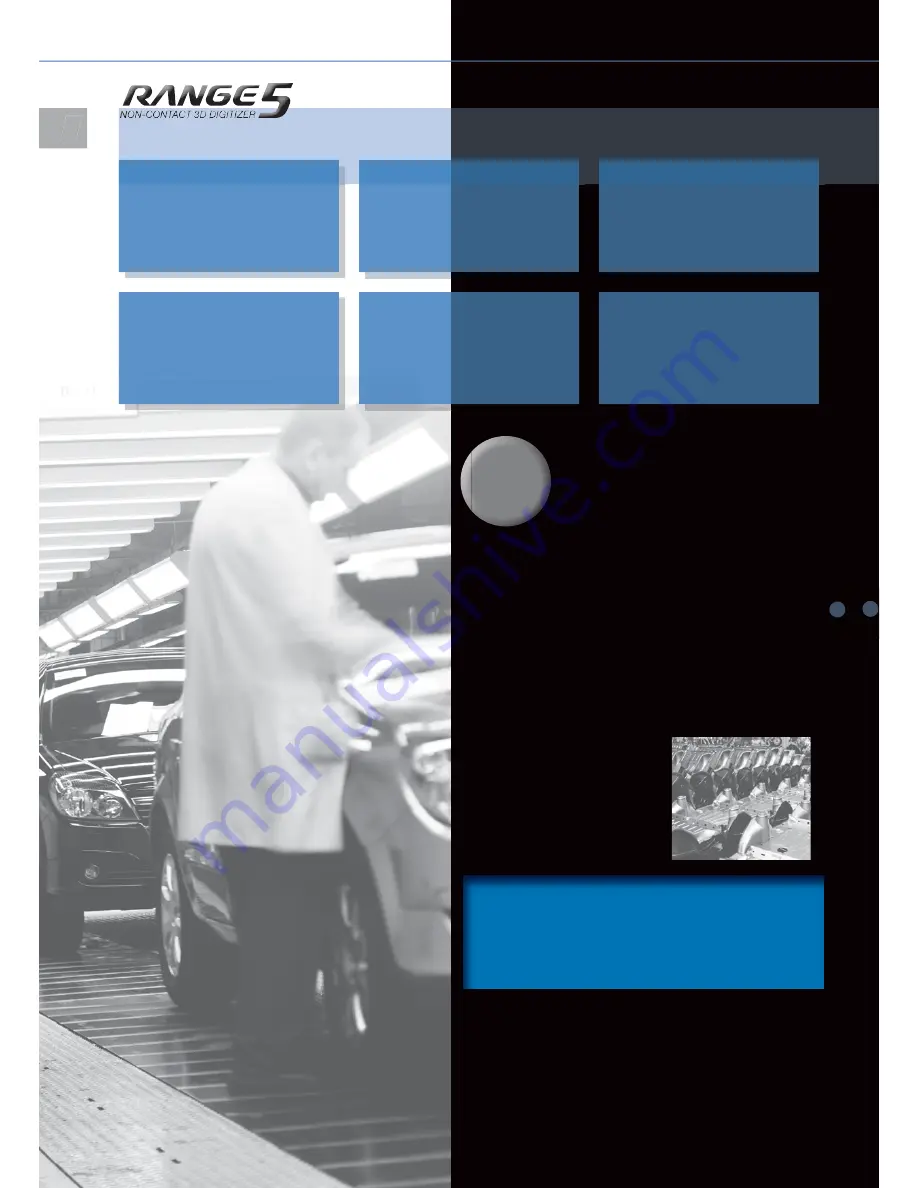
Non-contact 3D digitizer KONICA MINOLTA RANGE5 can
instantaneously digitize the external profiles of various
industrial parts, including press parts, machined parts, dies,
prototypes, cast parts and injection molded parts, into
3D data. The digitized profile data can then be accurately
reproduced on a computer screen. By comparing this
data against 3D CAD data with optional application
software, you can quickly output measurement reports on
overall deviation, cross-sectional deviation, wall thickness
distribution and GD&T (Geometric Dimensioning and
Tolerance). This allows increased speed and improved quality
in the manufacturing process.
In addition to measurement for inspection and quality control,
KONICA MINOLTA RANGE5 offers various applications including:
KONICA MINOLTA RANGE5 opens up the future possibilities
of non-contact 3D measurement by adding the elements
of increased reliability, improved operability and easier
transportability to Konica Minolta's accumulated optical
technologies and auto-focus function.


