Replacing the Drum Unit
The machine uses a drum unit to create print images on paper.
The estimated drum life is approx, 25,000 but can vary
depending on factors such as temperature, humidity, type of
paper and coverage. If the LCD shows ‘Replace Parts Drum’, the
drum unit is near the end of its life. Even if the LCD shows
‘Replace Parts Drum’, you may be able to continue printing
without having to replace the drum unit for a while. However, if
there is a noticeable deterioration in the output print quality
(even before ‘replace parts Drum’ appears), then the drum unit
should be replaced.
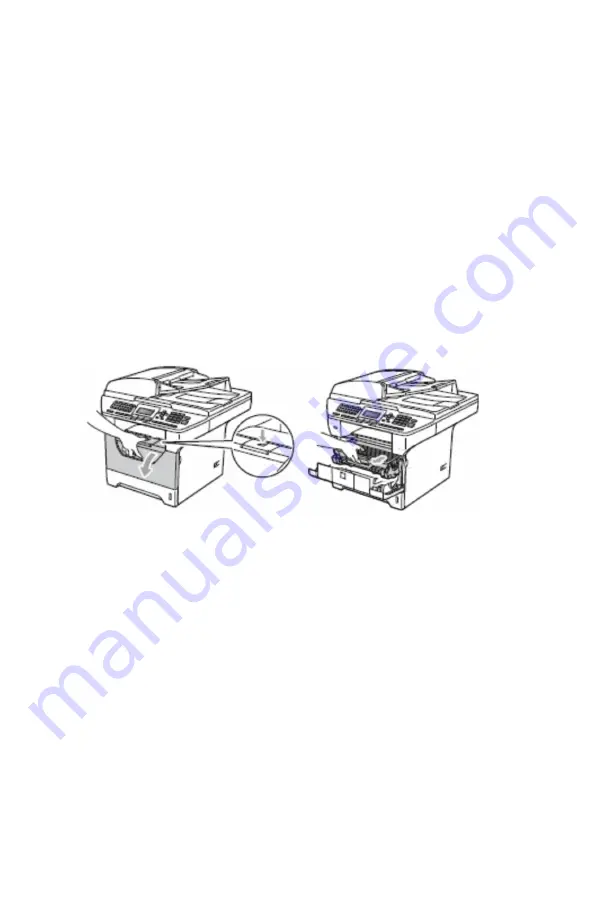
• Press the front cover release button and open the front cover.
• Take out the drum unit and the toner cartridge assembly.
• Push down the blue lock lever and take the toner cartridge
out of the drum unit.
• Unpack the new drum unit.
• Put the toner cartridge firmly into the drum unit until you
hear it lock into place. If you put it in correctly, the lock lever
will lift automatically.
• Put the new drum unit and toner cartridge assembly in the
machine. DO NOT close the front cover.
• Press Clear/Back, press 1 or OK to confirm you are installing a
new drum.
• When the LCD shows ‘Accepted’ close the front cover.


