AVV-711 Quick Book
78
SPLICE INTRODUC TION
Splice for purpose of the straightness measurement the piece of object which length certainly shorter than
the laser beam maximum range. AVV-711 system treats each splice as independent object, which
measurement, but depends of the previous object piece measurement (partially overlapped previous
one). Each splice can have from 3 to 300 points (positions on object), and from 2 to 8 overlapped points.
The overlapped points are positions where splices intersect each other (the beginning of the current
splice intersects with the end of the previous splice). Intersections are necessary for the correct
straightness measurement of the whole object. If the laser beam range fit whole object length then
consider that splices not used at all.
W ORKFLOW OF THE CONFIGURATION
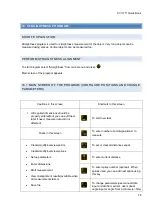
Enter number of points(positions), press
and edit value in textbox (the value should be in range 3-
300), note that number of points will be set for the current splice, displayed by splice number textbox.
If splice number textbox displays ‘-‘ sign this means the first splice(and no other splices defined)
If all measurement points (in all splices) evenly positioned (equal distances used) press
to
make checkbox checked
Press
and enter distance then. If distances not equal use
to select point(pay attention that
splice number increased/decreased automatically) and press
then enter distance from this to next
point. Repeat for each point except last. Distance between overlapped points cannot be edited, but sure
enter proper distance between last point of previous splice and the first not overlapped point of the
current slice(e.g. point 2-3 for two overlapped points).
Enter splices if used
To add new splice press
and enter splice number one more than currently defined splices count.
Answer yes on confirmation question. After the new splice added configure it.
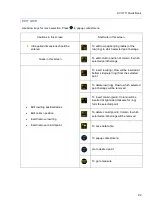
Next step – setup parameters(if any). Press
parameters screen appears.
To change of use manual input press
, to change of use manual angle(need for vertical chains)
press
. To change display units between metrical and inches press
.
For using averaging press
enter averaging samples number and press
Press
to save and exit.


