1.
Prepare the Site
Flooring
NOTICE:
Adequate floor support must be provided. Consult the rough-in guide
packed with the bath for specific floor loading requirements.
Install adequate floor support.
NOTICE:
To ensure a successful installation, it is critical that the bath be installed on
a level subfloor.
Verify the subfloor is level. Adjust for level, if necessary.
Framing
CAUTION: Risk of property damage.
Do not support the bath by the rim. The
bath must be supported by the feet only.
NOTICE:
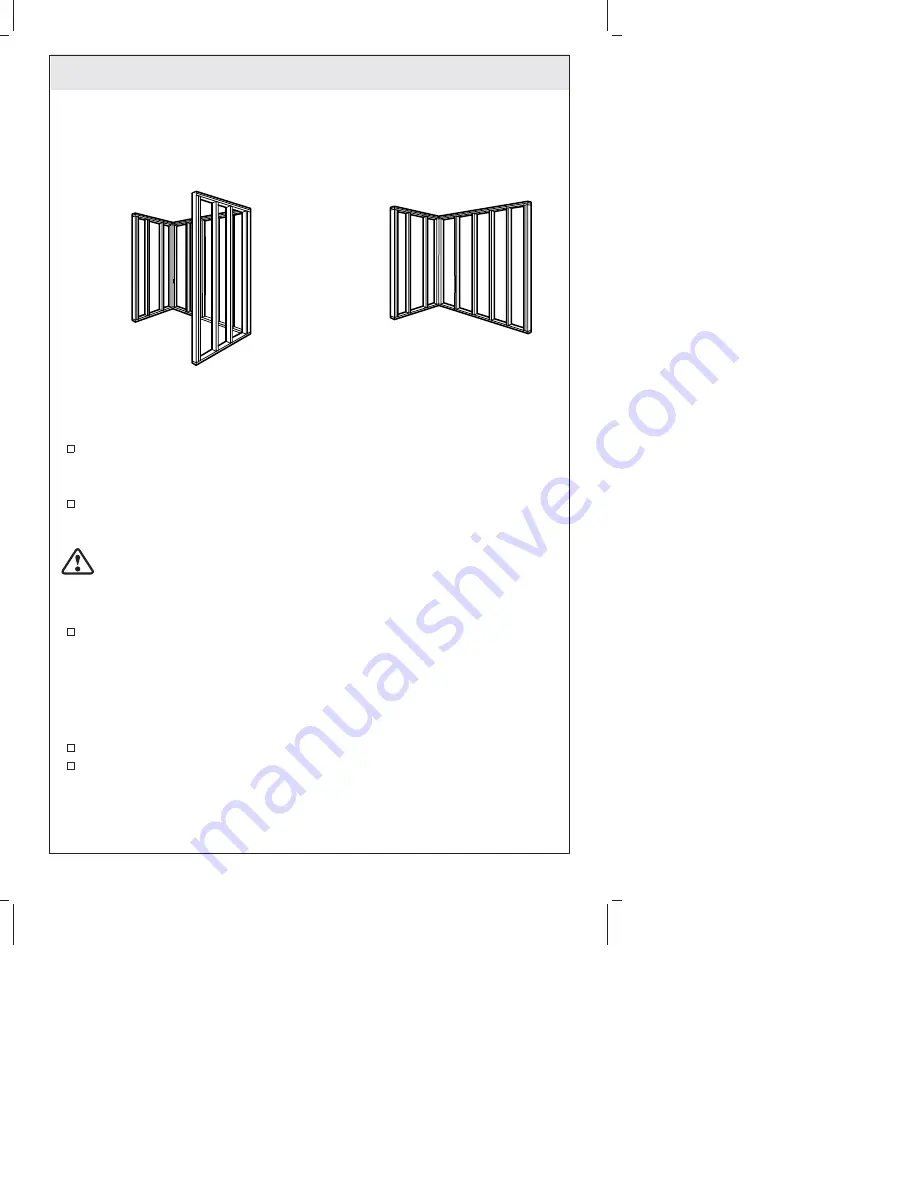
Take into account the thickness of the finished wall materials when
constructing the framing. If these factors are not taken into account, the bath will not
fit in the installation area.
Construct the framing with 2x4 or 2x6 studs according to the rough-in guide
packed with the bath.
Plumbing
NOTE: For through-the-floor drain installations:
A drain hole will need to be cut to
accommodate the drain connections.
For corner bath drain installations:
Cut a hole
large enough to allow for diagonal positioning of the drain.
For above-the-floor drain
installations:
A hole will not need to be cut.
Position the plumbing according to the roughing-in guide packed with the bath.
Cap the supplies and check for leaks.
Corner Installation
Installation en angle
Instalación en esquina
Alcove Installation
Installation dans une alcôve
Instalación encajonada entre tres paredes
Kohler Co.
5
1084177-2-A


