


Transferring and printing pictures
www.kodak.com/go/support
53
Connecting the camera to the printer
1
Turn off the camera and printer.
2
Optional: If you have a Kodak 5-volt AC adapter (optional accessory), plug
it into the camera and into an electrical outlet.
IMPORTANT:
Do not use the AC adapter included with the Kodak EasyShare
camera dock or printer dock to power your camera.
3
Using the USB cable that came with your camera, connect the camera to
the printer. (See your printer user’s guide for details.)
Printing pictures
1
Turn on the printer. Turn the camera Mode dial to Auto.
The PictBridge logo is displayed, followed by the current picture and menu. (If
no pictures are found, a message is displayed.) If the menu interface turns off,
press any button to redisplay it.
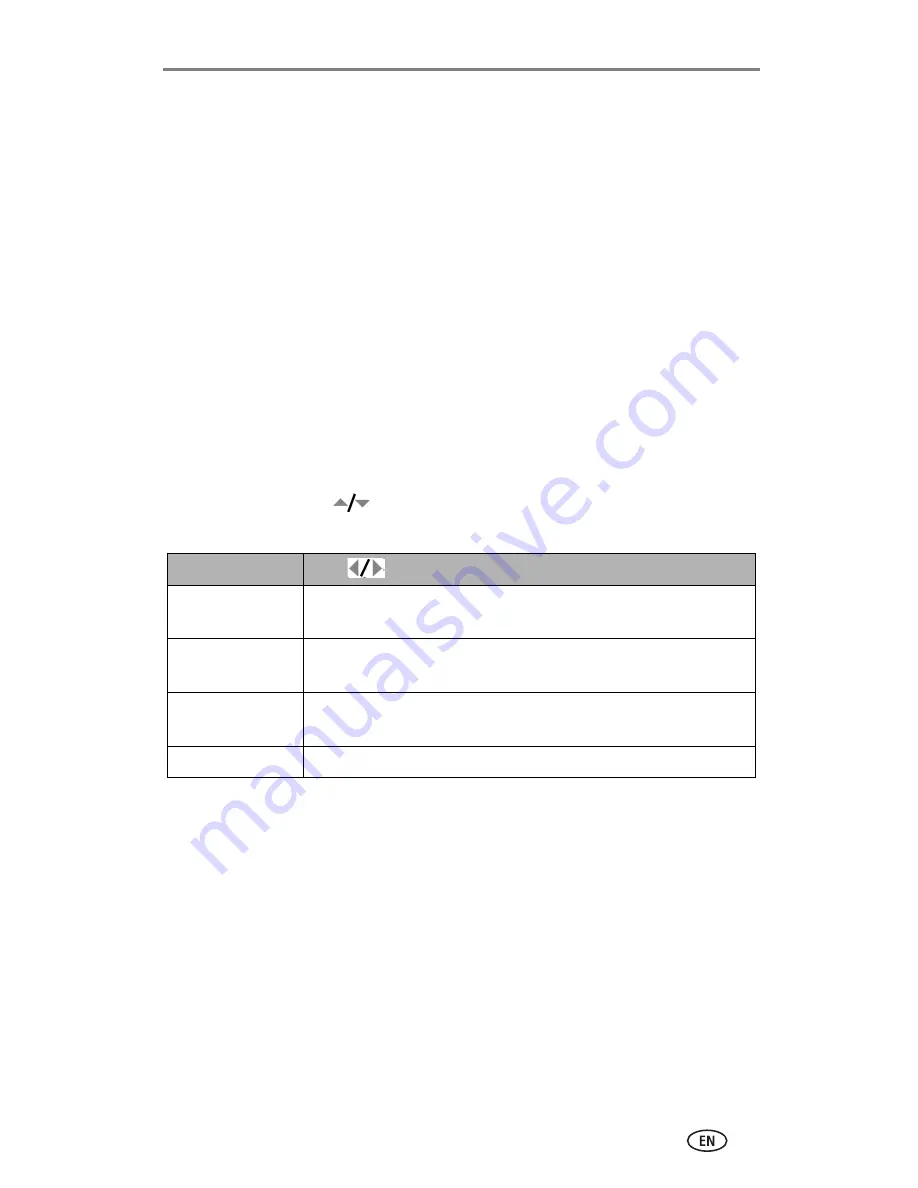
2
Move the Joystick
to choose a printing option, then press the
OK button.
NOTE: During direct printing, pictures are not permanently transferred or saved to the computer
or printer. To transfer pictures to your computer, see
page 51
. If you turned the Mode dial
to Favorites, the current favorite picture is displayed.
Disconnecting the camera from the printer
1
Turn off the camera and printer.
2
Disconnect the USB cable from the camera and the printer.
Current Picture
Press
to choose a picture. Choose the number of copies.
Tagged Pictures
If your printer is capable, print pictures that you tagged for
printing (see
page 47
) and choose a print size.
Index Print
Print thumbnails of all pictures. This requires one or more sheets
of paper. If the printer is capable, choose a print size.
All Pictures
Print all pictures in internal memory, on a card, or in Favorites.
Choose the number of copies.
Image Storage
Access internal memory, a card, or Favorites.


