Adjusting Camera Settings
5-5
3.
Press the
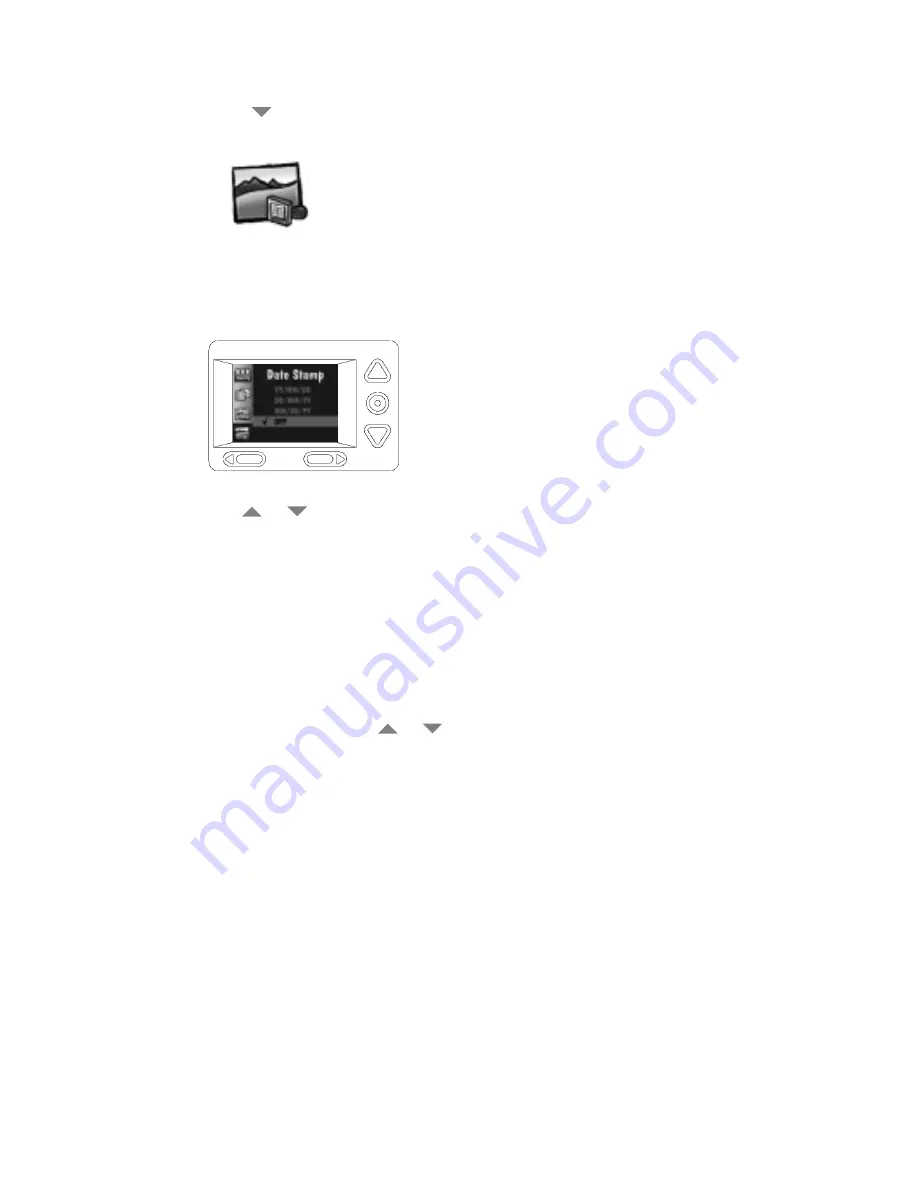
button until the Date Stamp icon (shown below) is highlighted.
4.
Press the Do-It button.
The LCD displays the main Date Stamp screen. The current setting is checked (
9
).
5.
Press a
or
button until the appropriate date stamp order is highlighted.
6.
Press the Do-It button.
The main Preferences screen reappears.
The next time you take a picture the date stamp appears in the lower right-hand corner
of the picture on the LCD screen.
NOTE: The date stamp is visible after the picture has been taken with the camera in either
Review mode or in Capture mode with Quickview activated. The date stamp cannot be
removed from that picture.
To turn off a date stamp, press a
or
button until OFF is highlighted, and then press
the Do-It button. The Date Stamp setting is maintained until another setting is selected.
This setting does
not change when the camera is turned off.
)LOH7\SH
The File Type screen selects how the picture file is saved, in a FlashPix™ or JPEG (default
setting) format. Select a format that is compatible with the software you use on your
computer.
NOTE: The Picture Easy software Dell installed on your system for use with the digital
camera supports both formats.
Summary of Contents for Digital Science DC210
Page 1: ...ZZZ NRGDN FRP 2 7 6 1 3OXV RRP DPHUD 86 5 6 8 ...
Page 2: ......
Page 3: ...ZZZ NRGDN FRP 2 7 6 1 3OXV RRP DPHUD 86 5 6 8 ...
Page 6: ...vi ...
Page 10: ...x ...
Page 46: ...5 14 KODAK DIGITAL SCIENCE DC210 Plus Zoom Camera User s Guide ...
Page 50: ...6 4 KODAK DIGITAL SCIENCE DC210 Plus Zoom Camera User s Guide ...
Page 61: ...3ULQWHG LQ WKH 8 6 3 1 ...


