7-8
Correcting for Lighting Conditions
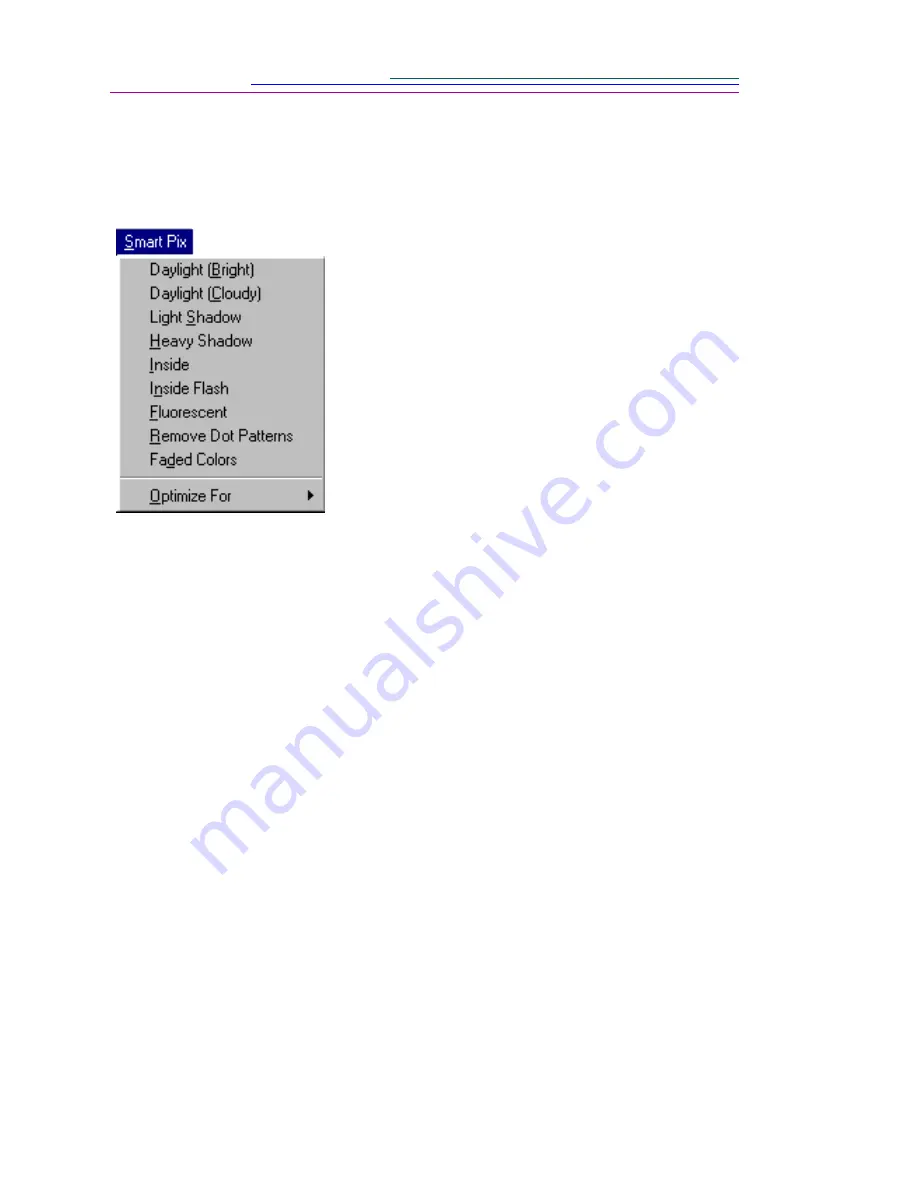
Use SmartPix to improve pictures taken in specific lighting conditions.
Experiment with the different SmartPix options to find the best one for improving
your picture.
☞
You can also apply SmartPix to multiple pictures at the same time from a
slide table. Simply hold down the shift key and click the slides you want to
enhance, then select a SmartPix option.
Saving Your Pictures
Save your enhanced pictures by selecting Save or Save As from the File pulldown
menu.
Printing Your Pictures
Print your enhanced pictures by selecting Print from the File pulldown menu.
Use SmartPrint from the File pulldown menu to print a representative area of
your picture several times on one page. This allows you to view how different
printer settings affect your print. You would then select the best one for your
picture.
1
Open a picture file.
2
Click on SmartPix and select the appropriate
option from the pulldown menu.
3
Select the lighting condition in which your
picture was taken.
Your picture adjusts to compensate for a
specific lighting condition.
☞
You can also adjust for faded colors,
light or heavy shadows, or remove dot
patterns.
Optimize For indicates that the
SmartPix values were set for the DC120
camera. Optimize For also supports
other Kodak devices.
Summary of Contents for Digital Science DC120
Page 1: ...Kodak Digital Science DC120 Zoom Digital Camera UserÕs Guide for camera and software ...
Page 10: ......
Page 40: ......
Page 52: ......
Page 60: ......
Page 76: ......
Page 78: ...7 2 Overview Picture viewing area Tool palette Brush box Name of picture file Main menu bar ...
Page 94: ......
Page 104: ......


