4-3
Installation
4
Installing the Software
While the Installation software is automatically loading your software, take a few
minutes to fill out and send in the DC120 product registration card. This allows
you to receive information regarding software updates and registers all the
products included with the DC120 camera.
Windows
Close all other applications before starting the Installation software.
1
Place the DC120 CD into your CD-ROM drive.
☞
If Auto Run is turned on in Windows 95, the first install window
automatically appears. Proceed to step 4.
2
Do one of the following:
✔
Windows 3.1—choose RUN from the FILE pulldown menu.
✔
Windows 95—choose RUN from the START menu.
3
Type the path to the drive that contains the CD and then the word “setup”.
For example: d:\setup
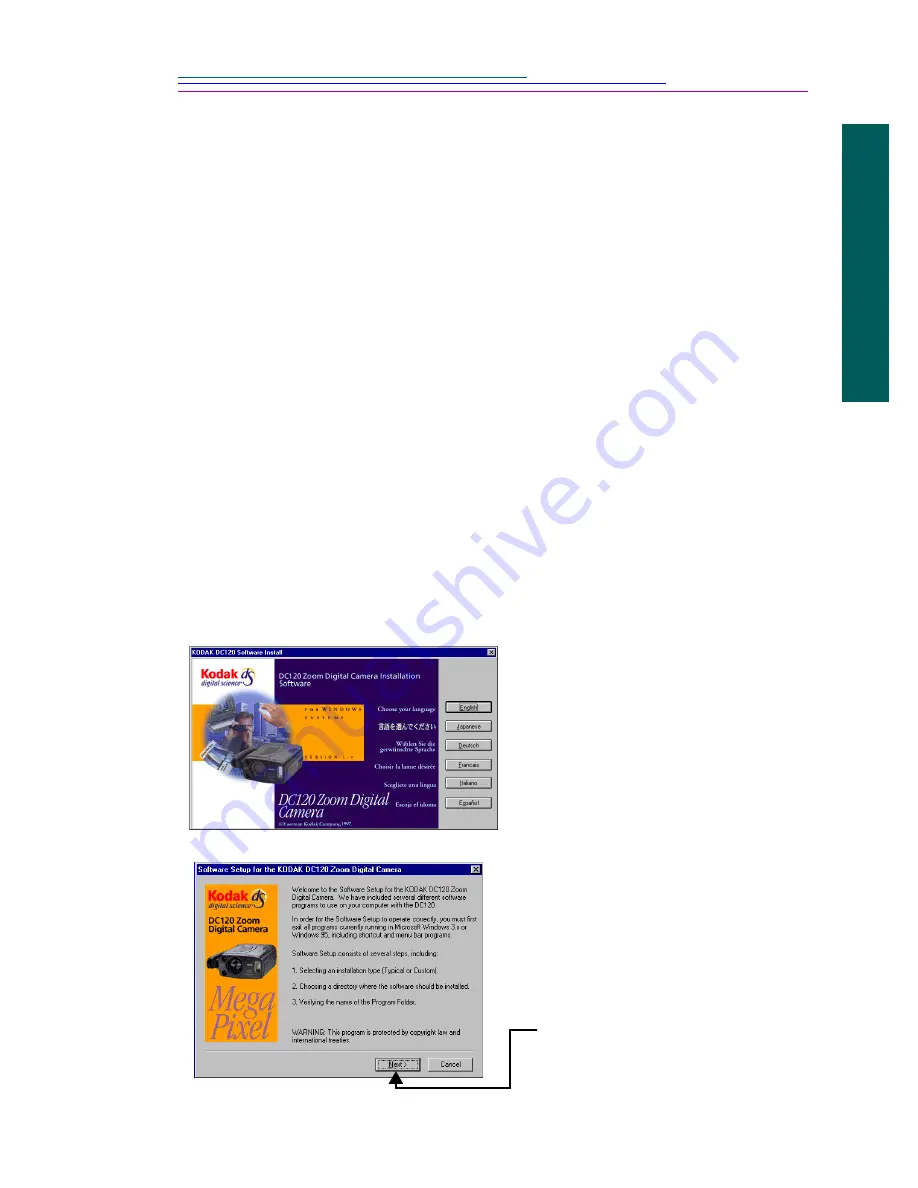
The Kodak DC120 Software
Install window appears.
4
Select your language.
The Welcome window
appears.
5
Click the Next button.
Summary of Contents for Digital Science DC120
Page 1: ...Kodak Digital Science DC120 Zoom Digital Camera UserÕs Guide for camera and software ...
Page 10: ......
Page 40: ......
Page 52: ......
Page 60: ......
Page 76: ......
Page 78: ...7 2 Overview Picture viewing area Tool palette Brush box Name of picture file Main menu bar ...
Page 94: ......
Page 104: ......


