43
42
�
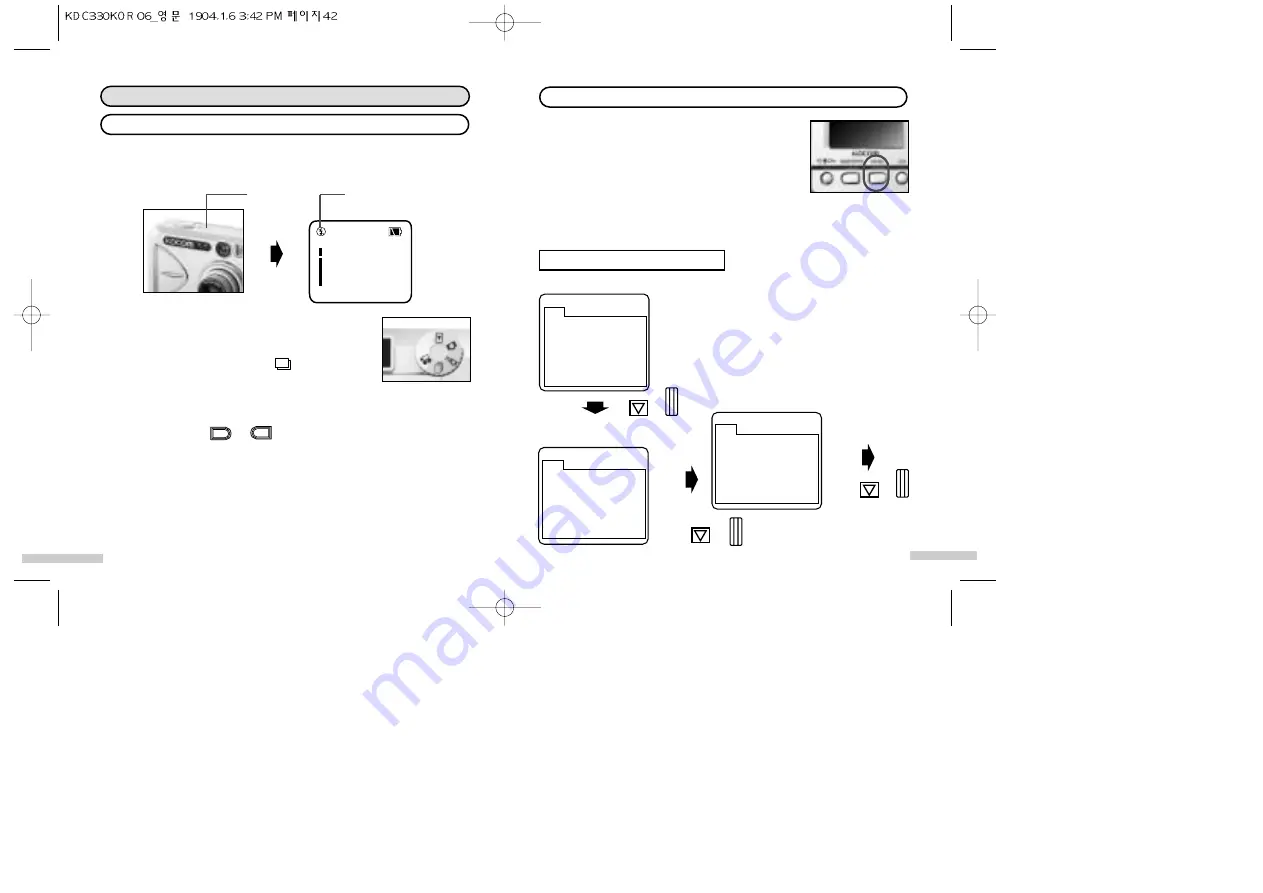
By pressing the Power Onbutton
for about 1 second, switch the camera on.
Set the Mode Selection Dial to Still
Continuous Capture Mode
�
Decide the capturing composition with
either the View Finder Window or LCD Monitor
�
Set the subject within the square of the LCD monitor when taking pictures.
�
By using zoom or , you can zoom in or zoom out the screen to
capture.
�
When you gently press the Shutter button halfway, the focus is
automatically set (Auto focus).
�
Press the above-mentioned shutter a little harder for about
1 second.
�
After capturing 4 frames consecutively, conduct storing
Basic Capture
Still Continuous Capture Mode
HQ
L
ML
EV
0/3
T
W
Power
Button
In the Still Continuous
Capture Mode, the use of
the Flash is prohibited.
T
W
●
Refers to capturing images continuously, when you press the Shutter button.
●
Continuous capturing is possible until the buffer reaches the maximum
�
Press the Menu button for camera setup.
�
Rec/More/Set menus are in the Menu window. Select
a setting to select on each menu. When you select a
menu, use the Navigator (Direction key).
�
Press to save the menu
�
When the value to set is saved, return to the reset (initial) screen by pressing
the Menu button.
Menu setup
O K
Rec setting
REC
SIZE
QUALITY
DIGITAL TELE
L
M
S
RECORD MODE
�
[Picture size setting]
O K
REC
SIZE
QUALITY
DIGITAL TELE
HQ
SQ
RECORD MODE
�
�
[Picture quality setting]
O K
REC
SIZE
QUALITY
DIGITAL TELE 1X
2X
RECORD MODE
�
�
[Digital zoom setting]
●
Size: Determines the size of a picture
- L: 2040x1530
- M: 1280x960
- S: 640x480
●
Quality: Determines the quality of pictures
- HQ: Compressed to about 1/5.
- SQ: Compressed to about 1/10
●
Digital tele: Selects digital zoom.
- 1x: Setting the same size
- 2x: Setting 2 times larger


