14
ASSEMBLY
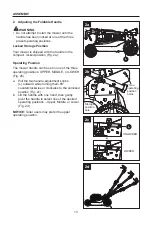
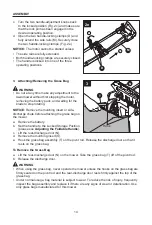
c. Turn the two handle-adjustment knobs back
to the locked position (Fig. 2c) and make sure
that the lock pin has been engaged in the
desired operating position.
d. Open the two handle-locking clamps (D) and
fully extend the side rails (M). Securely close
the two handle-locking clamps. (Fig. 2e)
NOTICE:
The motor cannot be started unless:
• The side rails are fully extended.
• Both handle-locking clamps are securely closed.
• The handle is locked into one of the three
operating positions.
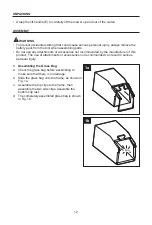
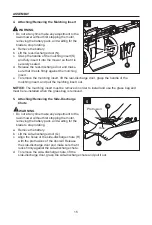
3. Attaching/Removing the Grass Bag
WARNING
• Do not at any time make any adjustment to the
lawn mower without first stopping the motor,
removing the battery pack, and waiting for the
blade to stop rotating.
NOTICE:
Remove the mulching insert or side-
discharge chute before attaching the grass bag on
the mower.
a. Remove the battery.
b. Set the handle to the Locked Storage Position
(please see
Adjusting the Foldable Handle
).
c. Lift the rear-discharge door (N).
d. Remove the mulching insert (S).
e. Hook the grass bag assembly (T) on the pivot rod. Release the discharge door so that it
rests on the grass bag.
To Remove the Grass Bag
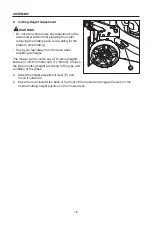
a. Lift the rear-discharge door (N) on the mower. Take the grass bag (T) off of the pivot rod.
b. Release the discharge door.
WARNING
• When using the grass bag, never operate the mower unless the hooks on the grass bag are
firmly seated on the pivot rod and the rear-discharge door rests firmly against the top of the
grass bag.
• Under normal usage, bag material is subject to wear. To reduce the risk of injury, frequently
inspect the bag assembly and replace it if there are any signs of wear or deterioration. Use
only grass bags manufactured for this mower.
1
2
2e
M
D
3
N
Hook
T


