Servicing
Diaphragm pump N87.9 EX
28
Translation of Original Operation and Installation Instruction, english, KNF 323252 04/21
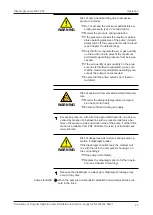
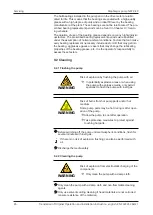
WARNING
Risk of explosion from formation of potentially ex-
plosive atmosphere
Leaky connections can result in dangerous poten-
tially explosive atmospheres.
à
Make certain that all elastomer parts are un-
damaged, clean and correctly installed.
à
Check the pneumatic connections of the pump
for leaks.
à
Work with care during service work.
à
Replace defective parts immediately.
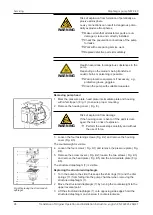
WARNING
Health hazard due to dangerous substances in the
pump
Depending on the medium being transferred,
caustic burns or poisoning is possible.
à
Wear protective equipment if necessary, e.g.,
protective gloves, goggles.
à
Clean the pump with suitable measures.
Removing pump head
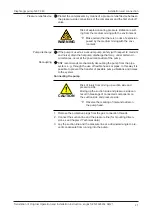
1. Mark the pressure plate, head plate, intermediate plate and housing
with a felt-tip pen ( Fig. /1) to ensure proper mounting.
2. Remove the housing cover ( Fig. /3).
WARNING
Risk of explosion from damage
If the housing cover is bent or if the paint is dam-
aged, there is no risk of explosion.
à
Perform the work steps carefully and without
the use of force.
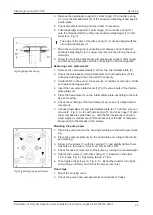
3. Loosen the four fastening screws (Fig. 4/2) and remove the housing
cover (Fig. 4/3).
The counterweight is visible.
Fig.4 Replacing the structured di-
aphragm
4. Loosen the four screws ( Fig. 4/1) and remove the pressure plate ( Fig.
4/4).
5. Remove the screw covers ( Fig. 4/2); loosen the two screws ( Fig. 4/3)
and remove the head plate ( Fig. 4/5) and the intermediate plate ( Fig.
4/6).
The structured diaphragm (7) is visible.
Replacing the structured diaphragm
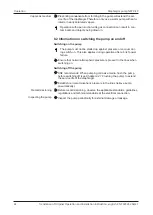
1. Turn the pump to the side; this keeps the shim rings (10) and the disc
springs (11) from falling into the pump chamber when removing the
structured diaphragm (7).
2. Move the structured diaphragm (7) by turning the counterweight to the
upper reversal point.
3. Lift the structured diaphragm (7) onto opposing side edges; hold the
structured diaphragm and unscrew it counterclockwise.


