should be in its upward position.
Loading or unloading over, lower the reverse take-up knob as far as it will go.
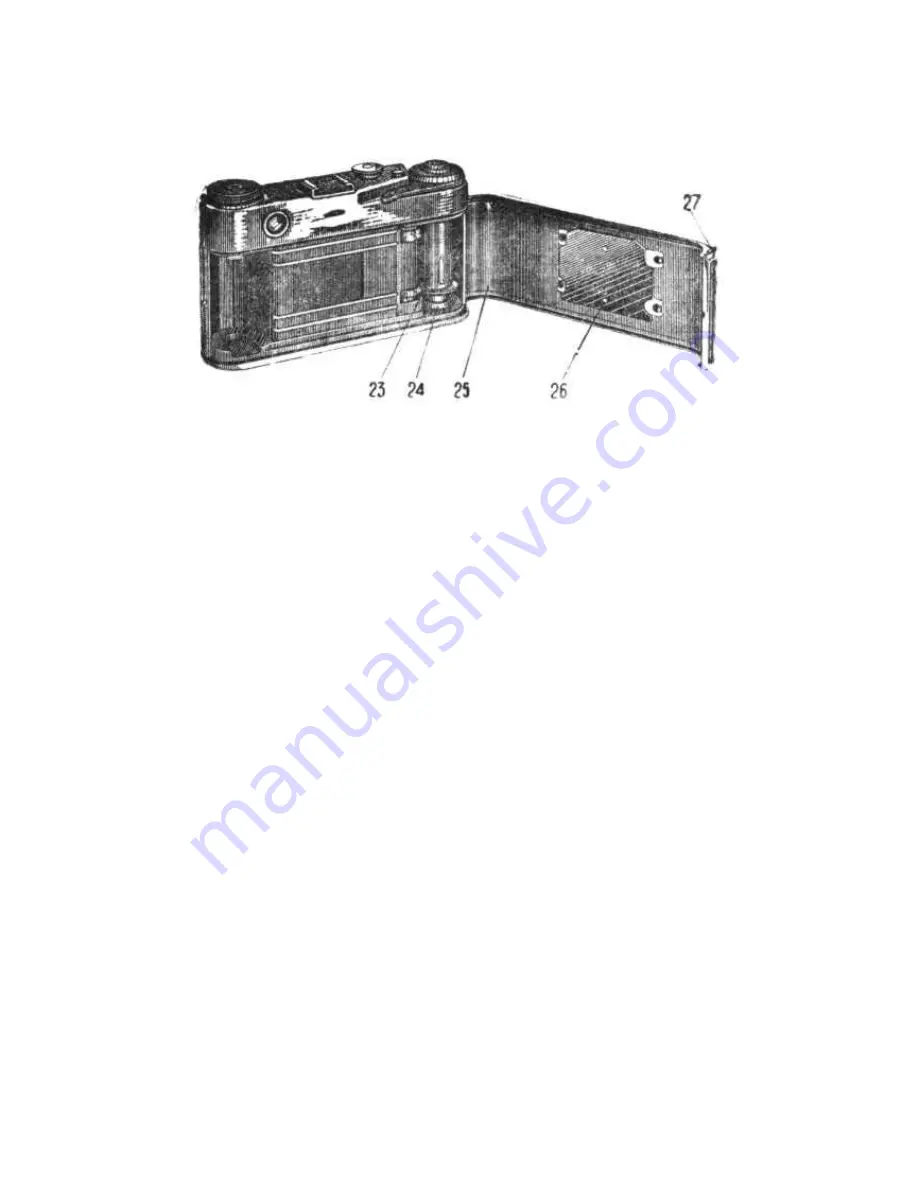
Fig. 6
Close the camera back cover and press the lock downward.
To advance the first unexposed film frame to the frame window, set and release the
shutter three times.
When the shutter is being set, film reverse take-up knob 7 should spin. If the knob
fails to revolve, check the camera for correct loading with film. However, it should be
remembered that this is also likely to take place during the first few film transport
cycles if the magazine is loaded with a film which is much shorter than the normal
length. In this case, the reverse take-up knob will begin rotating only when the film
tension on the magazine spool is sufficient.
Rotate picture counting dial 1 (holding it by the knurled surface), to set its zero mark
against the index dot on the camera top surface.
This done, the camera is considered loaded.
Reverse take-up knob 7 mounts film sort dial 8. Holding the film sort dial by its
knurled surface and retaining the reverse take-up knob with the other hand, rotate the
film sort dial until the film sort index stands opposite the dial mark corresponding to
the sensitivity of the film used.
The silhouette of a lamp and the sun with rays marked next to the inscription
COLOUR (
ЦВЕТНАЯ
) identify colour film for artificial and day-light photography.
Figures 11, 22, 45, 90 and 180 denote film sensitivities according to the existing
system of film sensitivity standards. If, for instance, the camera is loaded with a
black-and-white film of a 65-unit sensitivity, the index should be set at the
corresponding graduation between Figures 45 and 90.
4. Camera Optical System: Lens, Range-Finder, View-Finder (Figs. 1
and 2)
Before taking pictures, study the construction of the camera lens.
The "Industar-50" is of a sliding version; when the camera is not expected to be used,
the lens is drawn into the camera. When slide in, the lens projects from the camera but
slightly. To place this lens in the operating position, pull the lens out holding it by
ring 12, and, having fitted the cams in their recesses, turn the lens clockwise, seeing
that it is fixed tight in position, without slightest play involved.


