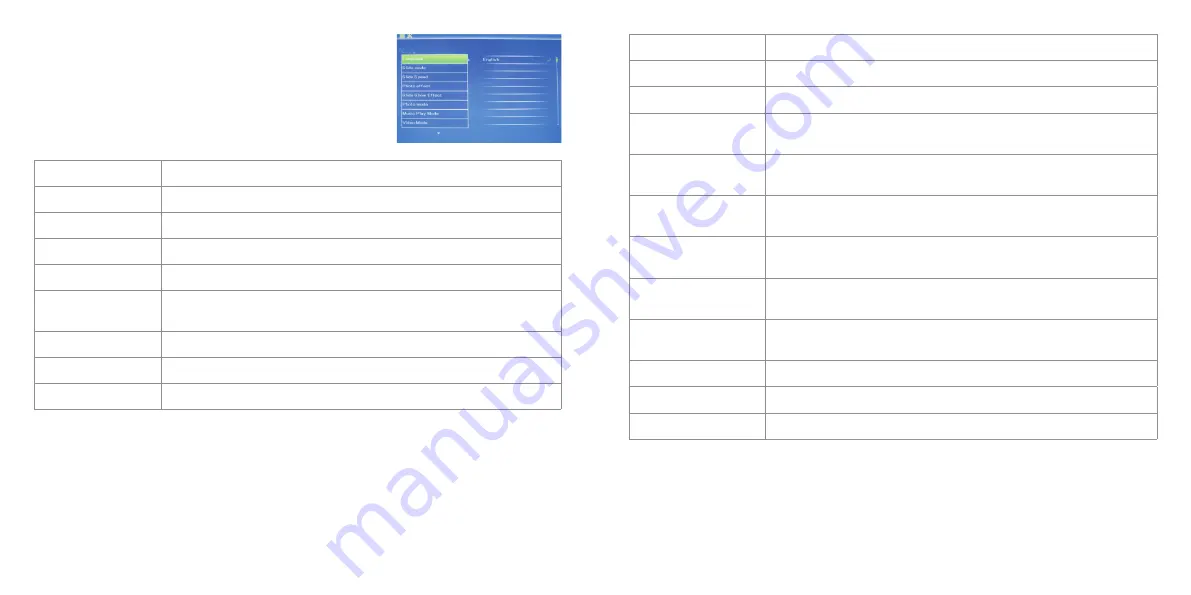
Kitvision DPF8BKK User Manual Download Page 6

10

11

Function

Description

Language

English, French, Italian, German, Spanish, Portuguese, Swedish, Dutch, Russian

Slide mode

Single Window, Four Windows , Triple Windows

Slide speed

3/5/15/30 seconds, 1/5/15/30 minutes

Photo effect

Colour, Mono, Sepia

Slideshow effect

Random, Windows, Jalousie, Fade, Insert, Brick, 3D Float, Release, 3D Mix, Comb,  
3D circle, 3D cube

Photo mode

Auto Fit, Optional, Full

Music play mode

Single, Repeat, Circular, No Repeat

Video mode

Original, Screen, Full

Display 

Description

Contrast

Press 

ENTER

 and then 



 to select between 00 (lowest) and 40 (highest)

Brightness

Press 

ENTER

 and then 



 to select between 00 (lowest) and 40 (highest)

Saturation

Press 

ENTER

 and then 



 to select a point between 00 (lowest)  

and 40 (highest)

Tint

Press 

ENTER

 and then 



 to select between 00 (most colour)  

and 40 (least colour)

Set time/date

Press 

ENTER

 and then 



 to select: Year, Month, Date, Hour, Minute, Second. 

Then press 

ENTER

, use 



 to set and press 

Save Time

 to confirm

Set time format (12/24)

Press 

ENTER

 and use 



 to select. Press 

ENTER

, then use 



 to set  

and press 

ENTER

 again to confirm

Alarm

Press 

ENTER

 and use 



 to select: Status, Number, Hour, Minute, Mode.  

Press 

ENTER

, then use 



 to set and press 

ENTER

 again to confirm

Auto power On/Off

Press 

ENTER

 and use 



 to select: Hour, Minute, Status. Press 

ENTER

,  

then use 



 to set and press 

ENTER

 again to confirm

Format built-in memory

Press 

ENTER

 and use 



 to choose Yes or No. Press 

ENTER

 to confirm

Reset settings to default

Press 

ENTER

, use 



 to select or deselect and press 

ENTER

 to confirm

Exit

Press to exit setup menu

Setup

Press 

Setup

 and use 



 to select the item you want to set up.  

Press 

 to show the sub menu and press 



 to select, then  

press 

ENTER

 to confirm.

Summary of Contents for DPF8BKK

Page 1: ...1 1 kitvision co uk JB 2956 Kitvision 2013 Christchurch Dorset BH23 4FL User manual 8 Digital Photo Frame ...

Page 2: ... of special moments which shouldn t be forgotten With Kitvision photo frames you can showcase share and cherish each one We ve been specialising in digital imaging for more than a decade developing our knowledge of the latest technologies so you can rest assured that your memories are in safe hands ...

Page 3: ...hedule auto on off Copy the files to the built in memory and delete the files in the built in memory Adjustable brightness contrast saturation OSD language English and other languages selectable Getting started Box contents 8 Digital Photo Frame AC DC adaptor Remote control User manual Setting up your Digital Photo Frame 1 Extend the digital photo frame bracket on the back of the frame to the wide...

Page 4: ...lume up down Go directly to Calendar mode Previous file Next file Unit 1 Power 2 Up 3 Left 4 Down 5 Menu 6 Enter 7 Right Note When the unit is powered on press and hold the enter button 6 for 2 3 seconds to enter into calendar mode Press the Exit button to return to the photo thumbnail mode a SD MMC MS card slot b Audio out c USB stick d Mini USB PC connection e Power socket 1 a b c d e 2 4 5 3 6 ...

Page 5: ...n the main menu press SETUP to choose the SLIDE MODE single window or four windows then use to select your preferred choice and press ENTER to confirm In nine picture mode use to select the picture you want to delete then press MENU to enter the delete interface and press ENTER to confirm Note The copy function only applies to built in memory When the copy file option is shown gray in the built in...

Page 6: ... ENTER and then to select between 00 most colour and 40 least colour Set time date Press ENTER and then to select Year Month Date Hour Minute Second Then press ENTER use to set and press Save Time to confirm Set time format 12 24 Press ENTER and use to select Press ENTER then use to set and press ENTER again to confirm Alarm Press ENTER and use to select Status Number Hour Minute Mode Press ENTER ...

Page 7: ...ing do not block the ventilation holes on the back of the Digital Photo Frame Keep the Digital Photo Frame out of direct sunlight Always use the eject buttons on the memory storage card slots to remove the storage cards Do not dismantle the Digital Photo Frame There is a risk of electric shock and there are no user serviceable parts inside Dismantling the Digital Photo Frame will void your warrant...

Page 8: ...e file format is compatible with the player The display is too bright or too dark Adjust the brightness or contrast in the setup menu There is no colour or it is light Adjust the colour and contrast in the setup menu There is no sound Check that the volume is turned up and that the player is not in Mute mode Type Digital Photo Frame Screen size 8 Ratio 4 3 Resolution 800 x 600 pixels Memory card c...

Reviews: