6
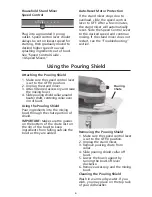
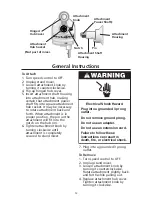
Attaching the Pouring Shield
1. Make sure the speed control lever
is set to the OFF/0 position.
2. Unplug the stand mixer.
3. Attach desired accessory and raise
the mixing bowl.
4. Slide pouring shield collar around
beater shaft, centering collar over
rim of bowl.
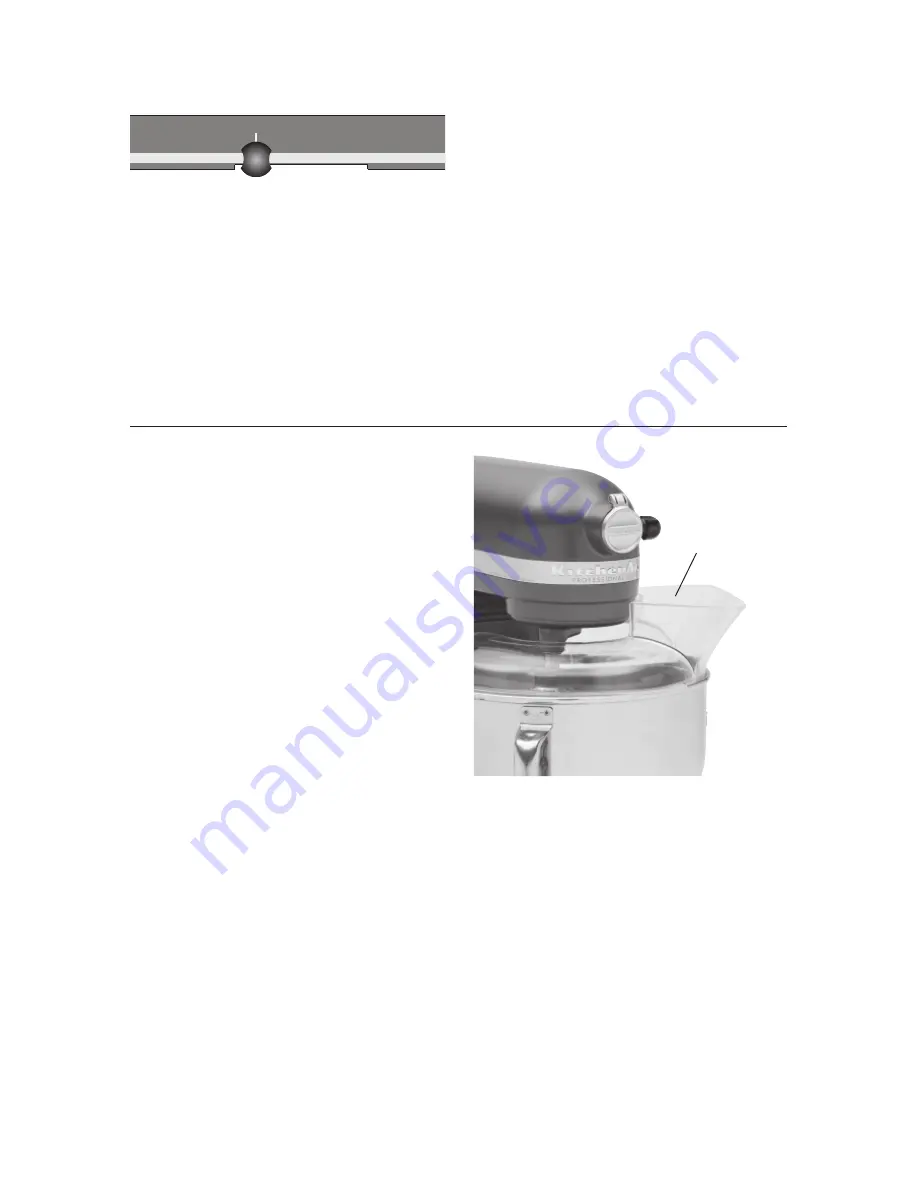
Using the Pouring Shield
Pour ingredients into the mixing
bowl through the chute portion of
shield.
IMPORTANT: Make sure the guides
on the bottom of the chute rest on
the rim of the bowl to keep
ingredients from falling outside the
bowl as they are added.
Using the Pouring Shield
Pouring
Chute
Removing the Pouring Shield
1. Make sure the speed control lever
is set to the OFF/0 position.
2. Unplug the stand mixer.
3. Remove pouring chute from
collar.
4. Slide pouring shield collar off
bowl.
5. Lower the bowl support by
turning the bowl-lift lever
clockwise.
6. Remove accessory and the mixing
bowl.
Cleaning the Pouring Shield
Wash in warm sudsy water. If you
wish, you may place on the top rack
of your dishwasher.
Household Stand Mixer
Speed Control
Plug into a grounded 3 prong
outlet. Speed control lever should
always be set on lowest speed for
starting, then gradually moved to
desired higher speed to avoid
splashing ingredients out of bowl.
See “Speed Control Guide -
10-Speed Mixers.”
Auto-Reset Motor Protection
If the stand mixer stops due to
overload, slide the speed control
lever to OFF. After a few minutes,
the stand mixer will automatically
reset. Slide the Speed Control Lever
to the desired speed and continue
mixing. If the stand mixer does not
restart, see the “Troubleshooting”
section.
OFF/0
10
2
4
6
8
STIR
RESET
Summary of Contents for 4KB25G1XBU3
Page 179: ......

