28
Backing up and loading the configuration of a QuickSelect 3.0:
Use the buttons
to back up the entire current configuration of the selected
QuickSelect 3.0 (red frame) as a file – and also recover it again.
Note:
If you back up these settings for your project documentation, you can restore the same settings
again (template&data backup).
Resetting one/all QuickSelect 3.0 to factory settings:
This function has a safety prompt to prevent accidental overwriting.
If a factory reset is desired, also ensure that you return the address BCD switches to 99 (factory condition).
Alternative resetting via button:
1. Push and hold the internal ShowMe button and restore power supply.
2. Keep the button pushed until the LEDs at the device front flash quickly a few times - then release.
3. Wait until the LEDs go out and all LEDs flash after a while (sign for the end of the factory reset).
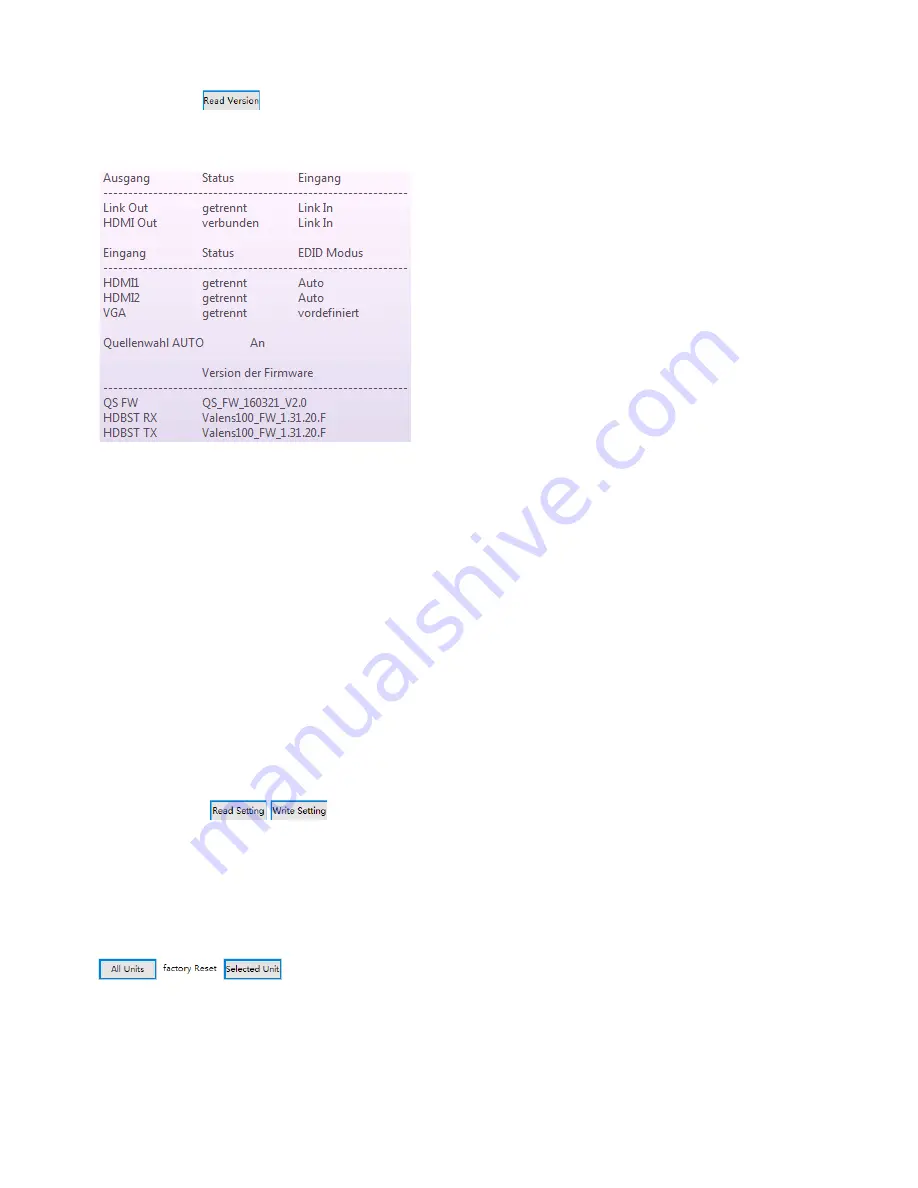
Reading out the firmware versions and updating the firmware:
Use the button
to read out the firmware statuses of the recognised QuickSelect 3.0.
To display these, move the mouse pointer over the desired QuickSelect 3.0.
Then the firmware versions of the QuickSelect 3.0 incl. the valens HDBaseT chip sets are displayed.
Status in the device chain
Status of the inputs
Status of the automatic signal recognition
firmware statuses:
- Quickselect 3.0
- Valens chip set input
- Valens chip set output
To load a newer firmware onto a QuickSelect 3.0, proceed as follows:
1. Copy the firmware file provided by Kindermann to the main directory of an USB stick.
2. Disconnect the QuickSelect 3.0 to be flashed from the power supply and connect the USB stick to
its USB charge socket.
3. Plug the supplied or a self-made Quick-Setup jumper into the socket “HDMI1“ at the rear of the
device and restore power supply.
4. During the firmware update process the LEDs of the signal inputs on the front light-up 3x several
times.
5. Wait until the LED activity stops. The duration of the firmware update is approx. 30 sec. Then you can
remove the USB stick and the Quick-setup jumper again.
6. Then perform a factory reset of the updated device.
Note: Never disconnect the power supply during the firmware update
- the device may be rendered useless!


