P40 Plasma Cutting Machine
7
|
P a g e
(3)
connect the compress air hose to the air supply equipment and the earth cable to the
workpiece.
(4)
Switch the ON/OFF Switch (located on the rear panel) to OFF.
(5)
Connect SG55 plasma torch to positive connection and earth cable to negative
connection. Connect the control plug to the control receptacle at machine.
(6)
Connect the gas line to the inlet port of the gas filter on the rear panel.
Check Air Quality: To test the quality of air, put the RUN / SET switch in the SET (down)
position, check if there is any oil or moisture in the air.
(7)
Check the connection of work piece, earth cable, welding torch, gas cylinder, regulator
and hose, make sure they are firm and reliable. Attach earth clamp as close as possible to
the cutting portion. Do not attach earth cable to the portion that will fall away.
5.2.
Operation
(1)
Verify that the input gas supply pressure is set to 5kg /cm2 (5 Bar).
(2)
Pull the regulator cap out, gradually turn regulator cap to adjust gas pressure to 2.5-3.5 kg/cm2
(2.5-3.5 Bar) and push the regulator cap back in.
(3)
Switch on the power source. The power light (red) should illuminate. Adjust the cutting
current and choose desired post gas flow time with the toggle switch.
(4)
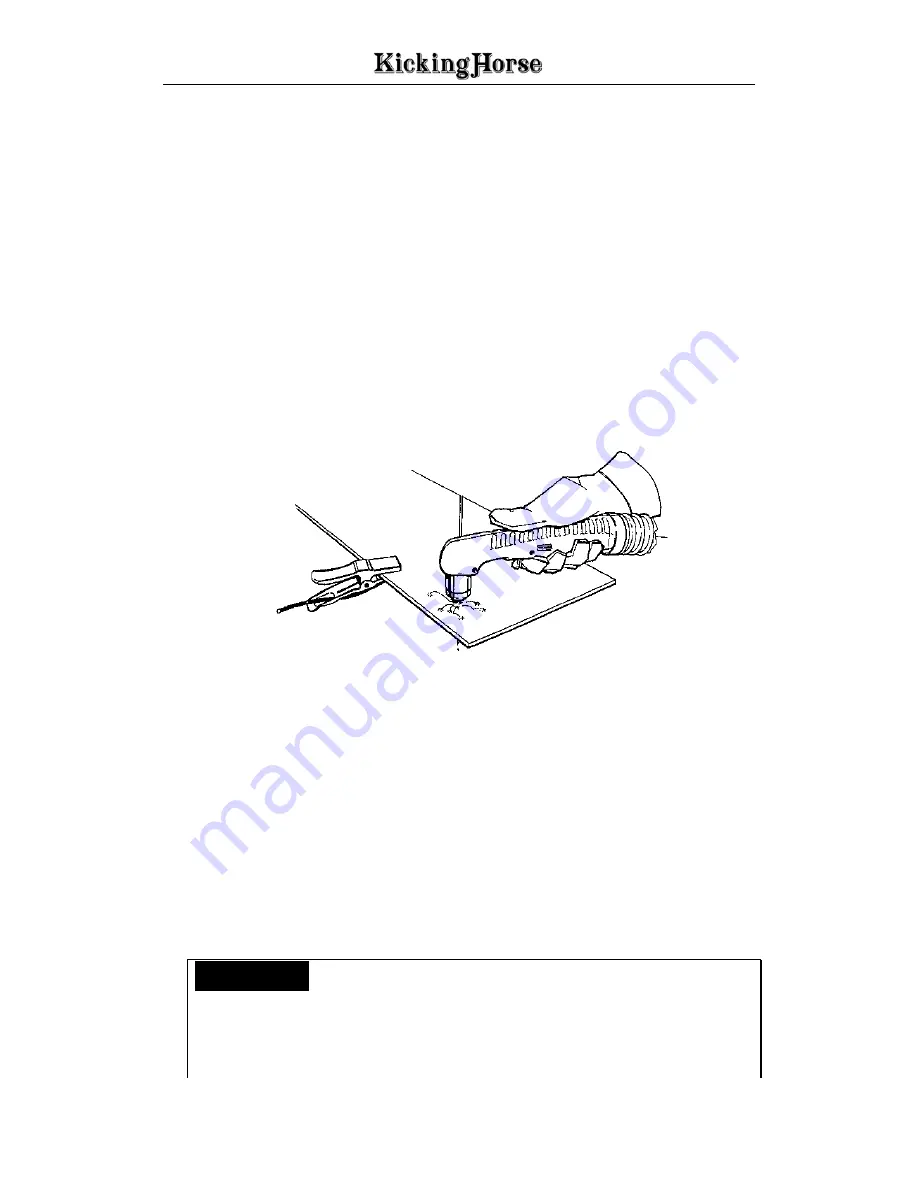
Place the tip of the torch at the edge of the work piece, makes sure the tip is vertical to the
work piece. When piercing, the tip should have an angle away from operator. After arc starts,
slowly rotate the torch to upright position. This is to blow the melted metal away and is
particularly important when cutting thicker material. Make sure that the torch is pointed away
from you and the people near you to avoid any danger from sparks and hot metal.
C
AUTION
P40 CUTTING MACHINES ARE CONTACT-START, THE PLASMA
ARC IGNITED IMMEDIATELY AFTER START SWITCH CLOSED. ALWAYS HOLD
THE HAND TORCH AWAY FROM YOUR BODY AS A PRECAUTION AGAINST
ACCIDENTAL TORCH FIRING. BE AWARE OF THIS HAZARD. FAILURE TO DO SO


