


NAVIGATION / CONTROL
It is most convenient to operate your Digital Magic with the Remote Control provided with your unit. However, you also have the option to go direct-
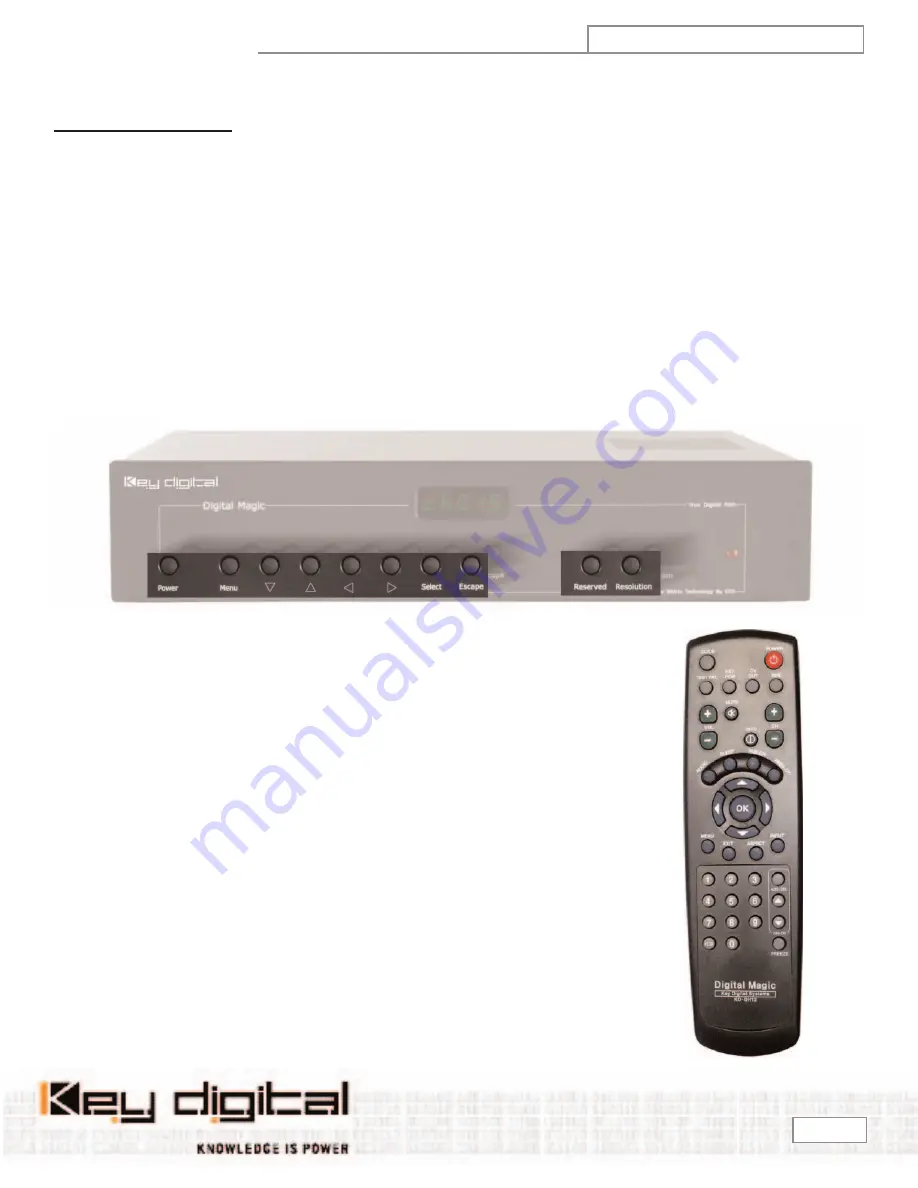
ly to the front panel and use the front-panel Pushbutton switches. It is recommended that you first learn the basic function of the Remote Control
and front-panel Pushbuttons / LCD. Then, a more detailed description of the actual OSD menus and set-up / control of Digital Magic will follow.
Navigation / Control:
before you go through the OSD menus, first become familiar with the Remote Control, front-panel Pushbuttons, and front-
panel LCD status display.
First follow the Quick Set-Up instructions provided in this Operating Manual to physically connect Digital Magic into your system. Then, apply
power to the unit and batteries to your Remote Control, and turn the unit “On” with either the front-panel
Power
switch on the far left, or the red
POWER
switch on the Remote Control. The LCD display will indicate the power-up status. The Power switches toggle the unit On/Off.
Next, you will start “Navigating” and “Controlling” your Digital Magic unit, with either the Remote Control or the front-panel Pushbutton switches. As
you Navigate and Control, you will receive feedback through the front-panel LCD display. Much more detail is provided via the OSD that will appear
on one of the displays connected to any of the Digital Magic outputs, described later.
Bring up the OSD Menu on your output display by either:
• Pressing the
MENU
button on the Remote Control.
• Pressing the
Menu
Pushbutton on the front panel of the unit.
Learn the basic operation of the OSD menus.
Once you bring up the main
Menu
, push the Navigation
arrows on the Remote Control or four front-panel pushbuttons, as follows:
• Pressing the
Down
and
Up
arrows allows you to scroll within the menu through
the different options. For example, if you are in the “Video” menu, you can scroll
through the main Video functions, like “Aspect (Ratio) Control” or “Resolution”.
• Pressing the
Left
and
Right
arrows allows you to go to the next logical “level” of
the menu. For example, if you are in the “Video”/”Resolution” menu, you can then
press “Right” to bring you to the next level of the menu, namely the various
Resolution options, like 1080i, 720p, 480p, or 480i. Then, press Down and Up
arrows to scroll through the resolutions until you have reached the desired one,
such as 1080i.
• When you are in a Menu and have reached your desired selection, such as in the
“Video”/”Resolution”/”1080i” example, then press the
Select
(front-panel) or
OK
(Remote Control) button to make and store your selection.
• When you are completed with your set-up, you can press
Escape
(front-panel) or
EXIT
(Remote Control) to remove the OSD and resume normal viewing.
• Normally when the unit is ON and you are not navigating, the LCD will display the
Channel Number
.
Digital Magic
OP E R AT ING IN S T R U C T ION S
Model KD-DH12
Page 8


