14
EN
ENGLISH
2
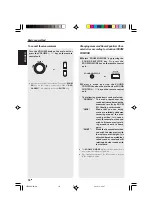
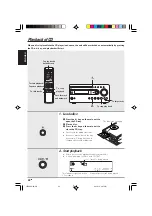
Adjust the day of week.
1
Adjust the day of week by pressing the
4
/
¢
key.
2
Press the ENTER key.
ENTER
As the clock is not only used to show the time of the day but also used in timer operations, be sure to set
the clock adjustment in advance.
Clock adjustment
Example: Adjustment to Monday 8:07
1
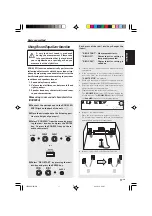
Select "TIME ADJUST".
÷
The time display starts to blink.
÷
After the day is input, the hour display starts to
blink.
1
Press the MODE key and select "TIME
ADJUST" by pressing the
4
/
¢
key.
2
Press the ENTER key.
3
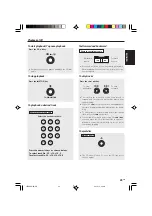
Adjust the hour.
Example: Adjustment to Monday 8:07
÷
After the hour is input, the minute display starts to
blink.
L
R
30 10 5
3
1 0(-dB)
1 2 3 4 5
L
R
30 10 5
3
1 0(-dB)
1 2 3 4 5
L
R
30 10 5
3
1 0(-dB)
1 2 3 4 5
1
Adjust the hour by pressing the
4
/
¢
key.
2
Press the ENTER key.
ENTER
Turn POWER ON.
MODE
ENTER
4
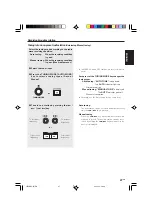
Adjust the minute.
÷
If you made a mistake, restart from the beginning.
÷
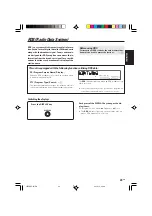
When the time of day has been set by pressing the
ENTER
key, the display shows
"COMPLETE"
.
÷
After a power failure or the AC power cord has been
unplugged, the time set will be cleared. You have to
set the time again when the unit is switched on.
÷
When the
7
(STOP)
key is pressed while the power
is in the standby mode, the time of day will be dis-
played for 8 seconds.
L
R
30 10 5
3
1 0(-dB)
1 2 3 4 5
1
A d j u s t t h e m i n u t e b y p r e s s i n g t h e
4
/
¢
key.
2
Press the ENTER key.
ENTER
Example: Adjustment to Monday 8:07
*5506/14-24/EN
04.12.15, 23:47
14


