Setup
66
User Interface Setup
You can setup user interface parameters.
1
Press the
[
]
/
[
MENU
]
button.
h
h
Popup menu appears.
2
Touch
[
SETUP
]
.
h
h
SETUP screen appears.
3
Touch
[
User Interface
]
.
h
h
User Interface screen appears.
4
Set each parameter as follows.
■
[
Beep
]
Turn the key touch tone on or off.
Default is “ON”.
■
[
Widget SETUP
]
Set up the widget displayed on the HOME
screen.
■
[
Parking Assist Display
]
When an ADS adapter is connected, you can
display information about obstacles around
the car.
[
ON
]
: Always displays information.
[
Dyn.
]
(Default): Displays information when
the sensor detects obstacles.
[
OFF
]
: Cancels this function.
This can be set when the iDataLink
(commercially available) is connected.
■
[
Parking Assist Position
]
Select where to display information about
obstacles on the screen (left or right).
“Left”/ “Right” (Default)
This can be set when the iDataLink
(commercially available) is connected.
■
[
Language Select
]
Select a language.
■
[
Touch Panel Adjust
]
Adjust the sensing position of the touch
panel.
■
[
Time Format
]
Select the time display format.
"12-Hour" (Default)/ "24-Hour"
■
[
Clock
]
[
RDS-SYNC
]
(Default): Synchronizes the clock
time with the RDS.
[
Manual
]
: Set the clock manually.
■
[
Time Zone
]
Select the time zone.
■
[
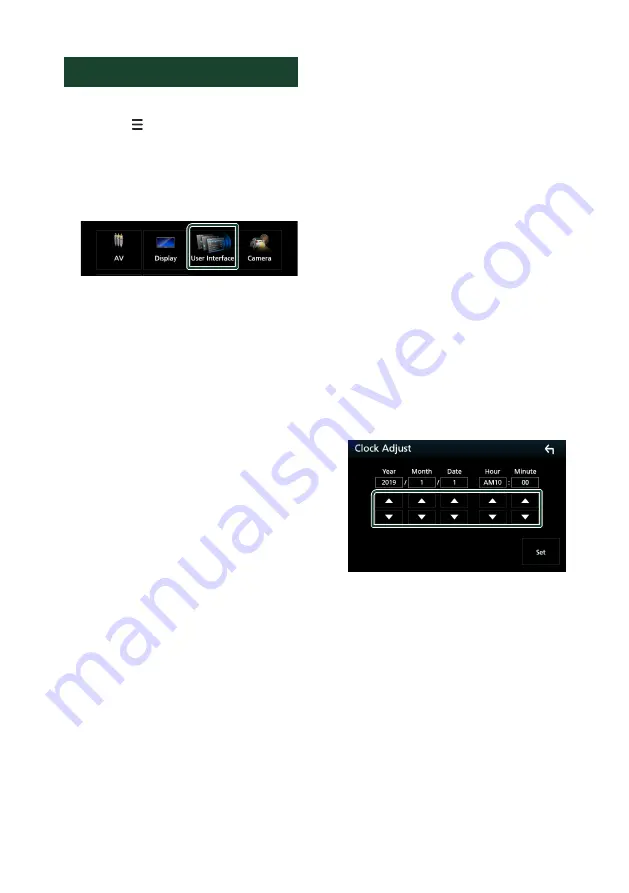
Clock Adjust
]
If you select
[
Manual
]
for Clock, adjust the
date and time manually.
Ñ
Adjust the date and time
manually
1
Touch
[
Clock
]
on the User Interface screen.
2
Select
[
Manual
]
.
3
Touch
[
Time Zone
]
on the User Interface
screen.
4
Select the time zone.
5
Touch
[
Clock Adjust
]
on the User Interface
screen.
6
Adjust the date, then adjust the time.
7
Touch
[
Set
]
.


