Setting Up and Configuring Your Axcess
8
Complete Guide to Your Axcess Remote Portal
3. Select
PRIMARY
TCP
/
IP
SETTINGS
.
4. Write the settings down or leave Entré set to this screen while you configure Axcess.
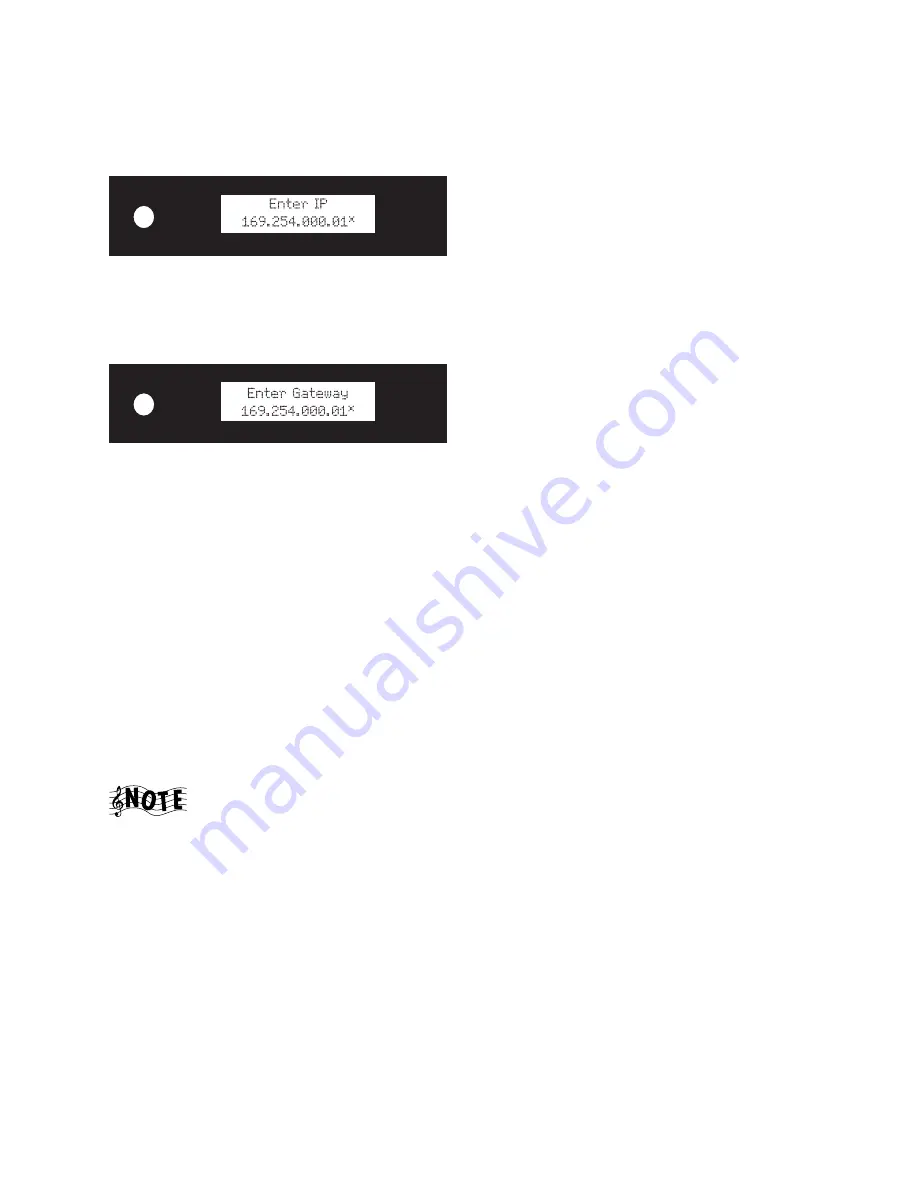
Once Axcess enters the manual configuration mode, the IP address appears:
1. Use the left/right arrow buttons to select the number you want to enter (the selected number will blink).
2. Use the up/down arrow buttons to change the number.
3. Repeat steps 1–2 until the correct IP address shows on the display.
4. Once you have entered the correct IP address, press the
SELECT
button. The gateway address appears:
5. Use the left/right and up/down arrow buttons as before to enter the correct gateway address.
6. Press the
SELECT
button. The network mask appears. Use the left/right and up/down arrow buttons as before
to enter the correct network mask.
7. Press the
SELECT
button. The DNS address. appears. Use the left/right and up/down arrow buttons as before
to enter the correct DNS address.
8. Press the
SELECT
button. “Done?” appears in the top line.
9. If you entered all the network information correctly, press the up or down buttons until the bottom line
reads “Yes” and press the
SELECT
button.
If you made a mistake entering any of the network information, press the up or down buttons until the bot-
tom line reads “No”, and press the
SELECT
button. Axcess returns to the network configuration screens.
Repeat steps 1–9.
Manual Media Server (Entré) Selection
Axcess can connect “on the fly” to any Entré connected to your HomePNA network. If you have more than one
Entré on your network, you will need to select which one Axcess should use. You can perform this step at any
time to setup or change which Entré Axcess uses.
Skip this step if you have only one Entré on your network.
1. Hold the
SELECT
button on Axcess’ front panel down for at least 4 seconds. “Select Server” appears in the
top line of the display, and the name you entered for one of your Entrés appears in the bottom line.
2. Use the up/down arrow buttons so the display’s bottom line shows the name of the Entré you want Axcess
to connect to.
3. Press the
SELECT
button.
Summary of Contents for Axcess
Page 1: ......
Page 6: ...xvi Complete Guide to Your Axcess Remote Portal ...
Page 30: ...Enjoying Internet Radio 24 Complete Guide to Your Axcess Remote Portal ...
Page 34: ...Controlling Audio Settings 28 Complete Guide to Your Axcess Remote Portal ...
Page 40: ...Glossary 34 Complete Guide to Your Axcess Remote Audio Player ...


