2-19
Catalyst 3750-X and 3560-X Switch Hardware Installation Guide
OL-19593-03
Chapter 2 Switch Installation
Connecting to the StackWise Ports (Catalyst 3750-X Switches)
When you complete the switch installation, see the
“After Installing the Switch” section on page 2-19
for more information about switch configuration.
Table- or Shelf-Mounting
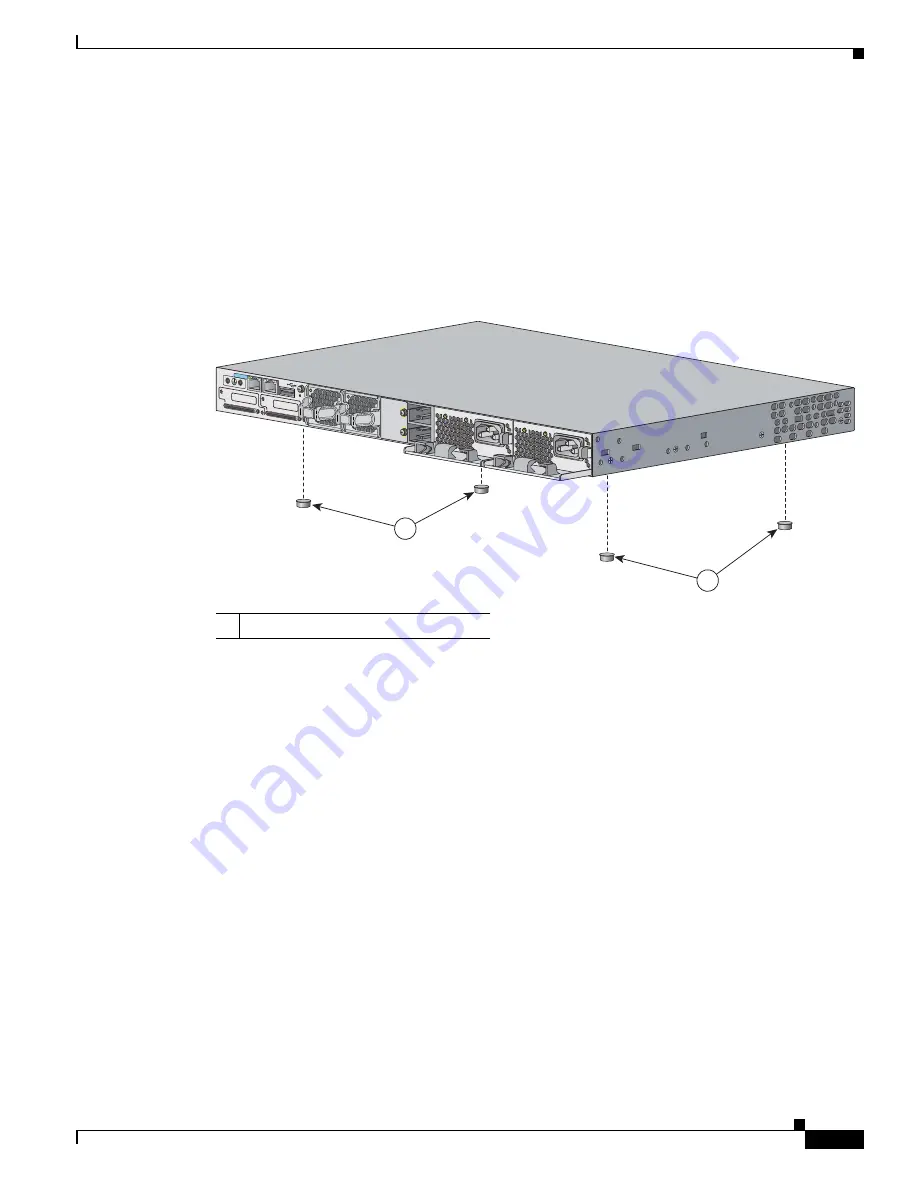
To install the switch on a table or shelf, locate the adhesive strip with the rubber feet in the mounting-kit
envelope. Attach the four rubber feet to the recessed areas on the bottom of the chassis (see
Figure 2-18
).
Figure 2-18
Attaching the Adhesive Pads for Table- or Shelf-Mounting
When you complete the switch installation, see the
“After Installing the Switch” section on page 2-19
for more information switch configuration.
After Installing the Switch
After the switch is installed, you might need to:
•
Configure the switch by running Express Setup to enter the initial switch configuration. For
instructions, see the switch getting started guide that shipped with the switch and also on Cisco.com.
•
Use the CLI setup program to enter the initial switch configuration. See
Appendix C, “Configuring
the Switch with the CLI-Based Setup Program.”
•
Connect to the front-panel ports. See the
“Installing a Network Module in the Switch” section on
page 2-22
and the
“Connecting Devices to the Ethernet Ports” section on page 2-26
.
Connecting to the StackWise Ports (Catalyst 3750-X Switches)
Before connecting the StackWise cables, review the
“Planning a Switch Data Stack (Catalyst 3750-X
Switches)” section on page 2-5
. Always use a Cisco-approved StackWise cable to connect the switches.
1
Adhesive pads
RE
S
ET
CON
S
OLE
STACK 1
STACK 2
AUX
S
-PWR
XP
S
S
-PWR
253209
1
1
AC OK
C
3
KX-PWR-715W
AC
P
S
OK
AC OK
C
3
KX-PWR-715W
AC
P
S
OK


