Kenko Sky Memo Instructions
Hutech Corporation
©
2000
4
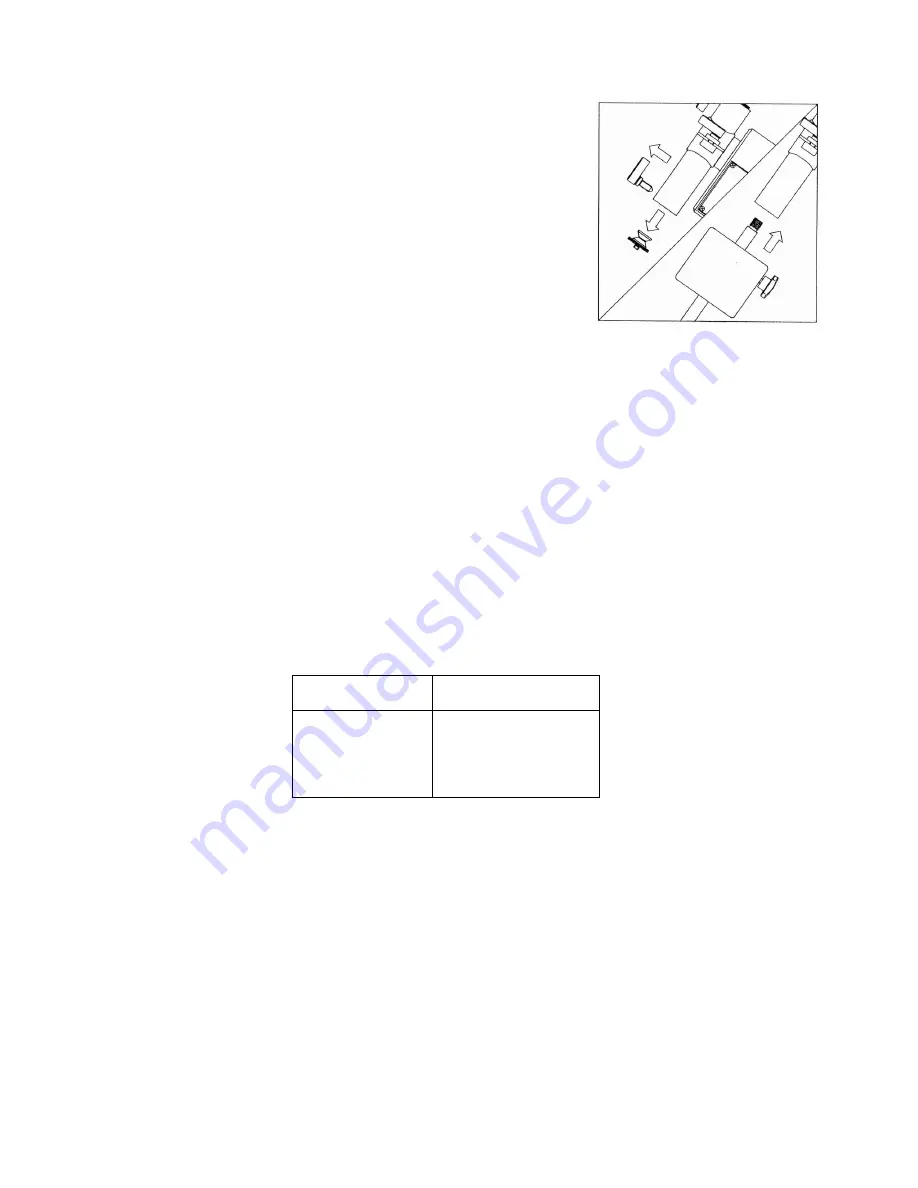
To mount a single camera, one of the camera mount screws on the tracker arm
maybe removed completely by unscrewing the clamping screw at the end of
the arm. Once the camera mount screw has been removed, the optional
counterweight and shaft may be screwed in place. Balance the camera by
adjusting the weight up and down the shaft until the tracker arm is
approximately in balance, but with a slight bias towards the east as mentioned
previously.
Setting Up for a Shot
To set up for a shot, power up the Kenko tracker by connecting the battery pack to the connector on the side of the
tracker body marked “Power.” Plug the polar finder’s illuminator into the socket marked “Light” on the side of the
tracker body. If the illumination level is too low to see the reticle markings or too high to allow you to see the
alignment stars, adjust it by turning the potentiometer marked “Vol.” Use a small flat-bladed screwdriver to adjust this
control. If the stars or reticle appear to be out of focus, turn the eyepiece of the polar finder until the stars and reticle
are simultaneously in focus.
Position the tracker arm and rotate the cameras to cover the desired targets. Be sure to allow for rotation of the
tracker arm during the exposure so that the cameras do not run into the tracker body. The arm rotates at the sidereal
rate of 15 degrees per hour.
Once the cameras are aimed, perform a fine adjustment of the polar alignment using the procedure in the document
“Kenko Polar Finder Instructions.” To insure best results, verify the polar alignment of the tracker between each
exposure.
The tracking accuracy you are able to achieve depends not only on accurate alignment of the mount, but also load
weight and balance, aim point, atmospheric refraction (at lower altitudes), and other factors. However, as a guideline,
the manufacturer-suggested maximum exposure times for unguided tracking for various focal lengths are:
Focal length
(mm)
Max. exposure
(minutes)
50
70
100
40
135
35
200
30
300
15
For long focal lengths and shots at low altitudes where atmospheric refraction affects tracking, a small guide scope
should be used. In this case, the hand controller included with the Kenko mount should be plugged into the socket
marked “Control” located on the side of the tracker body. The buttons on the hand controller increase the tracking
rate to 2x sidereal rate or stop the motor, effectively giving a 2x forward or backward relative adjustment capability.


