S T E P 4 : S E T T I M E R
NOTE:
This function should only be set if you desire that the heater be
automatically shut off after a certain period of time (1, 2, 4, or 8 hours
from the time the function is set).
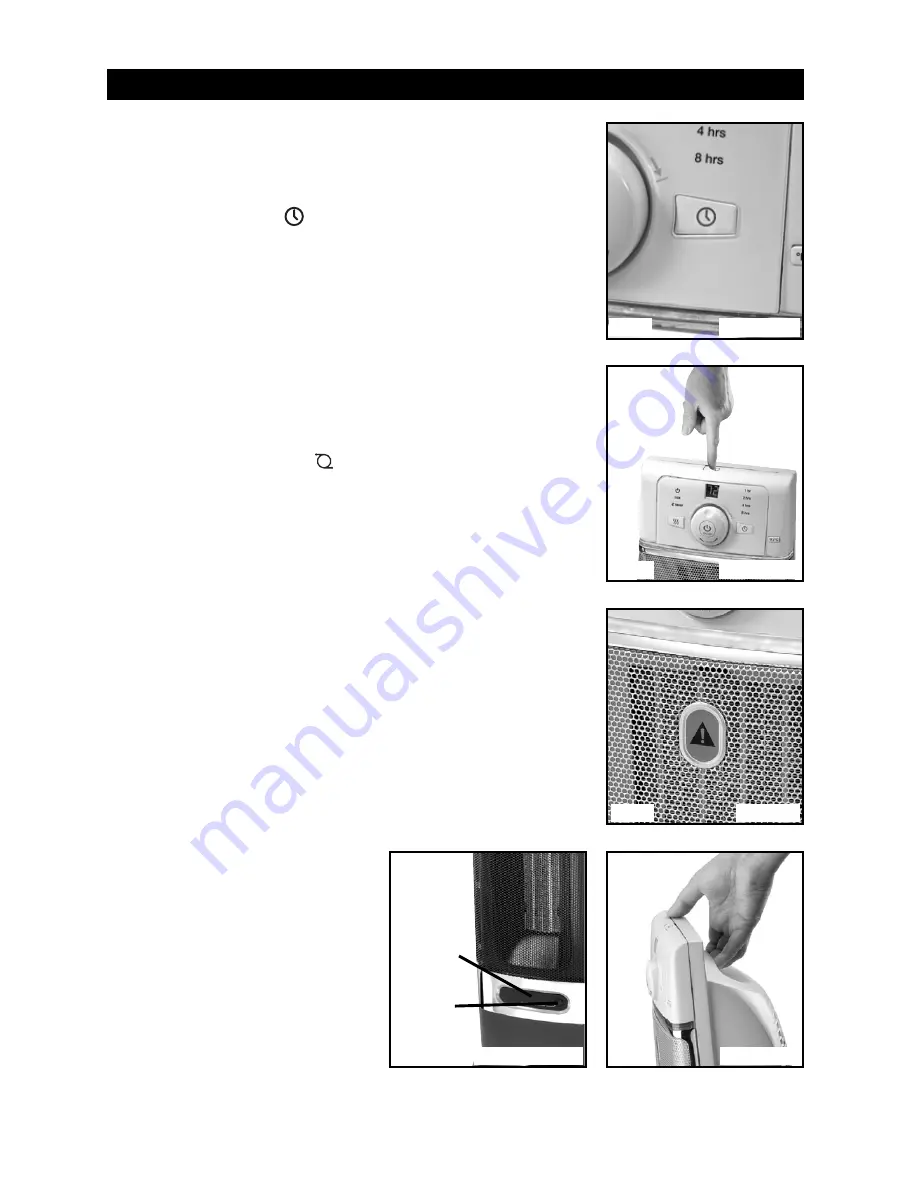
• Press the Timer button (
): (Fig. 4) once to set the timer for
1 hr auto shut-off. A light will illuminate next to the 1 hr icon. Twice to
set the timer for 2 hr auto shut-off. A light will illuminate next to the
2 hr icon. Three times to set the timer for 4 hr auto-shut-off. A light
will illuminate next to the 4 hr icon. Four times to set the timer for 8 hr
auto shut-off. A light will illuminate next to the 8 hr icon.
• The heater will automatically turn off when time runs out.
NOTE:
If the Desired Temperature was set prior to setting the Timer
function, the heater will cycle on and off as per the selected Desired
Temperature setting.
S T E P 5 : O S C I L L A T I O N
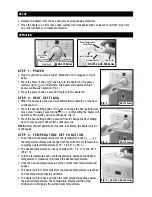
• Press the Oscillation button (
) to toggle this feature on and off
(Fig. 5).
NOTE:
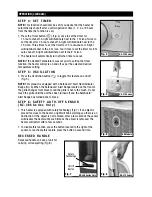
This product is equipped with a SafeGuard
™
Alert Heat Indicator
Badge (Fig. 6). When the SafeGuard
™
Alert Badge located on the front of
the grille changes from black to red the grille is hot to the touch. Do not
touch the grille until the unit has been turned off and the SafeGuard
™
Alert Badge has turned back to black.
S T E P 6 : S A F E T Y A U T O - O F F S E N S O R
( H Z - 3 8 5 S e r i e s O n l y )
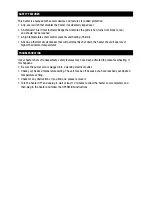
• This heater is equipped with safety technology (Fig 7). If an object is
placed too close to the heater, a light will blink warning you there is an
obstruction. If the object is not removed, after a few seconds the sensor
will disable the heater until such time as the object is removed. The
heater will restart after a few seconds.
• To disable this function, press the button located to the right of the
sensor. To reactivate this feature press the button a second time.
R E C E S S E D H A N D L E
Recessed handle on back of unit for
carrying or transporting (Fig. 8).
OPERATION
(C0NTINUED)
Fig. 4
Fig. 5
Fig. 6
Fig. 7
Safety
Technology
On/Off
Button
HZ-370 Series
HZ-370 Series
All Models
HZ-385 Series Only
Fig. 8
HZ-370 Series


