6
2. Windows Operation
Before plugging in the drive, make sure that your computer has a USB Hi-Speed port available to take
full advantage of USB 2.0 speed. Check with the manufacturer for software updates. It is also important
to update Windows at
http://windowsupdate.microsoft.com
to make sure that your computer has the
latest driver for USB 2.0 Hi-Speed Host Controller.
Note:
To setup the Carry it Easy suite, please refer to the Carry It Easy manual.
Using the Kanguru FlashBlu II with Windows
To begin using the Kanguru FlashBlu II for the first time:
1. Start up your computer and boot into Windows.
2. Plug the Kanguru FlashBlu II into a USB 2.0 Hi-Speed port. Normally your machine will be
ready to install new hardware. However, if you are unable to install new hardware, you might not
have Administrator privileges. Please check with your computer manufacturer or your computer
administrator for advice on how to install a new hardware device.
Note:
Although you can connect the Kanguru FlashBlu II to a USB 1.1 port, for optimum usability
and compatibility, make sure that you have the latest driver for your USB 2.0 Hi-Speed ports.
3. Windows will automatically start searching and installing the necessary drivers.
4. After the installation has completed, the drive will appear under My Computer as a Device with
Removable Storage.
Congratulations! Your Kanguru FlashBlu II is ready to use. You can now begin transferring files to and
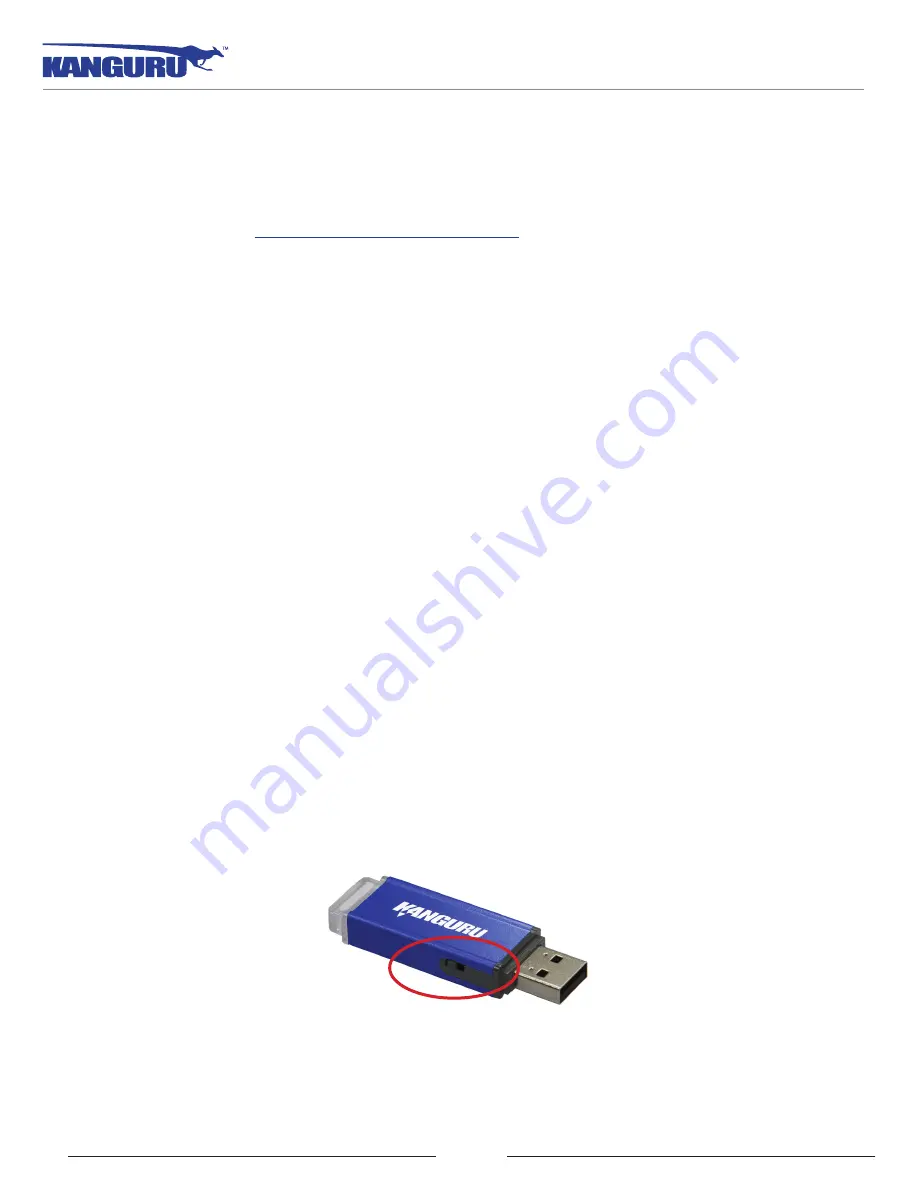
from your portable flash drive. There is a write protect switch on the side of the device. Slide the switch
to the locked position if you need to protect your data from being overwritten.
If you are having issues getting your Kanguru FlashBlu II installed on your computer, please refere to
the Fequently Asked Questions section starting on page 9.
Windows Operation


