


11
Advanced Functions
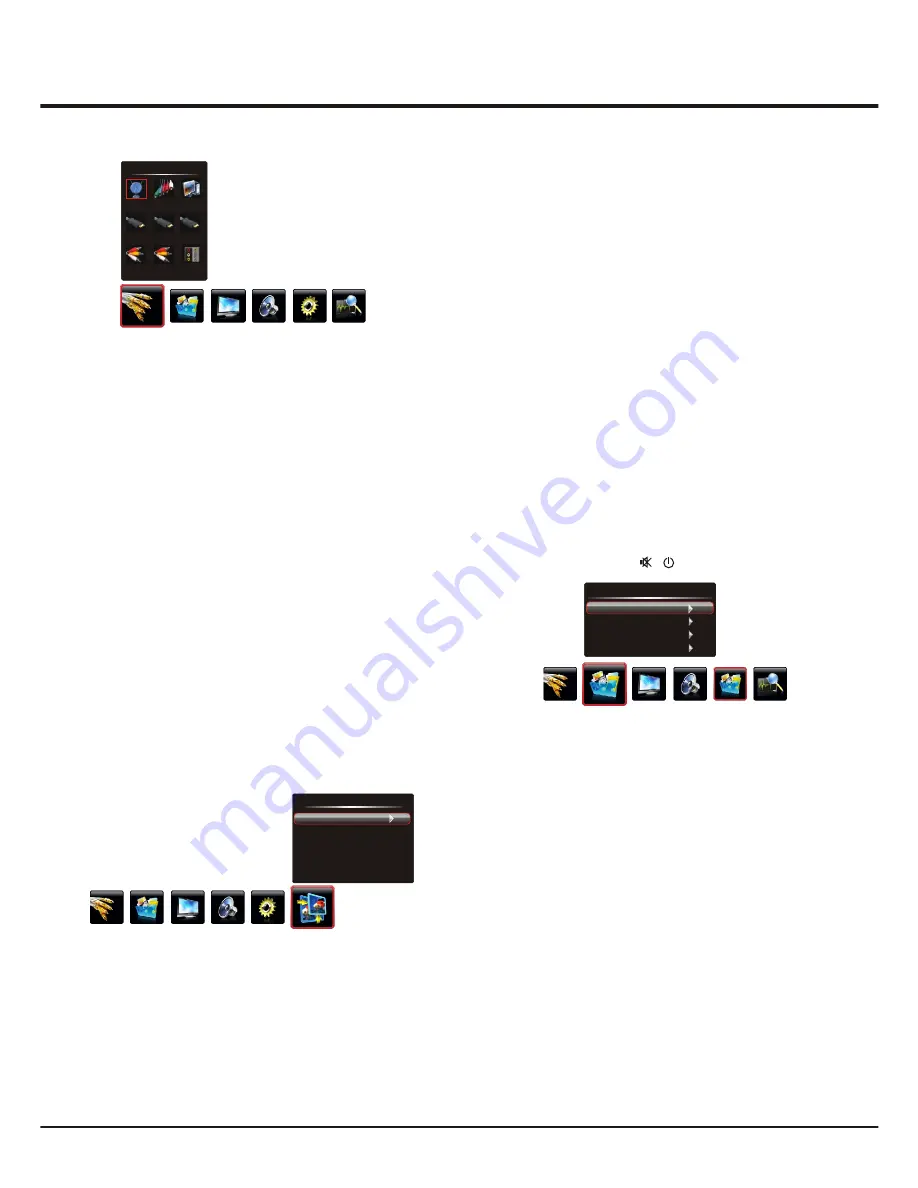
1. Press the up, down, left or right direction button to
select your desired source.
Note
: The available source might differ depending
on the model.
2. Press the
OK
button to confirm the selection.
1. Press the up, down, left or right direction button to select
Layout
and press
OK
to display Interface Status.
2. Press the up, down, left or right direction button to look
over.
3. Press
Menu
to return or
Exit
to close the menu.
Note
: You can press the
Source
button on the remote
control to switch the source. But if activating the Smart
Switch function, pressing the
Source
button only can
switch among the sources with signal.
Selecting a Signal Source
Look over the Layout of Terminals
Source
TV
PC
HDMI1
HDMI2
AV 1
YPBPR
AV 2
Layout
HDMI3
Geometry Settings
Display the menu by pressing the
MENU
button. Press
the left or right direction button to select the
Geometry
icon
and press the
or down direction or
OK
button to
up
display the
Geometry
menu.
Auto Adjust:
press the
direction or
OK
button to
right
adjust the picture's position, phase and clock automatically.
The menu will auto exit when finishing the adjusting.
H Position (Horizontal Position):
adjusts the picture's
position left or right.
V Position (Vertical Position):
adjusts the picture's
position upward or downward.
AD Clock:
adjusts the clock sync of the picture.
Phase:
adjusts the picture if there is flicker of screen
letters, color misalignment, or blurring.
Press Menu to return or Exit to close the menu.
Note:
This function is only available in PC mode.
Geometry
Auto Adjust
H Position
V Position
AD Clock
Phase
50
50
0
60
USB Functions
Playing Movie:
1. Select
Movie Show
item, then press the right or
OK
button to enter the USB device.
2. Press the left or right direction button to select the USB
disk symbol and press the
OK
button to enter the
selected disk.
3. Press the up, down, left or right direction button to select
a movie file, then press
OK
to play it.
4. When playing a movie, you can press the
Menu
button to
display the play console. For the play console, press the
left or right direction button to select an icon, then press
the
OK
button to confirm.
The play console includes:
Play/Pause, Backward,
Forward, Prev, Next, Stop, Repeat Mode, AB Repeat
setting, Playlist, Info, Slow Forward, Step Forward,
Goto Time, Brightness, Contrast.
5. Select the
Stop
icon in play console, and press
OK
or
press
Exit
to return.
Connect a USB device to a USB socket and display the
main menu by pressing the
Menu
button, then select the
Multimedia
icon and press the up or down direction or
OK
button to enter the
Multimedia
menu.
Notes:
In USB disk catalog, pressing
Menu
can display
Multimedia
menu and you can press the up or down
direction button to toggle among
Movie Show
,
Photo
Show
,
Music Show
and
Auto Play
, then press the
OK
button to confirm.
The short keys of USB include: the up, down, left, right
direction buttons, OK, Picture, Sound, Info, VOL+/- , etc.
In USB state, if no USB device connected, the USB
interface will be displayed, the available buttons include:
TV, VOL+/-, Exit, Menu, , , etc.
Multimedia
Movie Show
Photo Show
Music Show
Auto Play


