8
2.2. Video Image Layout
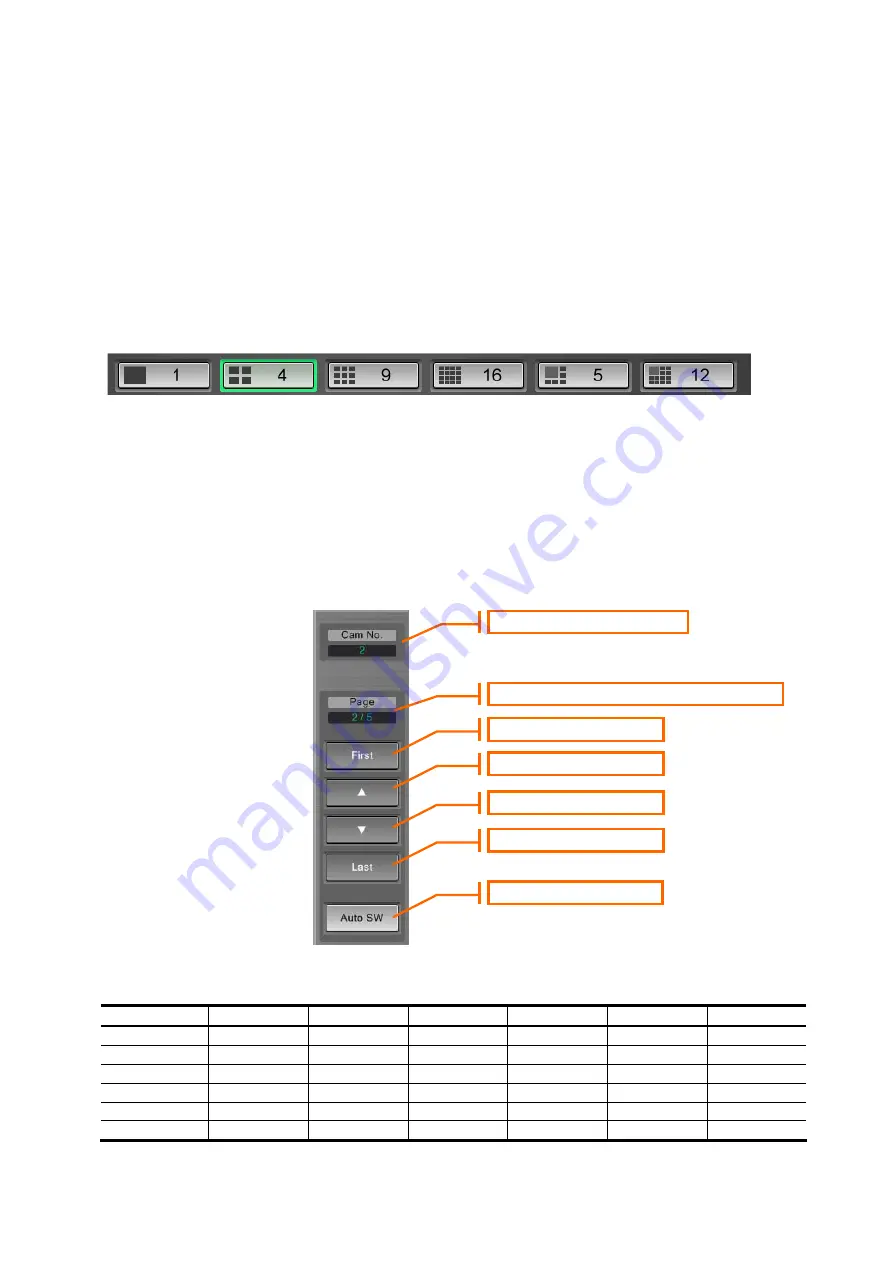
Use the “Select Video Layout Button” at the bottom left of the screen to select a layout according to the
number of video images you want to display.
Upon clicking a video image screen, its frame will appear in green. This indicates that the image is
selected (henceforth referred to as the selected camera). Clicking each of the layout buttons changes the
number of video images. Page including the selected camera is displayed.
When in the 5-screen or 12-screen mode, the “Zoom Area” function is available on the top left of the
screen. The Zoom Area function enables enlarged display of the selected camera’s video images.
Click the Zoom Area or image of the selected camera to switch to the 1-screen mode. Clicking the video
image on the single screen returns the display to the previous layout.
*Note: When the single screen is selected by clicking the [1-Screen] button, clicking on the video image
does not restore the display to the previous layout.
2.3. Page Control
When the number of registered cameras is larger than the number of video images of the layout, images of
all cameras can be displayed via page control. The total number of pages is “No. of registered cameras /
No. of images of layout”.
For the zoom areas in the 5-screen or 12-screen mode, image of the selected camera continues to be
displayed when the page number is altered.
Click the [Auto SW] button to select whether to start/stop the “Automatic Page Switch Feature”.
Example: Camera numbers displayed on each page (when 16 cameras are registered)
Layout
Page 1
Page 2
Page 3
Page 4
...
Page 16
1-Screen
1
2
3
4
...
16
4-Screen
1 - 4
5 - 8
9 - 12
13 - 16
-
-
9-Screen
1 - 9
10 - 16
-
-
-
-
16-Screen
1 - 16
-
-
-
-
-
5-Screen
1 - 5
6 - 10
11 - 15
16
-
-
12-Screen
1 - 12
12 -16
-
-
-
-
Video Layout Selection Area
Selected Camera No. Display
“Displayed Page / Total No. of Pages” Display
First Page Button
Previous Page Button
Next Page Button
Last Page Button
Auto SW Button
Page Control Area


