10
Confirming the connection to the computer
This part explains how to start CyberLink Media
Server for the first time and how to perform the
following.
• Confirming that the main unit recognizes the
computer.
(On the remote control)
1
Press [
AUDIO] to turn on the
main unit.
(On the computer)
2
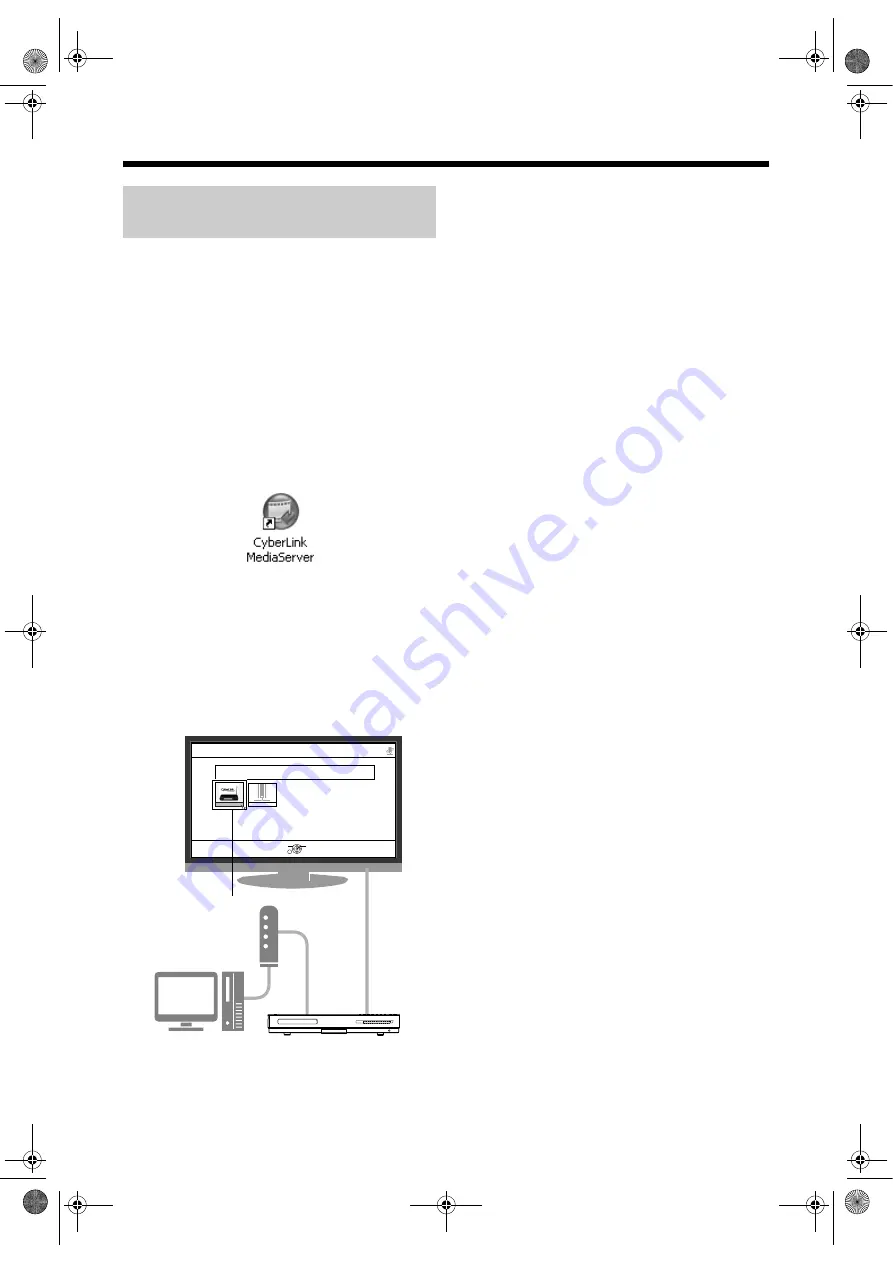
Double-click the “CyberLink Media
Server” icon on the desktop.
CyberLink Media Server starts.
(On the remote control)
3
4
Confirm that “CyberLink Media
Server” is displayed on the TV
screen.
Proceed to “Playing back files stored on the
computer” on page 16.
If “CyberLink Media Server” is not displayed
The main unit may not detect the CyberLink Media
Server for any of the following reasons.
Determine the reason by referring to A and B shown
below.
Starting CyberLink Media
Server
NAVIGATION
Server View(Icon)
SUB MENU
SELECT
OK
SERVER NAME :
CyberLink Media Server(xpe)
DLNA PC SERVER
Network
CyberLink Me . . .
A The Ethernet cable may not be connected
properly.
Possible cause:
The Ethernet cable may be of the wrong type
(a crossover cable may be used) or may not be
connected securely.
Possible solution:
Refer to “Connecting the main unit to the router”
on page 6 to check that the Ethernet cable is a
straight-through cable and is connected securely.
B You may be using a router that requires the IP
addresses to be set up manually.
Possible cause:
The router connected to the main unit may not
have a DHCP function that assigns the IP
addresses automatically. Another possibility is
that the IP addresses may be assigned manually
without using the DHCP function of the router.
Possible solution:
The IP address of the main unit must be set up
manually. Click [Cancel] to close the display on
the computer screen and exit CyberLink Media
Server. Next, assign the IP address to the main
unit referring to “Setting up the IP address” on
page 11.
NX-BD3_network.book Page 10 Friday, August 8, 2008 9:28 AM


