17
ENGLISH
Basic operation
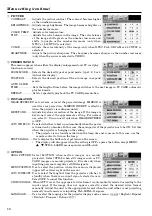
Several settings can be adjusted using Menu.
EXAMPLE: Auto power off time setting
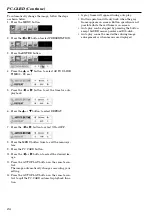
1. Press the MENU button.
2. Press the
$
or
%
button to select OPTION menu.
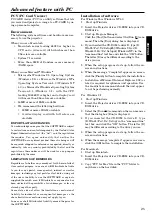
3. Press the ENTER button (or
{
or
}
button).
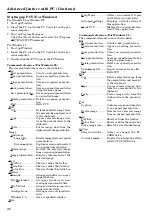
4. Press the
{
or
}
button to select AUTO POWER
OFF.
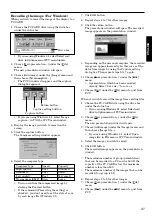
5. Press the
$
or
%
button to adjust auto power off
time.
6. Exit the menu system by pressing the MENU but-
ton several times.
• If the menu operation is not working, simultaneously
press the MENU and POWER buttons.
• The input source can not be changed when the
MENU selection bar or MENU is displayed.
• The settings with
2
mark, you should press the
ENTER button after selecting.
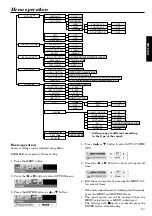
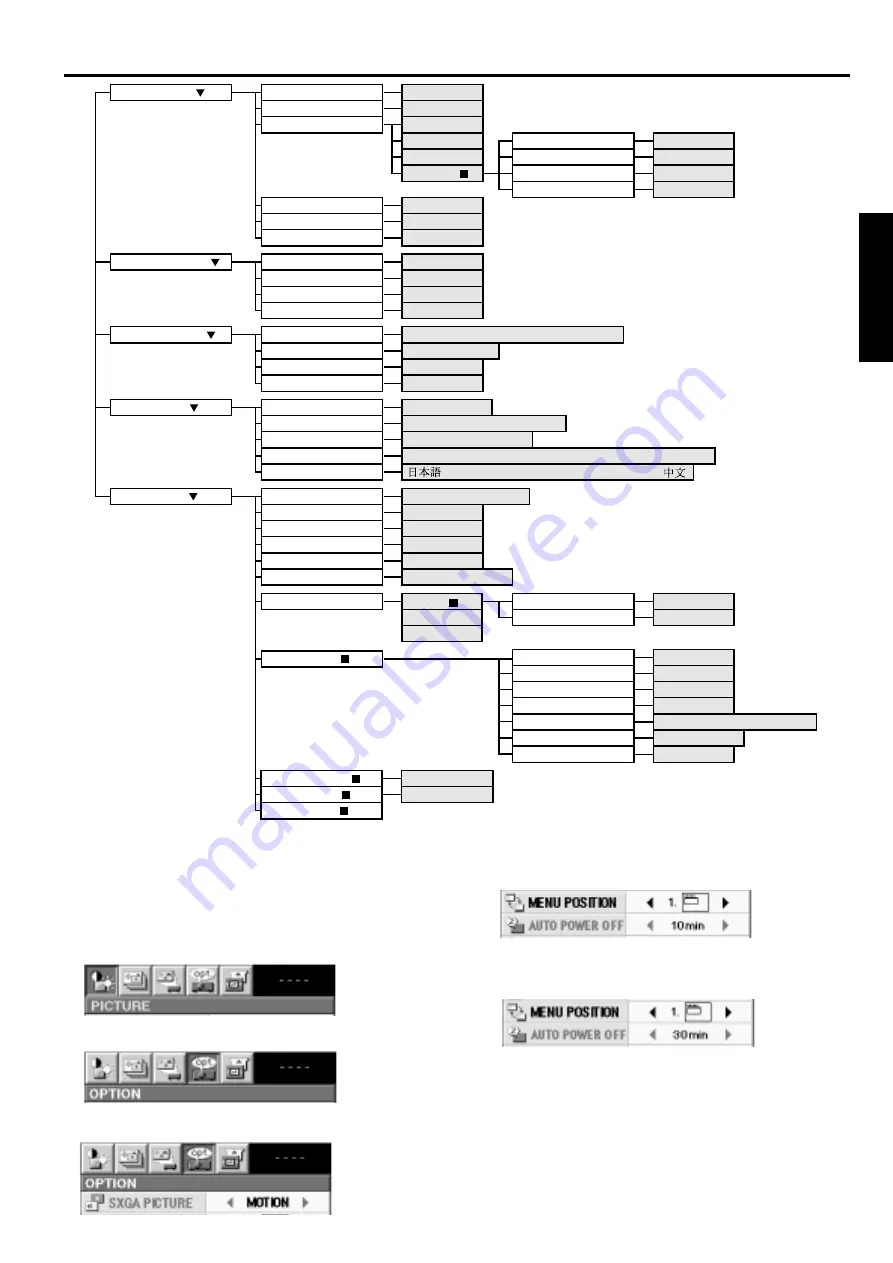
Menu operation
PICTURE
CONTRAST
±
10
BRIGHTNESS
±
10
COLOR TEMP
STANDARD
HIGH
LOW
USER
TINT
±
10
COLOR
±
10
SHARPNESS
±
10
CONTRAST R
±
10
CONTRAST B
±
10
BRIGHTNESS R
±
10
BRIGHTNESS B
±
10
PRESENTATION
ZOOM MODE
1 - 4
POSITION
1 - 4
AUTO SLIDE TIME
3 - 99sec
REPEAT
ON/OFF
INSTALLATION
IMAGE REVERSE
OFF/MIRROR/INVERT/MIRROR INVERT
KEYSTONE
0˚/3˚/6˚/9˚/12˚/15˚
AUTO POWER ON
ON/OFF
TEST SIGNAL
OFF/1 - 4
OPTION
SXGA PICTURE
MOTION/STILL
MENU POSITION
UPPER LEFT/LOWER RIGHT
AUTO POWER OFF
OFF/5/10/15/30/60min.
VIDEO SIGNAL
AUTO/NTSC/PAL/SECAM/4.43NTSC/PAL-M/PAL-N/PAL-60
LANGUAGE
/English/Español/Deutsch/Français/Italiano/
SIGNAL
AUTO
AUTO/USER1/USER2
HORIZ.POSITION
0 - 999
VERT.POSITION
0 - 999
FYNE SYNC.
0 - 32
TRACKING
0 - 9999
RGB INPUT
HOLD
USER
RGB/YC
B
C
R
,YP
B
P
R
BEGIN
-1 - -99
END
1 - 99
CLAMP POSITION
0 - 63
CLAMP WIDTH
0 - 63
HORIZ.PIXELS
0 - 9999
VERT.LINES
0 - 9999
PLL
AUTO/FAST/NORMAL/SLOW
VERT.SYNC.
AUTO/ON/OFF
SQUEEZE
ON/OFF
MEMORIZE
DELETE
RESET
ON
OFF
AUTO
USER1/USER2
USER1/USER2
*
*
*
*
*
*
*
*
*
* : Setting range is different according
to the type of the signal.


