13
Using your TV
Power:
Enter to set Power mode.
- Wake on Wifi:Enable wake on WIFI Settings.
- Network stand by:Enable wake on Ethernet Settings
Sleep Timer:
Set the TV to turn off automatically.
Idle TV Standby:
Select the inactivity time after which the
TV will standby.
Available space:
Show the system storage size and
Memory size.
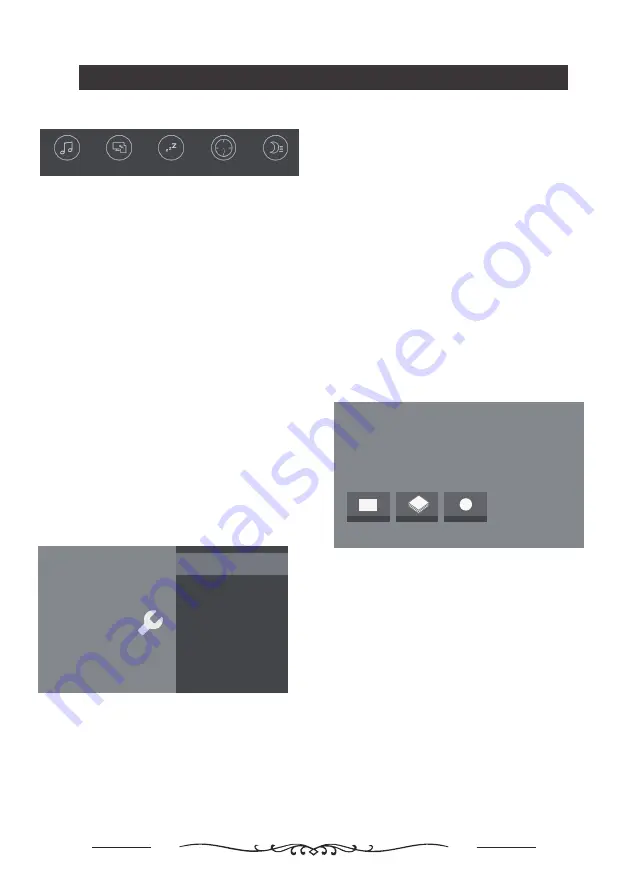
Smart Zone
Enjoy Music:
Select this option to enter into Audio Only
mode.
Fast Cast:
An app that quickly delivers mobile content to
TV,allowing users to quickly deliver multimedia content
such as photos,videos,music and more to TV terminals.
How to access Fast Cast:
1. Download Fast Cast mobile app on your smartphone
or tablet.
2. Make sure your device and the TV are connected to
the same Wi-Fi network.
3. Search for the TV(name:ATV R2) on your device
Fast Cast app and connect to it.
Note:
1.This function may be unavailable for some mobile
devices. Not all file formats are supported.
2.Recommendations of working environments:
A: Local Area Network Speed recommendations on
:
1Mbps to 2 Mbps.
B: Files playable:
:
MP4
、
AVI
、
TS
、
FLV
、
f4v
、
m3u8
(subject to chipset supported).
Sleep Timer:
The options include::
Off,10Min,20Min,30Min,
60Min,90Min,120Min,and 180Min.
World clock:
Enter to add World clock.
Night mode:
Turn on to keep brightness at a lower level
at night. This will help to lessen disturbance for others.
Enjoy Music
Night mode
Fast Cast
World clock
Sleep Timer
System
Language
English
Environment
Home
Settings
System
Setup your TV options.
Shop Demo
E-sticker
Power
Sleep Timer
Idle TV Standby
Available space
Language:
Use▲/▼ to scroll through Language.
Environment:
Enter to set Home or shop mode.
- Home mode: Standard picture and sound modes are
available in this setting. Choose this option for regular TV
viewing at home.
- Shop mode: This setting is suitable for a retail
environment. In this mode, picture menu settings will
not be accessible.
Shop Demo:
Enter to set E-sticker.
Note
:
E-sticker
is not available for some models.
Note: These functions are available in DTV mode only.
A USB memory device must be connected to one of the
USB ports in order to do any recording. Please back up
any important data in your USB memory device first.
Do not unplug the USB device when the system is
reading a file or transmitting data, otherwise the system or
the device may be damaged.
Press OK button of remote control under TV source
,
then
you can select Program Guide, Recorded Programs or
Start Recording by using the direction arrows. Press OK
to enter your choice.
PVR
Program guide
Channels
Recorded programs
Start recording
Program guide:
Program guide and PVR:
Recorded programs:
Current Recordings:You can view the video information you
are currently recording.
Scheduled Recordings:You can see a list of programs that
have been scheduled to be recorded.
Recorded Programs:The recorded programs will be saved
in this folder.
Recording Error list:Shows the programs that cannot be
recorded.
Reminders:Shows the programs set up for 'watch alerts'.
You can set alerts from Program Guide.
Start recording:
Press OK to start recording and press
again to stop.You can choose how long to record the video,
for example, record for 10 minutes, 30 minutes, 1 hour,
or 3 hours.
By pressing the virtual keyboard on the remote control, you
can select the day before and the day after.
Summary of Contents for LT-55NQ7105AT
Page 1: ...LT 55NQ7105AT ...
Page 2: ......
Page 4: ......
Page 5: ......
Page 6: ......
Page 20: ...17 Model No LT 55NQ7105AT 400 200 6 12 400mm 200mm ...
Page 22: ......
Page 23: ......
Page 24: ......


