background image

2

 EN

This camcorder is designed to be used with NTSC-

type color television signals. It cannot be used for
playback with a television of a different standard.

However, live recording and LCD monitor/

viewfinder playback are possible anywhere. Use the

JVC BN-V408U/V416U/V428U battery packs and,
to recharge them, the provided multi-voltage  AC

Power Adapter/Charger. (An appropriate conversion

adapter may be necessary to accommodate different

designs of AC outlets in different countries.)

Using This Instruction Manual

• All major sections and subsections are listed in the Table Of Contents on the cover page.
• Notes appear after most subsections. Be sure to read these as well.
• Basic and advanced features/operation are separated for easier reference.

It is recommended that you . . .

..... refer to the Index (

 pgs. 81 – 88) and familiarize yourself with button locations, etc. before use.

..... read thoroughly the Safety Precautions and Safety Instructions that follow . They contain extremely important

information regarding the safe use of this product.

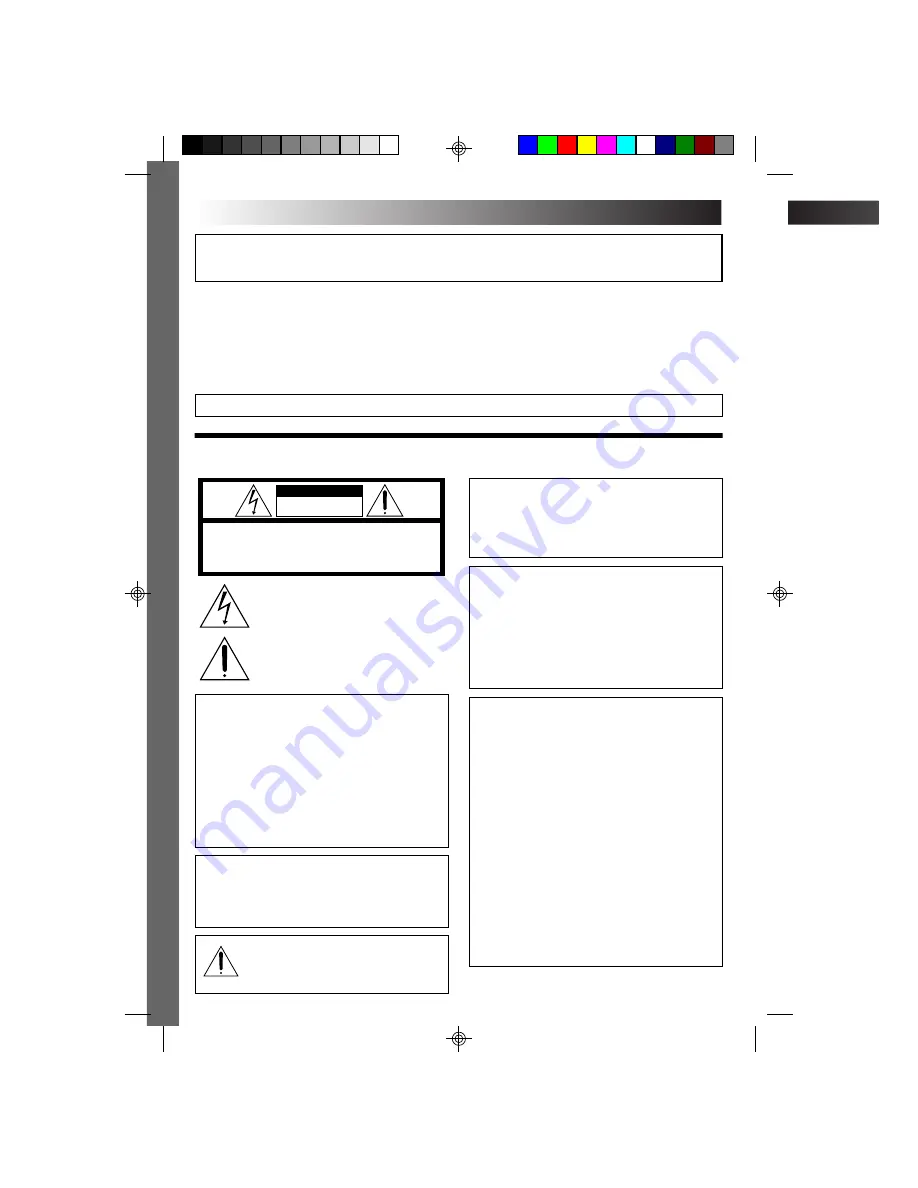
SAFETY PRECAUTIONS

CAUTION

RISK OF ELECTRIC SHOCK

DO NOT OPEN

CAUTION:      TO REDUCE THE RISK OF ELECTRIC SHOCK,

       DO NOT REMOVE COVER (OR BACK).

NO USER-SERVICEABLE PARTS INSIDE.

REFER SERVICING TO QUALIFIED SERVICE PERSONNEL. 

The lightning flash with arrowhead symbol, within an 
equilateral triangle, is intended to alert the user to the 
presence of uninsulated "dangerous voltage" within the 
product's enclosure that may be of sufficient magnitude 
to constitute a risk of electric shock to persons.

The exclamation point within an equilateral triangle is 
intended to alert the user to the presence of important 
operating and maintenance (servicing) instructions in 
the literature accompanying the appliance.

You are recommended to carefully read the cautions on pages 89 through 91 before use.

NOTES:

The rating plate (serial number plate) and safety

caution are on the bottom and/or the back of the

main unit.

The rating plate (serial number plate) of the  AC

Power Adapter/Charger is on its bottom.

WARNING:
TO PREVENT FIRE OR SHOCK

HAZARD, DO NOT EXPOSE THIS

UNIT TO RAIN OR MOISTURE.

The AA-V40U AC Power Adapter/Charger should be

used with:

AC 120 V

`

, 60 Hz in the USA and Canada,

AC 110 V – 240 V

`

, 50 Hz/60 Hz in other countries.

CAUTION (applies to the AA-V40U)

TO PREVENT ELECTRIC SHOCK MATCH WIDE
BLADE OF PLUG TO WIDE SLOT, FULLY INSERT.

ATTENTION (s’applique à l’AA-V40U)

POUR ÉVITER LES CHOCS ÉLECTRIQUES,

INTRODUIRE LA LAME LA PLUS LARGE DE LA
FICHE DANS LA BORNE CORRESPONDANTE DE

LA PRISE ET POUSSER JUSQU’AU FOND.

Dear Customer,

Thank you for purchasing this digital video camera. Before use, please read the safety information and precautions
contained in the following pages to ensure safe use of this product.

When the equipment is installed in a cabinet or on
a shelf, make sure that it has sufficient space on all

sides to allow for ventilation (10 cm (3-15/16") or

more on both sides, on top and at the rear).
Do not block the ventilation holes.
(If the ventilation holes are blocked by a newspaper ,

or cloth etc. the heat may not be able to get out.)
No naked flame sources, such as lighted candles,

should be placed on the apparatus.
When discarding batteries, environmental problems
must be considered and the local rules or laws

governing the disposal of these batteries must be

followed strictly.
The apparatus shall not be exposed to dripping or

splashing.
Do not use this equipment in a bathroom or places

with water.

Also do not place any containers filled with water or

liquids (such as cosmetics or medicines, flower
vases, potted plants, cups etc.) on top of this unit.

(If water or liquid is allowed to enter this equip-

ment, fire or electric shock may be caused.)

Caution: (applies to Jack Box)

To reduce the risk of fire, do not remove

cover. No user-serviceable parts inside.

Refer servicing to qualified service person.

 JY-VS200U EN 02-35

01.3.12, 6:55 PM

2

Summary of Contents for JY-VS200U - Professional Dv 1-ccd Camcorder

Page 1: ...e serial number plate and safety caution are on the bottom and or the back of the main unit The rating plate serial number plate of the AC Power Adapter Charger is on its bottom WARNING TO PREVENT FIRE OR SHOCK HAZARD DO NOT EXPOSE THIS UNIT TO RAIN OR MOISTURE The AA V40U AC Power Adapter Charger should be used with AC 120 V 60 Hz in the USA and Canada AC 110 V 240 V 50 Hz 60 Hz in other countrie...

Page 2: ...der not to defeat the built in safeguards observe the following basic rules for its installation use and servicing ATTENTION Follow and obey all warnings and instructions marked on your product and its operating instruc tions For your safety please read all the safety and operating instructions before you operate this product and keep this manual for future reference INSTALLATION 1 Grounding or Po...

Page 3: ...t produce heat SERVICING 1 Servicing If your product is not operating correctly or exhibits a marked change in performance and you are unable to restore normal operation by following the detailed procedure in its operating instructions do not attempt to service it yourself as opening or removing covers may expose you to dangerous voltage or other hazards Refer all servicing to qualified service pe...

Page 4: ...serious damage to the camcorder CAUTION Attaching the Jack Box to the camcorder with cables S V ideo Editing DC etc connected then leaving it on top of the TV is not recommended as tripping on the cables will cause the camcorder to fall resulting in damage Attach only the optional JVC VL V3U V ideo Light VL F3U Video Flash or MZ V3U Stereo Zoom Microphone to the camcorder s Info Shoe This camcorde...

Page 5: ...m ImageFolio AAA R03 Battery x 2 for remote control unit Jack Box CU V504U Editing Cable PROVIDED ACCESSORIES Shoulder Strap MultiMediaCard 16 MB Already inserted in the camcorder S Video Cable Lens Hood pg 7 for attachment USB Cable AC Power Adapter Charger AA V40U Battery Pack BN V408U DC Cord Audio Video Cable ø3 5 mini plug to RCA plug JY VS200U EN 02 35 01 3 12 6 55 PM 6 ...

Page 6: ...rs 2 Rotate the MENU wheel to select SYSTEM and press it The SYSTEM Menu appears 3 Rotate the MENU wheel to select DEMO MODE and press it The Sub Menu appears 4 Rotate the MENU wheel to select OFF and press it 5 Rotate the MENU wheel to select 1RETURN and press it twice The normal screen appears How To Attach The Lens Hood The provided lens hood helps block out glare when shooting under bright sun...

Page 7: ...lied to the camcorder and charging stops Since the AC Power Adapter Charger processes electricity internally it becomes warm during use Be sure to use it only in well ventilated areas When charging the battery pack for the first time or after a long storage period the CHARGE indicator may not light In this case remove the battery pack from the AC Power Adapter Charger then try charging again If th...

Page 8: ...cks to cover 3 times the planned shooting time USING AC POWER Use the AC Power Adapter Charger connect as shown in the illustration NOTES The provided AC Power Adapter Charger features automatic voltage selection in the AC range from 110 V to 240 V For other notes pg 8 INFORMATION The extended use battery pack kit is a set composed of a battery pack and AC Power Adapter Charger VU V840 KIT BN V840...

Page 9: ...ter Adjustment Control Power Switch GETTING STARTED cont Shooting Mode Switch Shoulder Strap Attachment 1 Following the illustration thread the strap through the eyelet 1 then fold it back and thread it through the buckle 2 Repeat the procedure to attach the other end of the strap to the other eyelet 3 making sure the strap is not twisted CAUTION When using a tripod be sure to open and extend its ...

Page 10: ...me in memory the clock s rechargeable lithium battery is integrated in the camcorder While the camcorder is connected to an AC outlet using the AC Power Adapter Charger or while the battery pack attached to the camcorder continues to supply power the clock s rechargeable lithium battery is always charged However if the camcorder is not used for approx 3 months the clock s lithium battery will beco...

Page 11: ... camcorder off then on again If the tape does not load properly open the cassette holder cover fully and remove the cassette A few minutes later insert it again When the camcorder is suddenly moved from a cold place to a warm environment wait a short time before opening the cassette holder cover Closing the cassette holder cover before the cassette holder comes out may cause damage to the camcorde...

Page 12: ...h then comes out of the camcorder automatically Pull it out and close the card cover NOTES Be sure to use only SD Memory Cards marked or MultiMediaCards marked Some brands of memory cards are not compatible with this camcorder Before purchasing a memory card consult its manufacturer or dealer Before using a new memory card it is necessary to FORMAT the card pg 49 ATTENTION Do not insert remove the...

Page 13: ...emory card or to transfer a still image recorded on the tape or in the memory card to a computer Shooting Mode Switch Position VIDEO Allows you to record on a tape Approx 6 seconds of a still image can be inserted between video recordings pg 20 Zoom magnification over 10X is available pg 22 29 Allows you to record video on a tape and store still images in a memory card simultaneously pg 26 Allows ...

Page 14: ... MENU wheel and press it Rotate the MENU wheel to select 1RETURN and press it twice The Menu Screen closes Audio Dubbing pg 71 and Insert Editing pg 72 are impossible on a tape recorded in the LP mode LP Long Play is more economical providing 1 5 times the recording time NOTES If the recording mode is switched during recording the playback picture will be blurred at the switching point It is recom...

Page 15: ...it If you are recording with the Shooting Mode Switch pg 14 set to XGA VGA go to step 5 If you are recording with the Shooting Mode Switch set to UXGA go to step 6 5 Rotate the MENU wheel to select SIZE and press it The Sub Menu appears Rotate the MENU wheel to select XGA or VGA Go to step 7 6 Rotate the MENU wheel to select UXGA and press it The Sub Menu appears Rotate the MENU wheel to select th...

Page 16: ...en shooting under a flickering light such as a fluorescent light or candlelight when the subject is moving rapidly when there is excessive camera shake If AUTO is selected in the UXGA mode and any of the shooting situations listed above are encountered the camcorder will automatically process the image using the ENLARGE method STORAGE CAPACITY The number of storable images depends on the selected ...

Page 17: ...ecording Mode Setting pg 15 1 Set the Shooting Mode Switch to VIDEO then set the Power Switch to or while pressing down the Lock Button located on the switch Make sure CAMERA MODE is set to VIDEO in the Menu Screen pg 28 29 Shooting while using the viewfinder Make sure the LCD monitor is closed and locked Pull out the viewfinder fully Be sure to pull out the viewfinder until you hear a click other...

Page 18: ... direct sunlight the LCD monitor may be difficult to see If this happens use the viewfinder instead The image will not appear simultaneously in the LCD monitor and the viewfinder except during Interface Shooting The cassette holder cannot be opened unless a power supply is attached There may be a delay after you open the cassette holder cover until the cassette holder opens Do not use for ce Once ...

Page 19: ...rding PHOTO appears and a still image will be recorded for approx 6 seconds then the normal recording resumes Motor Drive Mode Keeping SNAPSHOT pressed provides an effect similar to serial photography Interval between still images approx 1 second NOTES To remove the shutter sound BEEP on pg 30 If Digital Zoom is used while in the MULTI 4 or MULTI 9 mode Snapshot recording will be performed with 10...

Page 20: ...recording In such a case the icon blinks If shooting is not performed for approx 5 minutes when the Power Switch is set to or and power is supplied from the battery pack the camcorder shuts off automatically to save power To perform shooting again close the LCD monitor and re open it When using the viewfinder push back it in and pull it out again The Motor Drive mode pg 20 is disabled when the Sho...

Page 21: ...tched to 10X magnification using the optical zoom pg 29 Zoom magnification of over 10X is done through Digital image processing and is therefore called Digital Zoom During Digital zoom the quality of image may suffer Digital zoom cannot be used in the following cases When digital image processing such as Picture Wipe Dissolve pg 34 35 or Video Echo pg 36 37 is activated When the Shooting Mode Swit...

Page 22: ...ooting using a partially recorded tape When shooting on a blank portion located partway through the tape When shooting again after shooting a scene then opening closing the cassette holder cover Recording From The Middle Of A Tape 1 Play back a tape or use Blank Search pg 43 to find the spot at which you want to start recording then engage the Still Playback mode pg 40 2 Set the Power Switch to or...

Page 23: ...ogressive Mode Recording press the Recording Start Stop Button To End Progressive Mode Recording press the Recording Start Stop Button The camcorder enters the Record Standby mode NOTES When an image recorded using the Progressive Mode is played back the image may not look natural When CAMERA MODE is set to PS VIDEO Picture Wipe Dissolve pg 34 and some Program AE with special effects pg 36 cannot ...

Page 24: ...tween an odd and even Field when they are combined to make 1 Frame the part of the image that is moving appears as image jitter However during normal playback the moving picture looks smooth and natural 2 Progressive mode shooting of moving images Progressive Mode Recording pg 24 Scan A is recorded divided into an odd and even number Field and then Scan B is skipped Scans C and D are handled in th...

Page 25: ...you release SNAPSHOT snapshot recording will be canceled 4 Press SNAPSHOT fully The displayed still image is stored in the memory card NOTES If SNAPSHOT is pressed in the Record Standby mode only a still image is stored in the memory card Video recording does not take place If SNAPSHOT is pressed when DIS is set to ON pg 29 the Stabilizer will be disabled The Stabilizer is less effective in the DU...

Page 26: ...h or wait for it to dry naturally When shooting a subject close to the lens zoom out first pg 22 If zoomed in in the auto focus mode the camcorder may automatically zoom out depending on the distance between the camcorder and the subject This will not occur when TELE MACRO pg 30 is activated FEATURE Manual Focus PURPOSE To obtain correct focus OPERATION 1 If you are using the viewfinder you should...

Page 27: ...system that simplifies many of the more detailed camcorder settings pg 29 31 1 Set the Power Switch to while pressing down the Lock Button located on the switch then pull out the viewfinder fully or open the LCD monitor fully 2 Press the MENU wheel The Menu Screen appears 3 Rotate the MENU wheel to select the desired function menu and press it The selected function menu appears 4 Function menu set...

Page 28: ... is automatically adjusted 1 30 1 200 sec Shooting a subject in low or poor lighting at 1 30 sec shutter speed provides a brighter image than in the AGC mode but the subject s movements are not smooth or natural The overall appearance may be grainy While the shutter speed is being automatically adjusted is displayed Enables regular video shooting Enables Dual Shooting pg 26 Enables Progressive Mod...

Page 29: ...ion appears When using this mode refer to your wide screen TV s instruction manual During playback recording on 4 3 TVs LCD monitor viewfinder the image is elongated vertically 16 9SQ mode is effective only when the Shooting Mode Switch is set to VIDEO pg 14 and CAMERA MODE is set to VIDEO or PS VIDEO in the Menu Screen pg 29 SW appears The zoom range is extended beyond the maximum optical zoom wi...

Page 30: ... When the Power Switch is set to or OFF When the Shooting Mode Switch is set to UXGA or XGA VGA When WIDE MODE is set to PS WIDE in the Menu Screen Keeps the camcorder s display except the date time and time code from appearing on the connected TV screen Makes the camcorder s display appear on screen when the camcorder is connected to a TV The date time does not appear Displays the date time for a...

Page 31: ...ress the Recording Start Stop Button After 15 seconds the beep sounds and video recording starts To stop Self Timer recording press the Recording Start Stop Button again The camcorder re enters Record Standby mode OR Press SNAPSHOT After 15 seconds the beep sounds and snapshot recording starts After that the camcorder re enters Record Standby mode 6 To end Self Timer recording select OFF in step 4...

Page 32: ...Recording Start Stop Button The tally lamp lights and beep sounds to indicate the start of recording and after 5 seconds the camcorder enters Record Standby mode Even if you press the Recording Start Stop Button again within 5 seconds after recording starts Record Standby mode is not engaged 7 To exit the 5S mode select OFF in step 5 To Take A Snapshot In The 5 Second Recording Mode instead of pre...

Page 33: ...utton to activate the Fade in out or Wipe in out PICTURE WIPE OR DISSOLVE SELECTION and The Picture Wipe or Dissolve works when video recording is started 1 Follow steps 1 through 5 above 2 Engage the Record Standby mode If you press FADE WIPE during recording press the Recording Start Stop Button when one scene is finished The point at which the scene ended is stored in memory If you press FADE W...

Page 34: ...k screen Wipe in from the center of a black screen toward the top and bottom or wipe out from the top and bottom toward the center leaving a black screen The new scene gradually appears as the old one gradually disappears The new scene wipes in over the previous one from the upper right corner to the lower left corner The next scene gradually wipes in from the center of the screen toward the corne...

Reviews: