


February 8, 2003 4:06 pm
Page 13
— 13 —
Master Page: Right
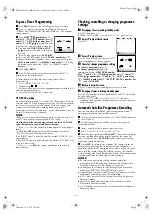
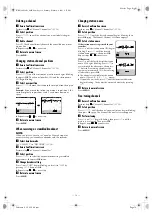
Clock Set
A
Access Main Menu screen, then Initial Set screen
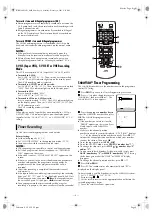
Press
MENU
. Press
rt
to place the pointer next to “INITIAL
SET”, then press
OK
or
e
.
B
Access Clock Set screen
Press
rt
to place the pointer next to “CLOCK SET”, then press
OK
or
e
.
C
Set time, date and year
Press
rt
until the desired time appears,
then press
OK
or
e
. Set the date and year
in the same way.
●
Holding
rt
changes the time in
30-minute intervals, or changes the date
in 15-day intervals.
D
Set Just Clock
Set to “ON” or “OFF” by pressing
rt
, then press
OK
or
e
.
Just Clock
The Just Clock function provides accurate time keeping through
automatic adjustments at regular intervals, by reading data from a
PDC signal. Normally, set “JUST CLOCK” to “ON”.
NOTES:
●
Just Clock may not function properly depending on the
reception condition.
●
When you select a country in Central or Eastern Europe for
country setting, you cannot use Just Clock. Skip steps
4
4
4
4
–
5
5
5
5
.
●
Just Clock is not effective when …
… the recorder’s power is on.
… the recorder is in the Timer mode.
… a difference of more than 3 minutes exists beween the built-
in clock’s time and the actual time.
… the recorder is in the Power Save mode (
墌
12).
… “L-2 SELECT” is set to “SAT” (
墌
10).
E
Set source channel position
The recorder is preset to receive clock setting and adjustment data
from channel position 1. Press
rt
to set the channel position to
the number representing the station transmitting clock setting
data, then press
OK
or
e
.
F
Start clock
Press
MENU
.
Tuner Set
Perform the following steps only if the tuner has not been set
correctly by Auto Set Up, or if you have moved to a different area,
or if a new station starts broadcasting in your area.
The recorder needs to memorise all necessary stations in channel
positions in order to record TV programmes. Auto Channel Set
automatically assigns all receivable stations in your area.
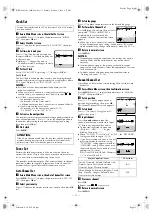
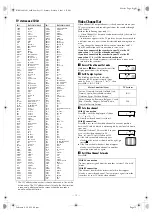
Auto Channel Set
A
Access Main Menu screen, then Auto Channel Set screen
Press
MENU
. Press
rt
to place the pointer next to “AUTO CH
SET”, then press
OK
or
e
.
B
Select your country
Press
rt
to place the pointer next to your country, then press
OK
or
e
.
C
Select language
Press
rt
to place the pointer next to the desired language.
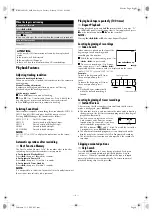
D
Perform Auto Channel Set
Press
OK
twice. When Auto Channel Set is
completed, “SCAN COMPLETED” is
displayed on the screen for about
5 seconds, then the Confirmation screen
appears.
●
When you select a country in Central or
Eastern Europe for country setting, station names (ID) are not
stored automatically. Change station names manually. (
墌
14)
E
Return to normal screen
Press
MENU
.
NOTES:
●
Depending on reception conditions, the stations may not be
stored in order, and the station names may not be stored
correctly.
●
If no sound accompanies the picture or the audio sounds
unnatural on some channels, select the appropriate TV system
for those channels.
●
To delete stations with poor reception condition, refer to
“Deleting a channel” (
墌
14).
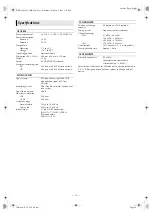
Manual Channel Set
Store channels that were not stored during Auto Set Up or Auto
Channel Set.
A
Access Main Menu screen, then Confirmation screen
Press
MENU
. Press
rt
to place the pointer next to “MANUAL
CH SET”, then press
OK
or
e
.
B
Select position
Press
rt
w
e
until an open channel
position begins blinking, then press
OK
.
The Manual Channel Set screen appears.
C
Select band
Press
rt
to select CH (regular) or CC
(cable), then press
e
.
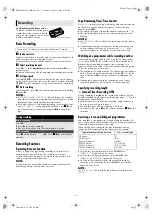
D
Input channel
Press the
number keys
to input the
channel number you want to store. Input
“0” before any single number entries.
●
To input the registered station name
(ID), press
e
until “– – – –” begins
blinking, then press
rt
.
●
When “L-2 SELECT” is set to “A/V” or “SAT”, the “DECODER”
setting cannot be changed. (
墌
10)
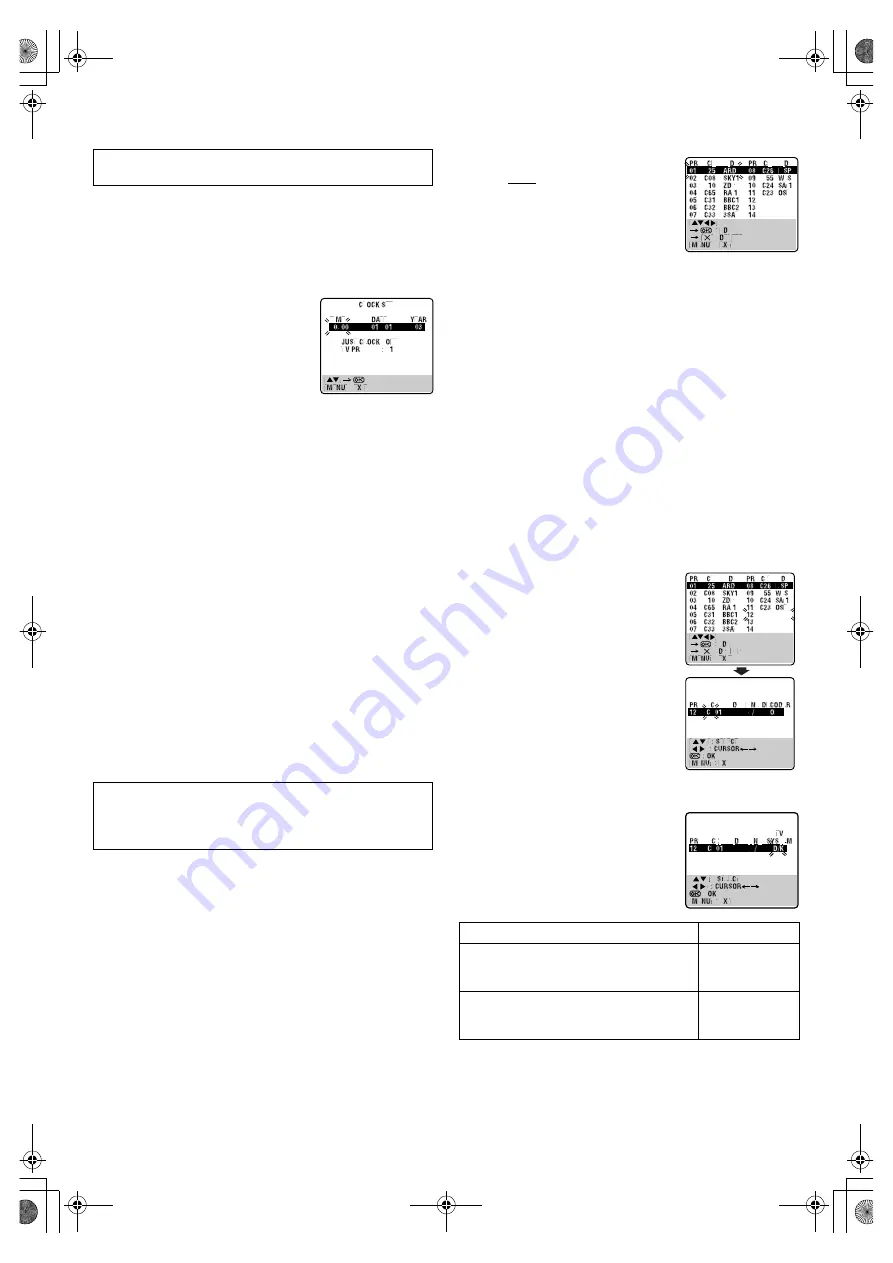
●
If you have selected a country in Central
or Eastern Europe for country setting,
“TV SYSTEM” setting appears instead of
“DECODER” setting. When you can see
the picture but can hear no audio, select
appropriate TV system.
Press
e
until D/K or B/G blinks. Then press
rt
to select D/K or B/G.
E
Store new channel
Press
OK
.
●
Repeat steps
2
2
2
2
–
5
5
5
5
as necessary.
F
Return to normal screen
Press
MENU
.
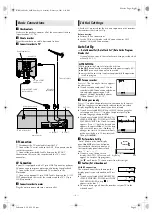
Turn on the recorder and the TV, and set your TV to its AV mode
or video channel.
ATTENTION:
If the AC was disconnected from the recorder and the recorder’s
memory backup has expired, the recorder will automatically
perform Auto Clock Set when the power is restored.
Major Countries/Areas
TV System
Austria, Denmark, Finland, Holland, Italy,
Norway, Spain, Switzerland, Sweden,
Germany, Egypt, Western Europe
B/G
China, Mongolia, Rumania, Bulgaria, Czech
Rep., Slovakia, Hungary, Poland, Russia,
Central or Eastern Europe
D/K
HR-S5960.5961_001EN.fm Page 13 Saturday, February 8, 2003 4:07 PM


