


April 9, 2002 2:16 pm
Page 10
— 10 —
Master Page: Right
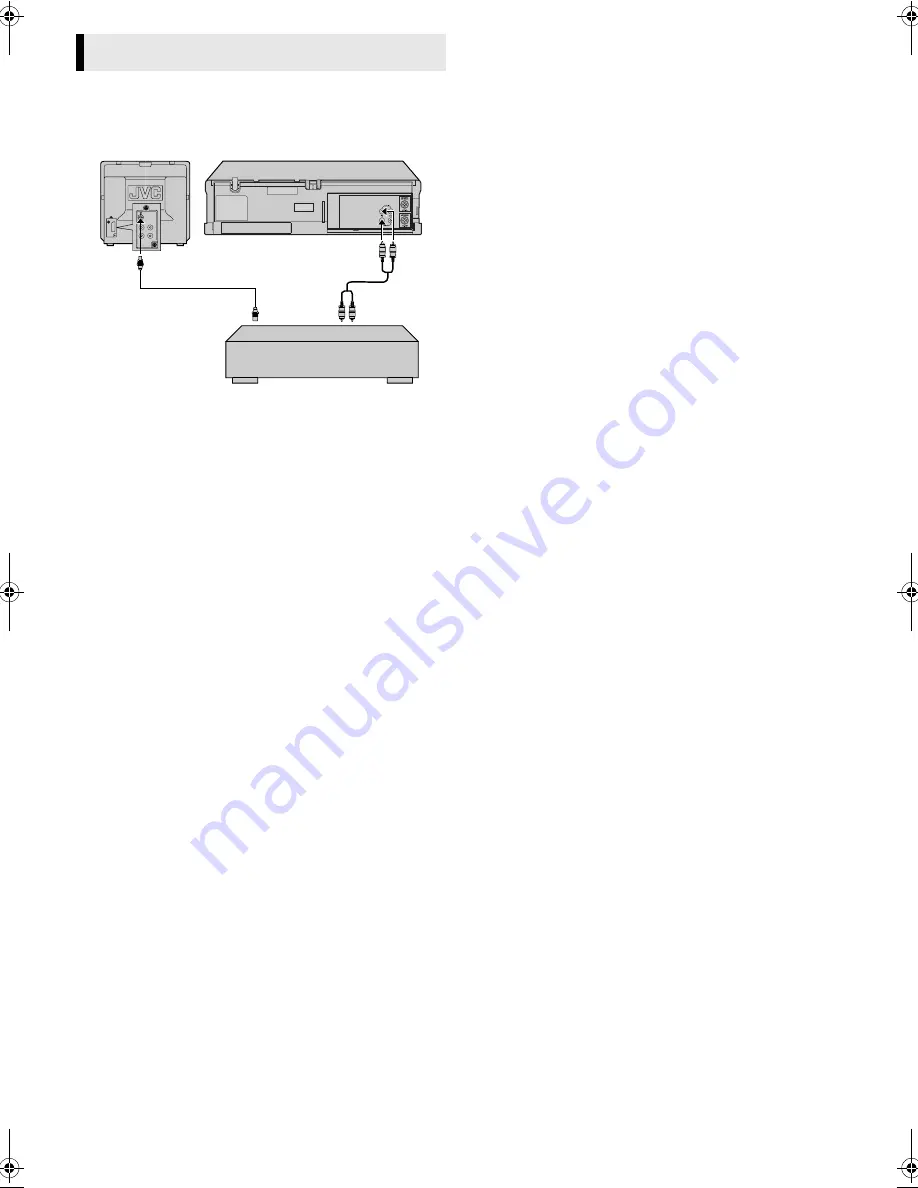
Tape dubbing
A
Make connections
Connect the player’s AUDIO/VIDEO IN connectors to another
player’s audio/video output connectors.
B
Load cassettes
Insert the playback cassette into the source player and the cassette
to be recorded on into your player.
C
Start playback
Engage the Play mode of the source player.
D
Start recording
Engage the Record mode of the recording deck.
Editing
AV mode
Audio/video cable
(not provided)
Player
Your player
Another player
Recorder
TV receiver
RF cable
(provided)
HR-p55_56A-001EN.fm Page 10 Tuesday, April 9, 2002 2:16 PM


