


EN
11
Playback
Features
Slow Motion
ACTIVATE SLOW-MOTION
PLAYBACK
1
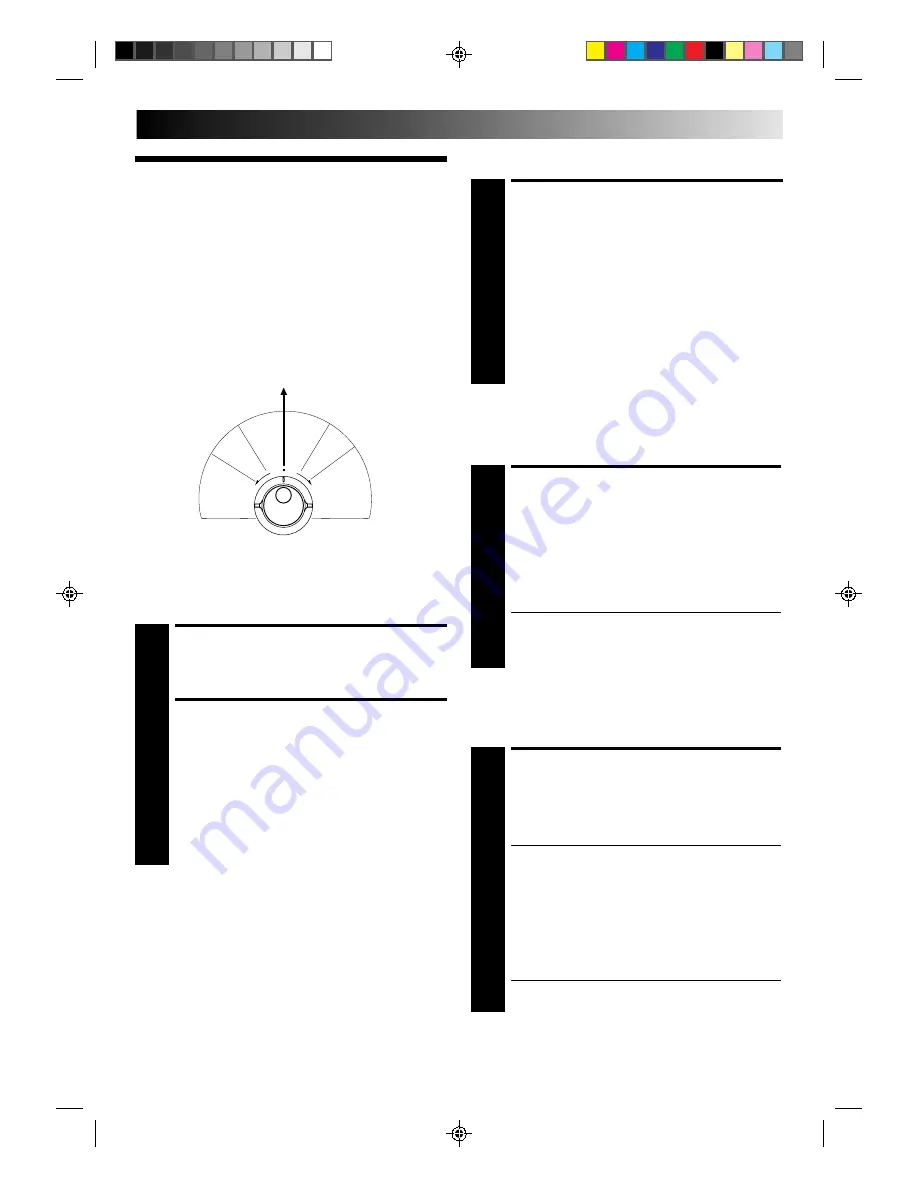
During playback or still, turn the SHUTTLE ring to the
right for forward slow motion, or to the left for reverse
slow motion (refer to the illustration to the left).
OR
During still picture, press and hold PAUSE for 2
seconds, then release. Press and release again to return
to still picture.
OR
During still picture, press and hold PUSH JOG or .
Release to return to still picture.
To resume normal playback, press PLAY.
Variable-Speed Search
ACTIVATE VARIABLE-SPEED
SEARCH
1
During playback or still, turn the SHUTTLE ring to the
right for forward variable-speed search, or to the left for
reverse variable-speed search (refer to the illustration to
the left).
OR
During playback, press PUSH JOG or .
●
The more times you press, the faster the playback
picture moves.
●
To decrease speed, press the button for the opposite
direction.
To resume normal playback, press PLAY.
High-Speed Search
ACTIVATE HIGH-SPEED
SEARCH
1
During playback or still, turn the SHUTTLE ring all the
way to the right for forward high-speed search, or to
the left for reverse high-speed search.
●
For forward search with a visible picture, turn the
SHUTTLE ring all the way to the right and release it
within 1 second.
●
For reverse search with a visible picture, turn the
SHUTTLE ring all the way to the left and release it
within 1 second.
OR
Press FF for forward high-speed search, or REW for
reverse high-speed search.
●
For short searches, press and hold FF or REW for over
2 seconds. When released, normal playback resumes.
To resume normal playback, press PLAY.
Take advantage of special functions possible with the recorder’s
controls or the remote control.
NOTE:
Refer to the SHUTTLE ring illustration below as you read the
following procedures.
Still Picture/Frame-By-Frame
Playback
NOTE:
In the search, still or frame-by-frame playback mode, the
picture will be distorted, and there may be a loss of colour.
PAUSE DURING PLAYBACK
1
Press PAUSE. If there is vertical jitter, use the TV PROG.
buttons to correct the picture.
ACTIVATE FRAME-BY-FRAME
PLAYBACK
2
Turn the JOG dial to the right for forward frame-by-
frame playback, or to the left for reverse frame-by-frame
playback.
OR
Press PAUSE.
OR
Press PUSH JOG or .
To resume normal playback, press PLAY.
R
e
v
e
rs
e
R
ev
er
se
Re
vers
e
Slow
Pla
y
F
o
rw
a
rd
s
e
a
rc
h
pl
ay
slow
motion
s
e
a
rc
h
Still
fi
fi
fi
fi
fi
fi


