

20
EN
1
2
3
4
5
0
6
7
8
9
1
2
4
3
–
+
PLAYBACK AND RECORDING FEATURES (cont.)
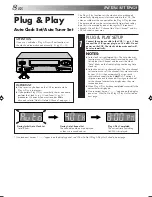
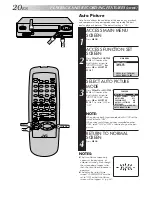
Auto Picture
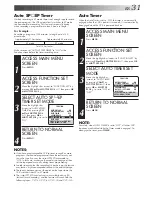
Auto Picture checks the condition of the tape during playback,
and compensates for poor reproduction to provide the best
quality playback pictures. *The default setting is "ON".
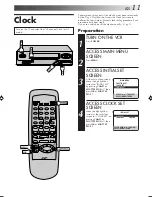
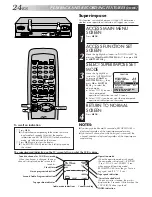
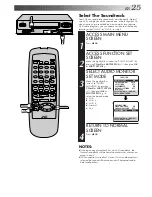
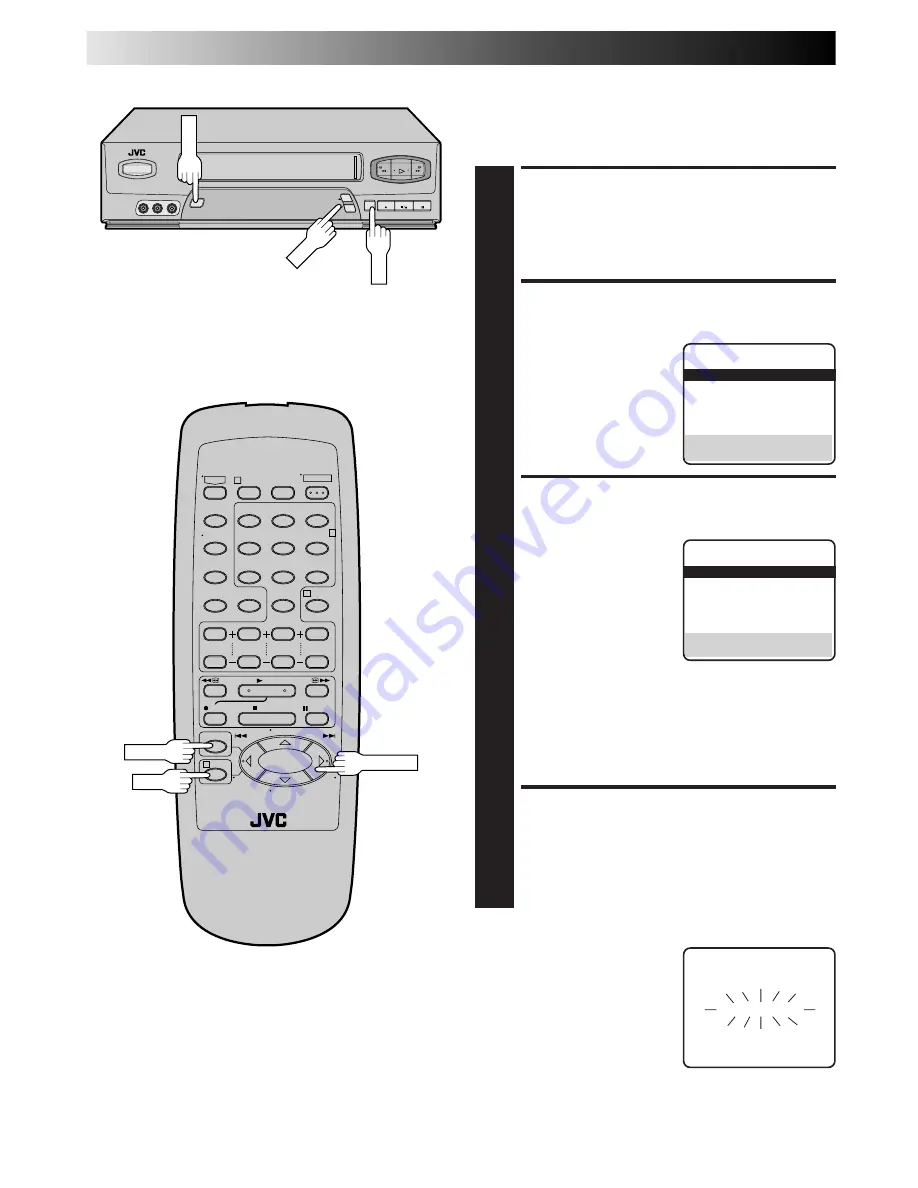
ACCESS MAIN MENU
SCREEN
1
Press
MENU
.
ACCESS FUNCTION SET
SCREEN
2
Press
CH
5∞
or
SHUTTLE
PLUS
%fi
to move the
highlight bar (arrow) to
“FUNCTION SET”, then
press
OK
or
SHUTTLE
PLUS
.
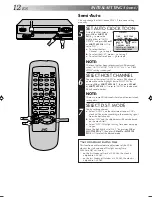
SELECT AUTO PICTURE
MODE
3
Press
CH
5∞
or
SHUTTLE
PLUS
%fi
to move the
highlight bar (arrow) to
"AUTO PICTURE", then
press
OK
or
SHUTTLE
PLUS
to set to "ON" or
"OFF".
NOTE:
When playing back tapes recorded on this VCR set the
Auto Picture to "ON".
When using rental tapes, or tapes recorded on other
VCRs, select "ON" or "OFF" as desired to give the best
picture.
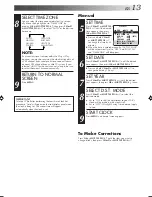
RETURN TO NORMAL
SCREEN
4
Press
MENU
.
%
MENU
CH
OK
MENU
OK
SHUTTLE PLUS
FUNCTION
=
AUTO PICTURE ON
PICTURE CONTROL AUTO
AUTO TIMER OFF
SUPERIMPOSE ON
AUTO SP
=
EP TIMER OFF
NEXT PAGE
SELECT WITH (
5
,
∞
) AND (OK)
PRESS (MENU) TO END
MAIN MENU
=
FUNCTION SET
TUNER SET
INITIAL SET
PRESS (
5
,
∞
), THEN (OK)
PRESS (MENU) TO END
%
NOTES:
●
The Auto Picture screen only
appears at the beginning of
automatic tracking. Even though
the screen doesn't appear after
that, the Auto Picture function is
operative.
●
To display the Auto Picture
screen "SUPERIMPOSE" must be
set to "ON" or the Auto Picture
screen will not appear (
墌
pg. 24).
AUTO PICTURE
Summary of Contents for HR-A51U
Page 46: ...46EN MEMO ...
Page 47: ...EN 47 MEMO ...