47
4
REWIND THE TAPE IN THE
CAMCORDER TO THE SCENE YOU
WANT TO PRINT, THEN PAUSE THE
TAPE
5
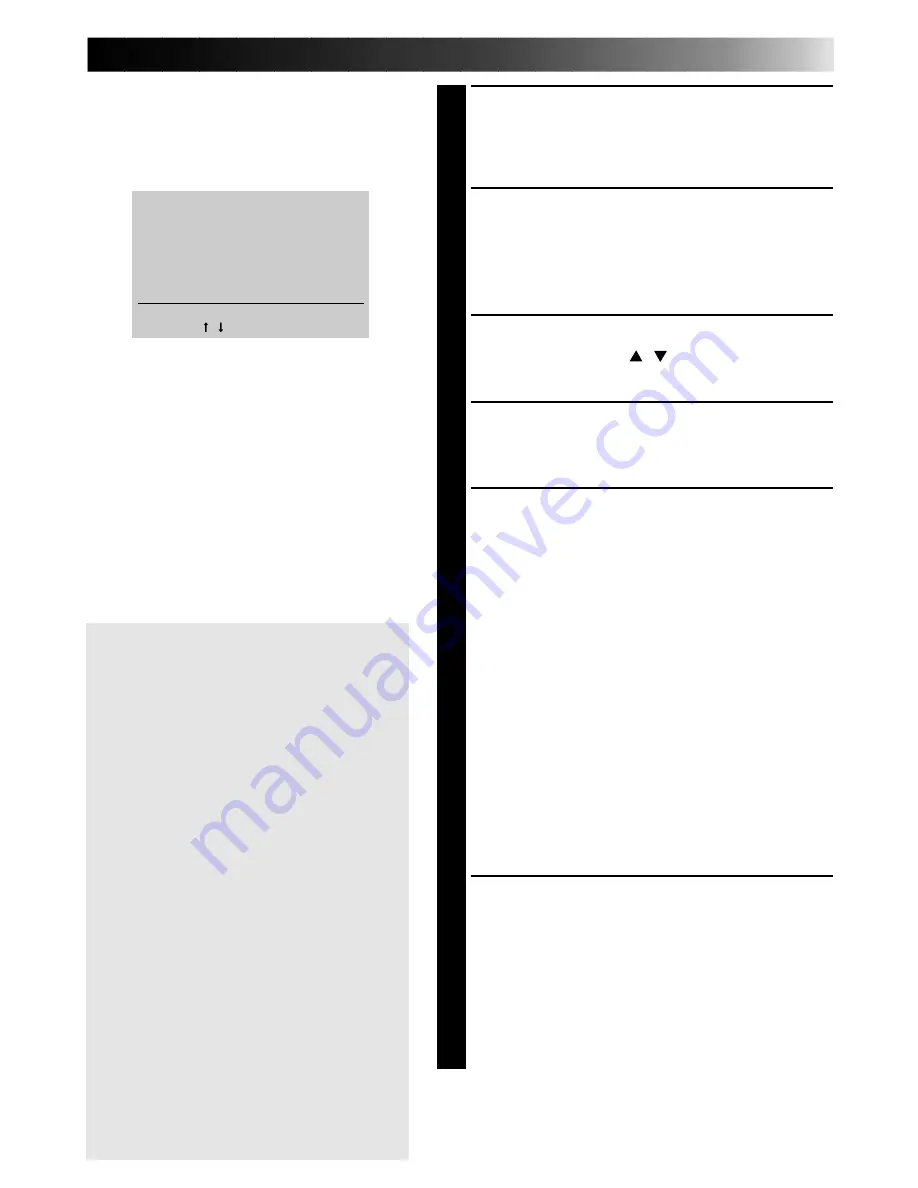
PRESS MODE
•MODE SELECT MENU appears.
•If the image to be printed is not stored in
memory, “CAPTURE” is not displayed on the
MODE SELECT MENU.
6
SELECT SNAP SHOT PRINTING
Press cursor buttons
/
and place the
pointer
Z
on SNAP SHOT PRINTING.
7
PRESS OK
•MODE SELECT MENU disappears and SNAP
SHOT PRINTING appears.
8
PRESS THE CAMCORDER’S SNAP
SHOT BUTTON
•Refer to the camcorder’s instruction manual
for details.
•The camcorder automatically locates the
beginning of the snapshot, and the printer
stores the scene.
•When the number of scenes set in
2
is
stored, the MEMORY display is entered.
•If you do not want to store all the 16 scenes,
press OK. The MEMORY display is entered
with the rest of the scenes turning white.
•When the MEMORY display appears, stop
the snapshot search on the camcorder.
•If you have chosen 4 or 16 of the same
scene, the MEMORY displays only one
scene.
•Title Impose or masking is not available.
9
PRESS PRINT
•Print Lamp blinks, indicating that printing
has started.
•“Now printing!!” appears on screen during
printing.
•When the printed sheets are delivered to the
output tray and “Now printing!!” disappears,
printing is complete. Do not leave more
than 25 printed sheets stacked on the tray.
MODE SELECT MENU
Z
SNAP SHOT PRINTING
EDITING INDEX
ENTER THE MODE [OK]
SELECT [ / ]
QUIT [MODE]
To exit Snapshot Print mode ...,
press MODE after printing. The SNAP
SHOT PRINTING disappears.
If you do not want to store the preset
number of scenes ...,
press OK during storing. The MEMORY
display appears and the rest of the
scenes turn white.
FRAME STABILIZER
ON/OFF switching of the frame
stabilizer is available only for one-scene
snapshot printing.
If the contour line is indented, press
F.STABILIZER button to call up
“F.STABILIZER ON” on TV screen.
If Snap Shot Print does not work ...,
see page 14 or 15 and make sure that
the mini plug cord is correctly
connected.
If the source tape contains snapshots
taken in Motor Drive mode ...,
you cannot print these snapshots using
Snapshot Print. Exit Snap Shot Print
mode and store the image with MULTI
set to 4 or 16 and CONTENT set to
SELECTED PIX (on page 26).
Summary of Contents for GV-PT2
Page 50: ...50 MEMO ...


