EN
53
To delete a selected picture
1
Select “SELECT” in step 3 in the left column,
and then press the EXE button.
•The 6 indexed picture screen appears.
2
Press the
r
t
w
e
button to select the picture
that you wish to delete, and then press the
EXE button.
•“ ” (deletion indicator) appears.
3
Press the
r
t
button to select “END”, and
then press the EXE button.
4
Press the
r
t
button to select “DELETE”, and
then press the EXE button.
NOTES:
●
To delete the unnecessary picture which is
protected, unlock the protection (
Z
pg. 52) and
delete the picture.
●
Do not remove the memory card or turn off the
power while the delete operation is in progress.
Doing so could result in malfunction or damage
to the equipment.
●
Also, use the AC adapter provided when
performing the delete operation.
1
Turn the Power dial to “
B
”.
•Hold down the Lock button while turning the
Power dial.
•The playback picture appears on the LCD
screen.
2
Select “S-DELETE” with the MODE switch.
•The STILL DELETE screen appears.
•To delete a video file, select “V-DELETE”.
The VIDEO DELETE screen will appear.
3
To delete the picture that is currently
displayed, press the
r
t
button to select
“THIS PIC.”, and then press the EXE button.
•To delete all pictures, select “ALL”, and then
press the EXE button. “ ” (deletion indicator)
appears.
Press the
r
t
button to select “END”, and
then press the EXE button.
4
Press the
r
t
button to select “DELETE”, and
then press the EXE button.
5
Select “STILL PB” with the MODE switch, and
then confirm that the deletion has been
completed. (
Z
pg. 31)
1
2,5
3,4
OFF
M
4
SET
V
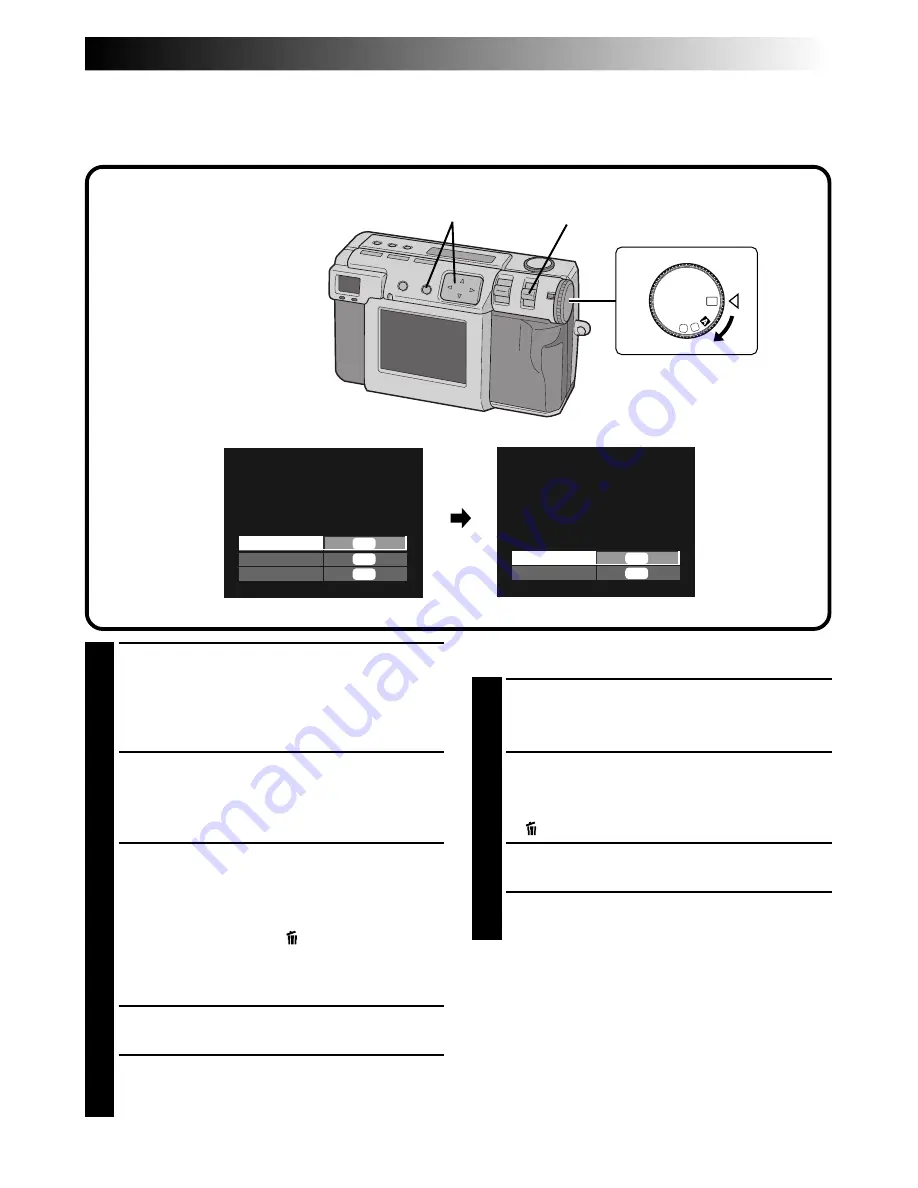
Deleting Pictures
There are three methods for deleting pictures: deleting the displayed picture, deleting all pictures, and
deleting a selected picture. Video files can be deleted in the same way.
STILL DELETE
THIS PIC.
ALL
SELECT
EXE
EXE
EXE
STILL DELETE
DELETE
RETURN
EXE
EXE
Summary of Contents for GC X 1
Page 1: ...GC X1 DIGITAL STILL CAMERA INSTRUCTIONS ENGLISH STILL CAMERA LYT0544 001C EN ...
Page 10: ...10EN CONTROLS CONNECTORS AND INDICATORS 1 2 4 5 6 7 8 9 0 3 Front View Top View 1 4 2 3 ...
Page 12: ...12EN 1 2 3 CONTROLS CONNECTORS AND INDICATORS cont 6 8 9 7 0 2 3 1 4 5 Rear View Bottom View ...
Page 91: ...MEMO ...


