EN
4
Select [YES] or [NO].
•
[YES]: Displays the thumbnails by group.
•
[NO]: Displays the thumbnails by date or
by playlist.
5
Select [EXECUTE].
•
The files are copied on the disc. When
[COMPLETED] appears, touch
OK.
•
When [INSERT NEXT DISC PRESS
[STOP] TO EXIT CREATE] appears,
change the disc. Remaining files are
copied on the second disc.
•
To cancel copying, select [STOP].
Copying Video Files that Have Never
Been Copied
Files that have never been copied to the discs
are automatically selected and copied.
1
Press the
<
(Power) button for
more than 2 seconds to turn on the
camcorder.
2
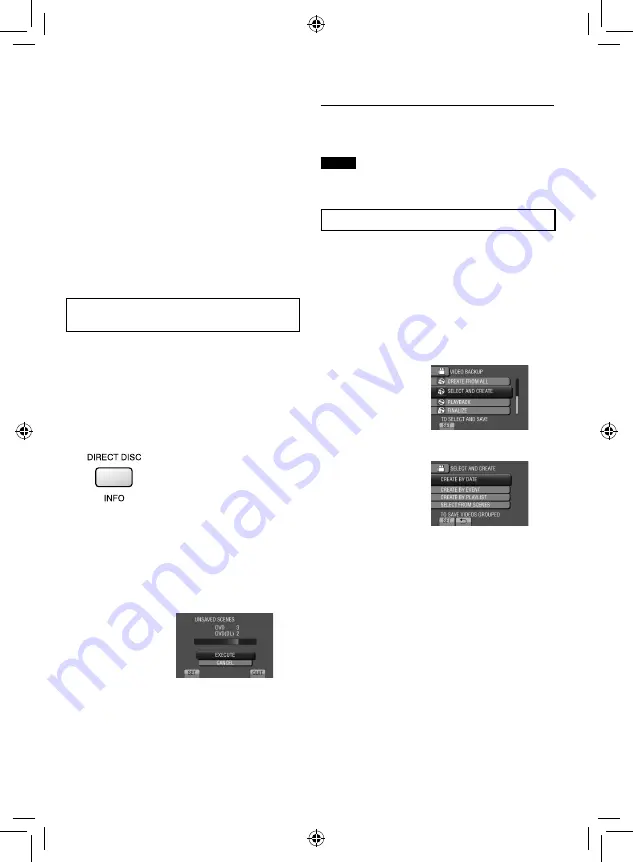
Press DIRECT DISC.
3
Select [YES] or [NO].
•
[YES]: Displays the thumbnails by group.
•
[NO]: Displays the thumbnails by date or
by playlist.
4
Select [EXECUTE].
•
The files are copied on the disc. When
[COMPLETED] appears, touch
OK.
•
When [INSERT NEXT DISC PRESS
[STOP] TO EXIT CREATE] appears,
change the disc. Remaining files are
copied on the second disc.
•
To cancel the disc creation, select
[CANCEL].
To quit the screen
1) Select [QUIT].
2) When [QUIT?] appears, select [YES].
NOTE
This method can be used to copy video files to
discs in a computer connected to the camcorder.
Selecting Files for Backup
Preparation:
•
Select
!
or
#
mode.
•
Select built-in memory or SD card to copy from.
•
Connect the camcorder to the BD/DVD burner.
•
When using a BD burner, select [CHANGE REC.
MEDIA] and select the disc type.
1
Select [SELECT AND CREATE]
(
!
mode) or [SELECT AND SAVE]
(
#
mode).
2
Select the desired setting.
!
mode:
•
[CREATE BY DATE]:
Files are sorted according to the date on
which they were recorded. Relevant files are
displayed in a list. Select the recording date.
•
[CREATE BY EVENT]:
Files are sorted according to event. Relevant
files are displayed in a list.
Select the event.
•
[CREATE BY PLAYLIST]:
Select the desired playlist from the list of
playlists. The selected playlists are displayed
in a list.
1) Select the desired list.
2) Select the insertion point. To select other
lists, repeat this process.
3) Select [SAVE].


