70
English
5
Press
¢
or
4
to select the track as the dividing
point.
The track selected in this step will be the first track in
the divided group.
• You can select the track using the number buttons. In
this case, the selected track starts playback
repeatedly.
• You cannot select the first track in a group or an
ungrouped track as the dividing point.
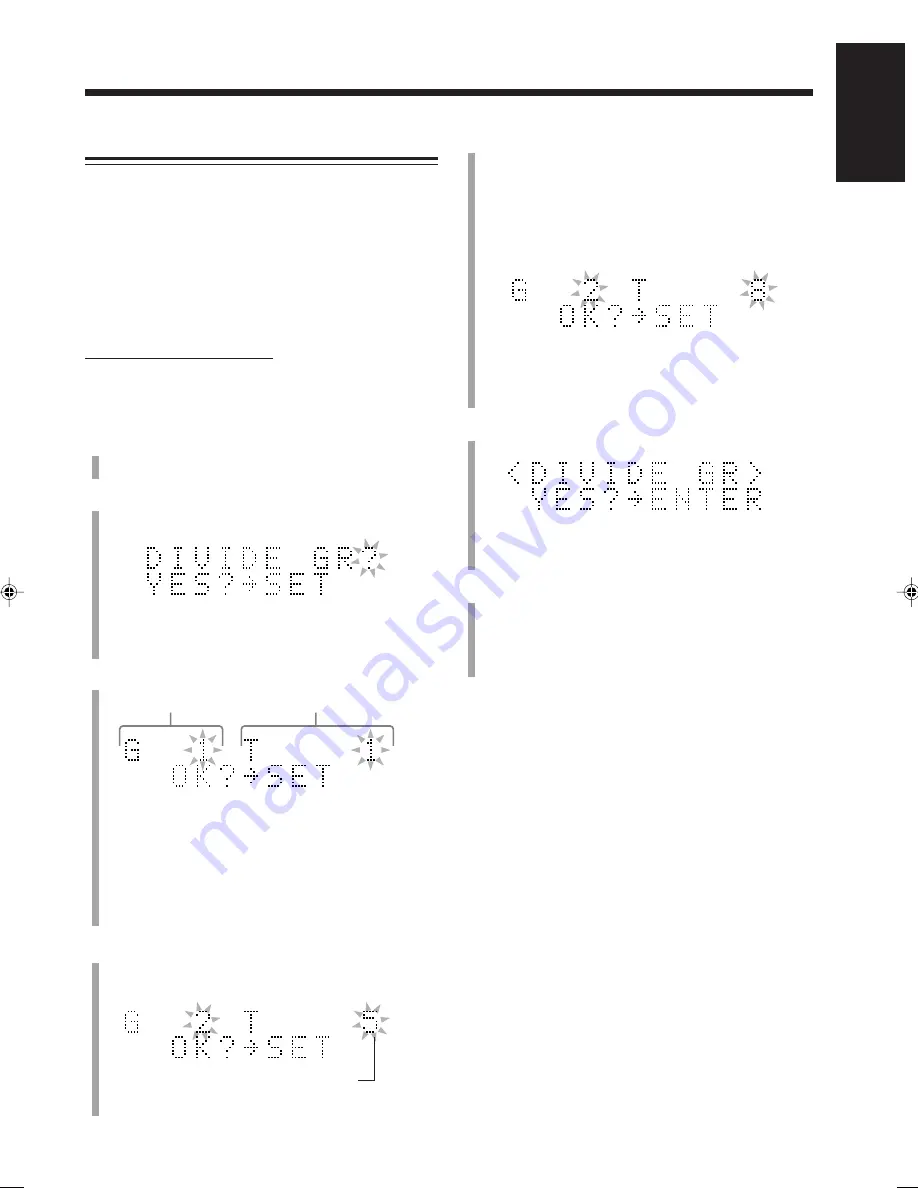
6
Press SET.
• To cancel the setting, press CANCEL, then repeat
from step
4
.
7
Press ENTER.
“EDITING” appears in the main display for a while,
then “WRITING” and the MD REC indicator flashes
while the changes you have made are recorded on the
MD.
To join the divided groups again, see the JOIN GR
function on page 71.
Dividing a Group—DIVIDE GR
This function allows you to divide one group into two
separate groups.
You cannot divide a group containing only a single track.
When the original group has a title, both new groups are
reassigned the same title as the original group.
Once a new group is divided, the other groups are
renumbered.
• To stop any time during the editing process before step
7
,
press MD GROUP TITLE/EDIT.
On the remote control ONLY:
In the following example, the process is explained from the
very beginning—that is, inserting a disc. You can also edit
an MD during playback (in normal play mode).
1
Insert an MD you want to edit into the MD loading
slot.
2
Press MD GROUP TITLE/EDIT repeatedly until
“DIVIDE GR?” appears in the main display.
• If you want to stop this editing process, press
CANCEL.
3
Press SET.
• If the loaded MD has no groups, you cannot go on to
the following steps.
• During playback:
The currently playing track number and its group
number will appear. If the track does not belong to
any group, the group number will be indicated by
“– –.”
4
Press GROUP SKIP
¢
or GROUP SKIP
4
while holding down SHIFT to select the group you
want to divide.
Ex.: When track 8 is selected.
The first track of the selected group
Ex.: When group 2 is selected.
Group No.
Track No.
EN65_74UX-A10DVD[UB].pm6
02.10.7, 8:11 AM
70


