28
Viewing a Photo file
This unit can play photo files. Before playing photo
files, read “Photo file requirement” on below.
1. Insert a disc containing photo files, or connect
the USB Flash Drive containing photo files.
2. Press HOME and Home Menu appears.
3. Select [Photo] then press ENTER.
The [PHOTO] menu appears on the TV screen.
Note:
When the USB Flash Drive is connected and a
disc is inserted simultaneously, the menu for
selecting a media will appear. Select a media
then press ENTER.
4. Use
v
/
V
/
b
/
B
to select a file and press ENTER.
The selected image is displayed in full screen.
5. To stop viewing at any time, press
x
(STOP).
The PHOTO menu appears.
Tips:
•
To go directly to any file and play, enter the file
number using the numbered buttons (0-9).
•
Use
v
/
V
/
b
/
B
to select a folder then press
ENTER and you can view the files in the folder.
If you want to move to the upper or lower direc-
tory, use
v
/
V
to move to the desired directory.
•
On the [MUSIC] menu, use red or blue button to
move to the first or the last file or track and
green or yellow button to move to the previous or
next page.
•
If there is impossible code to express in the file
name, it may be displayed as illegible.
•
You can change the content list view by pressing
DISPLAY repeatedly.
•
You can start the slide show by pressing
N
(PLAY) while the [PHOTO] menu appears.
To start the slide show, choose the folder con-
taining photo files or the photo file then press
N
(PLAY).
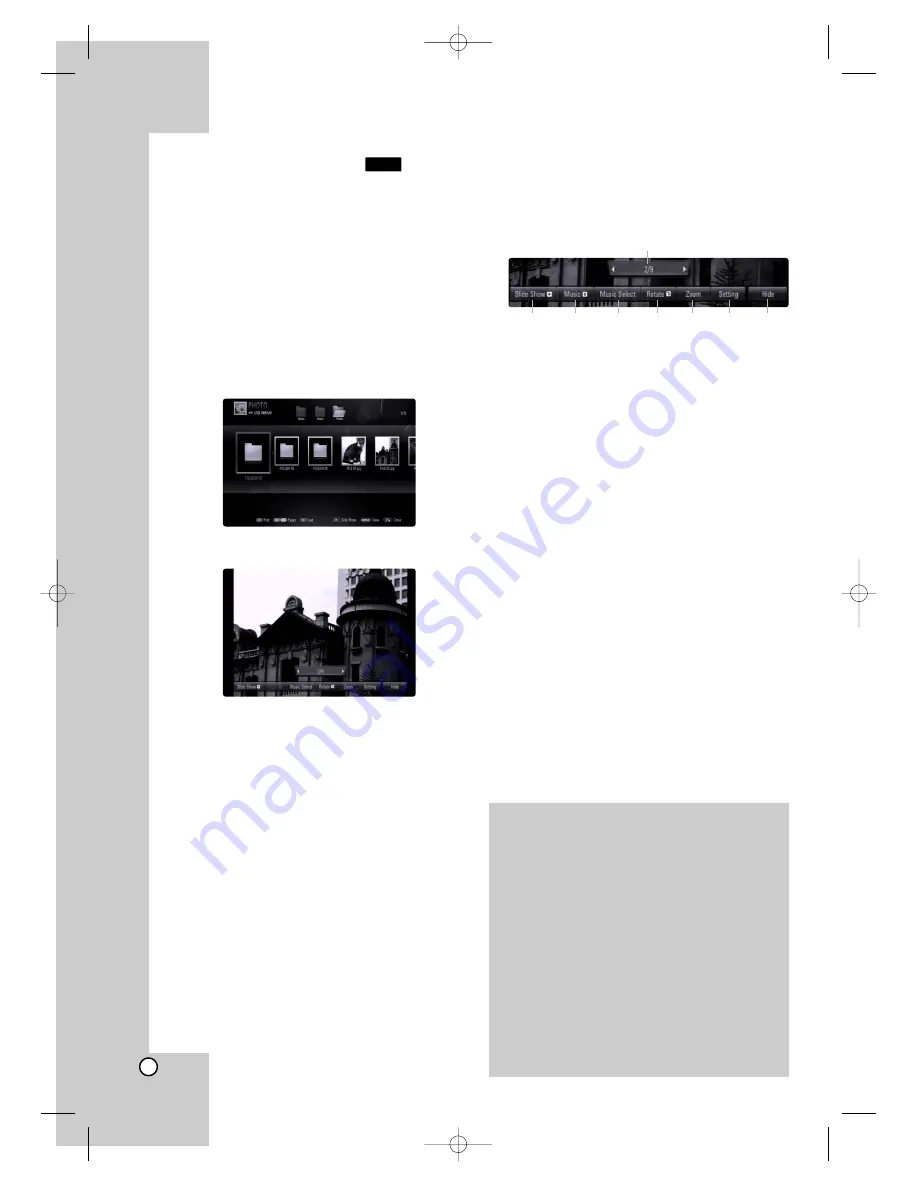
Options during viewing a photo file
in full screen
You can use various options during viewing a picture
in full screen. Use
v V b B
to select an option and
use the options as described below.
a
Use
b B
to advance to the previous or next file.
b
Press ENTER to start or pause the slide show.
c
Press ENTER to play or pause the background
music. This option is available after the background
music is selected using [Music Select] option.
d
Selects the background music.
1) Press ENTER and the menu will appear.
2) Use
v V b B
to select a media or folder that
there are music file(s).
3) Press ENTER to confirm your selection.
e
Press ENTER to rotate the picture clockwise.
This option is not available during slide show.
f
Use green or yellow buttons to zoom in or out the
picture. You can move through the zoomed picture
using
v V b B
buttons. Press RETURN to exit the
[Zoom] menu and return to the normal picture size.
• The zoom function can be operated by the
ZOOM button on the remote control.
g
Use
v V
to selects an option between [Effect] or
[Delay].
Use
b B
to adjusts and press ENTER to set the
selected option.
[Effects] – You can apply various effects when slid-
ing photos.
OFF: Slide Show without any effect.
Random: Slide show effects are applied randomly.
Slide: Slides a photo from various direction.
Door: Photo will be appear like door opening.
Lattice: Photo will be appear from tiled pieces to
full screen image
[Delay] – You can set the photo delaying time while
Slide Show.
h
Press ENTER to exit the option menu.
To appear the menu again, press ENTER.
PHOTO
Photo file requirement
File extensions:
“.jpg”, “.jpeg”, “.png”
Recommended size:
Less than 4,000 x 3,000 x 24 bit/pixel
Less than 3,000 x 3,000 x 32 bit/pixel
CD-R/RW, DVD-R/RW, +R/+RW, BD-R/RE Format:
ISO 9660+JOLIET, UDF and UDF Bridge format
Maximum Files/Folder:
Less than 2,000 (total number of files and folders)
Notes on Photo file
Progressive and lossless compression photo
image files are not supported.
Depending on the size and number of the photo
files, it may take several minutes to read the
contents of the media.
b
c
d
e
f
g
h
a
BD320-JN_BUSAJJK_OM_ENG 8/31/09 12:16 PM Page 28


